Browser Extension Dev - 08. Publishing to Chrome Web Store
Introduction
Over the previous 7 blog posts, we’ve covered the fundamental concepts of extension development, with each post accompanied by a practical extension example. Now, it’s finally time to demonstrate how to publish an extension. We’ll walk through how to publish our auto-sleep tabs extension to the Chrome Web Store - remember that one? It’s the extension we built in Browser Extension Dev - 04. Background Script and Browser Extension Dev - 05. Storage and Configuration.
Steps
Setting Up a Chrome Web Store Developer Account
- First, register a developer account following the official documentation. You’ll need a Google account and a one-time registration fee of $5. Reference: https://developer.chrome.com/docs/webstore/register
- Then complete the setup, which mainly involves setting your developer account name and verifying your email - nothing too complicated. Reference: https://developer.chrome.com/docs/webstore/set-up-account
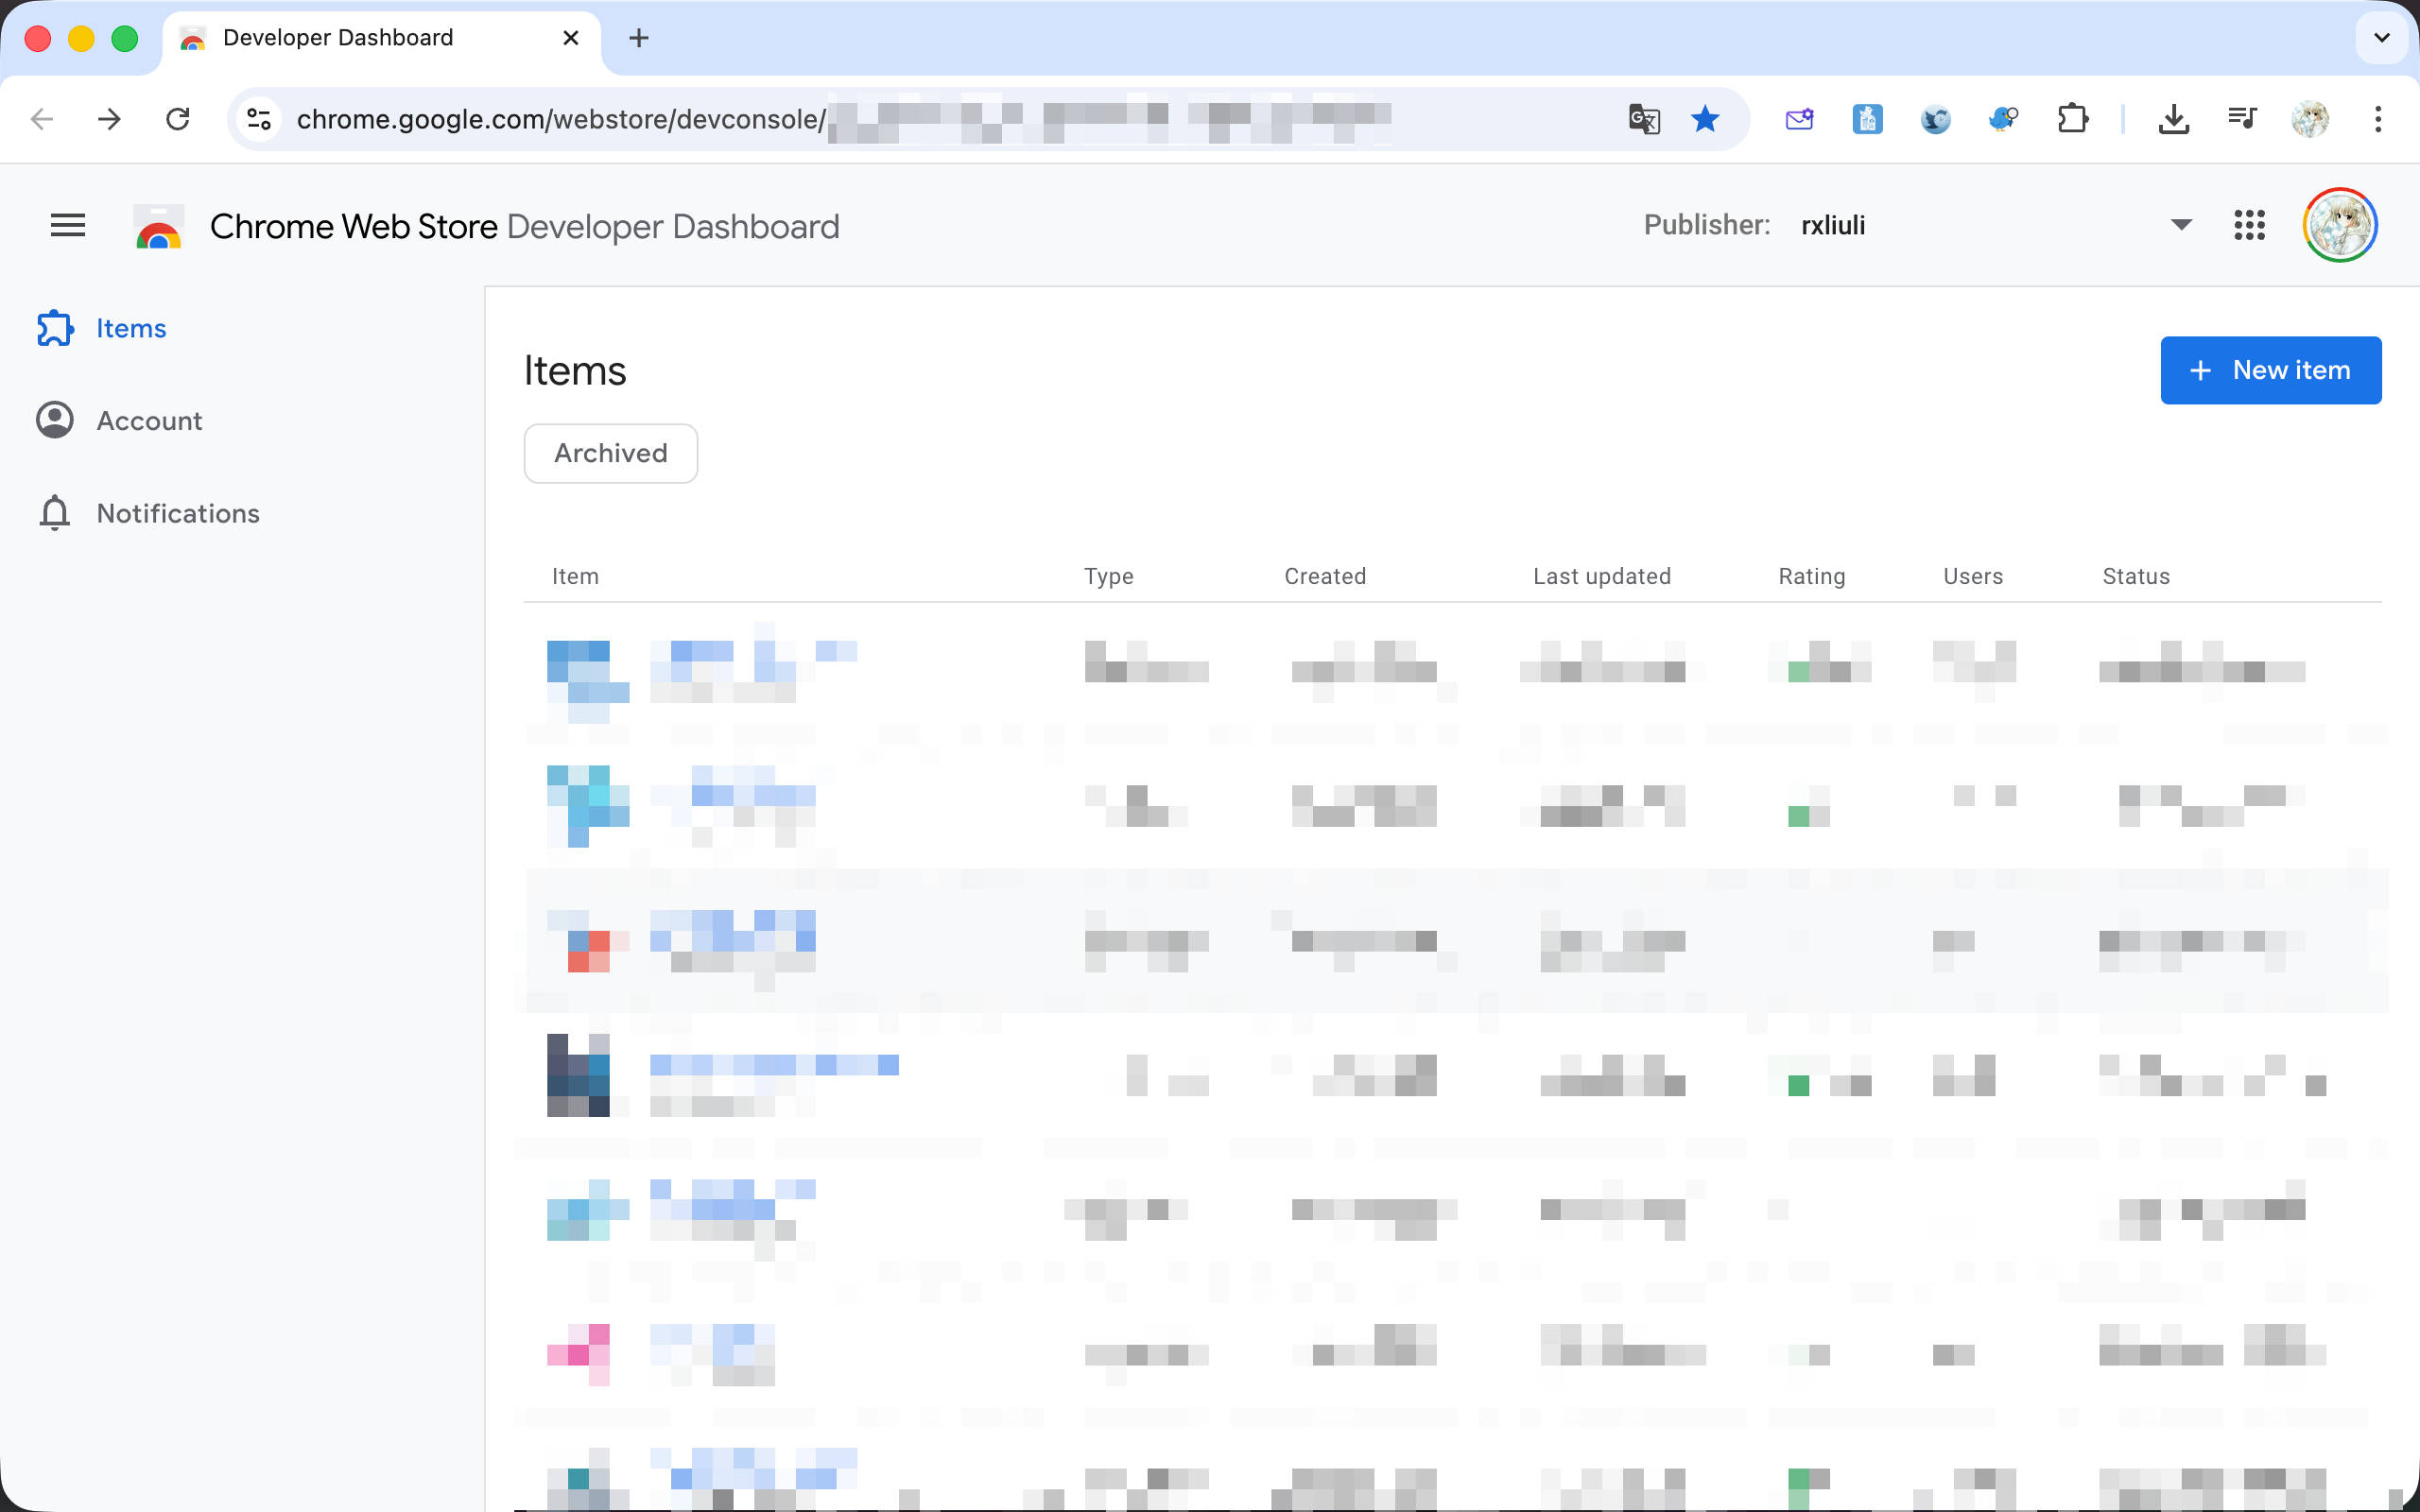
After registration, open https://chrome.google.com/webstore/devconsole/ and you should see a page like this:
Building the Extension Package
Next, let’s demonstrate how to go from building to publishing the extension.
First, open a terminal in your project and run pnpm zip. You should see output similar to this, showing that the Chrome extension has been successfully packaged as a zip file:
ℹ Zipping extension...
✔ Zipped extension in 12 ms
  └─ .output/05-storage-and-configuration-0.0.0-chrome.zip  13.37 kB
Σ Total size: 13.37 kB
Find this file in the .output directory and note its path.

Uploading to Chrome Web Store
Open https://chrome.google.com/webstore/devconsole/ and click the “New Item” button in the top right corner.
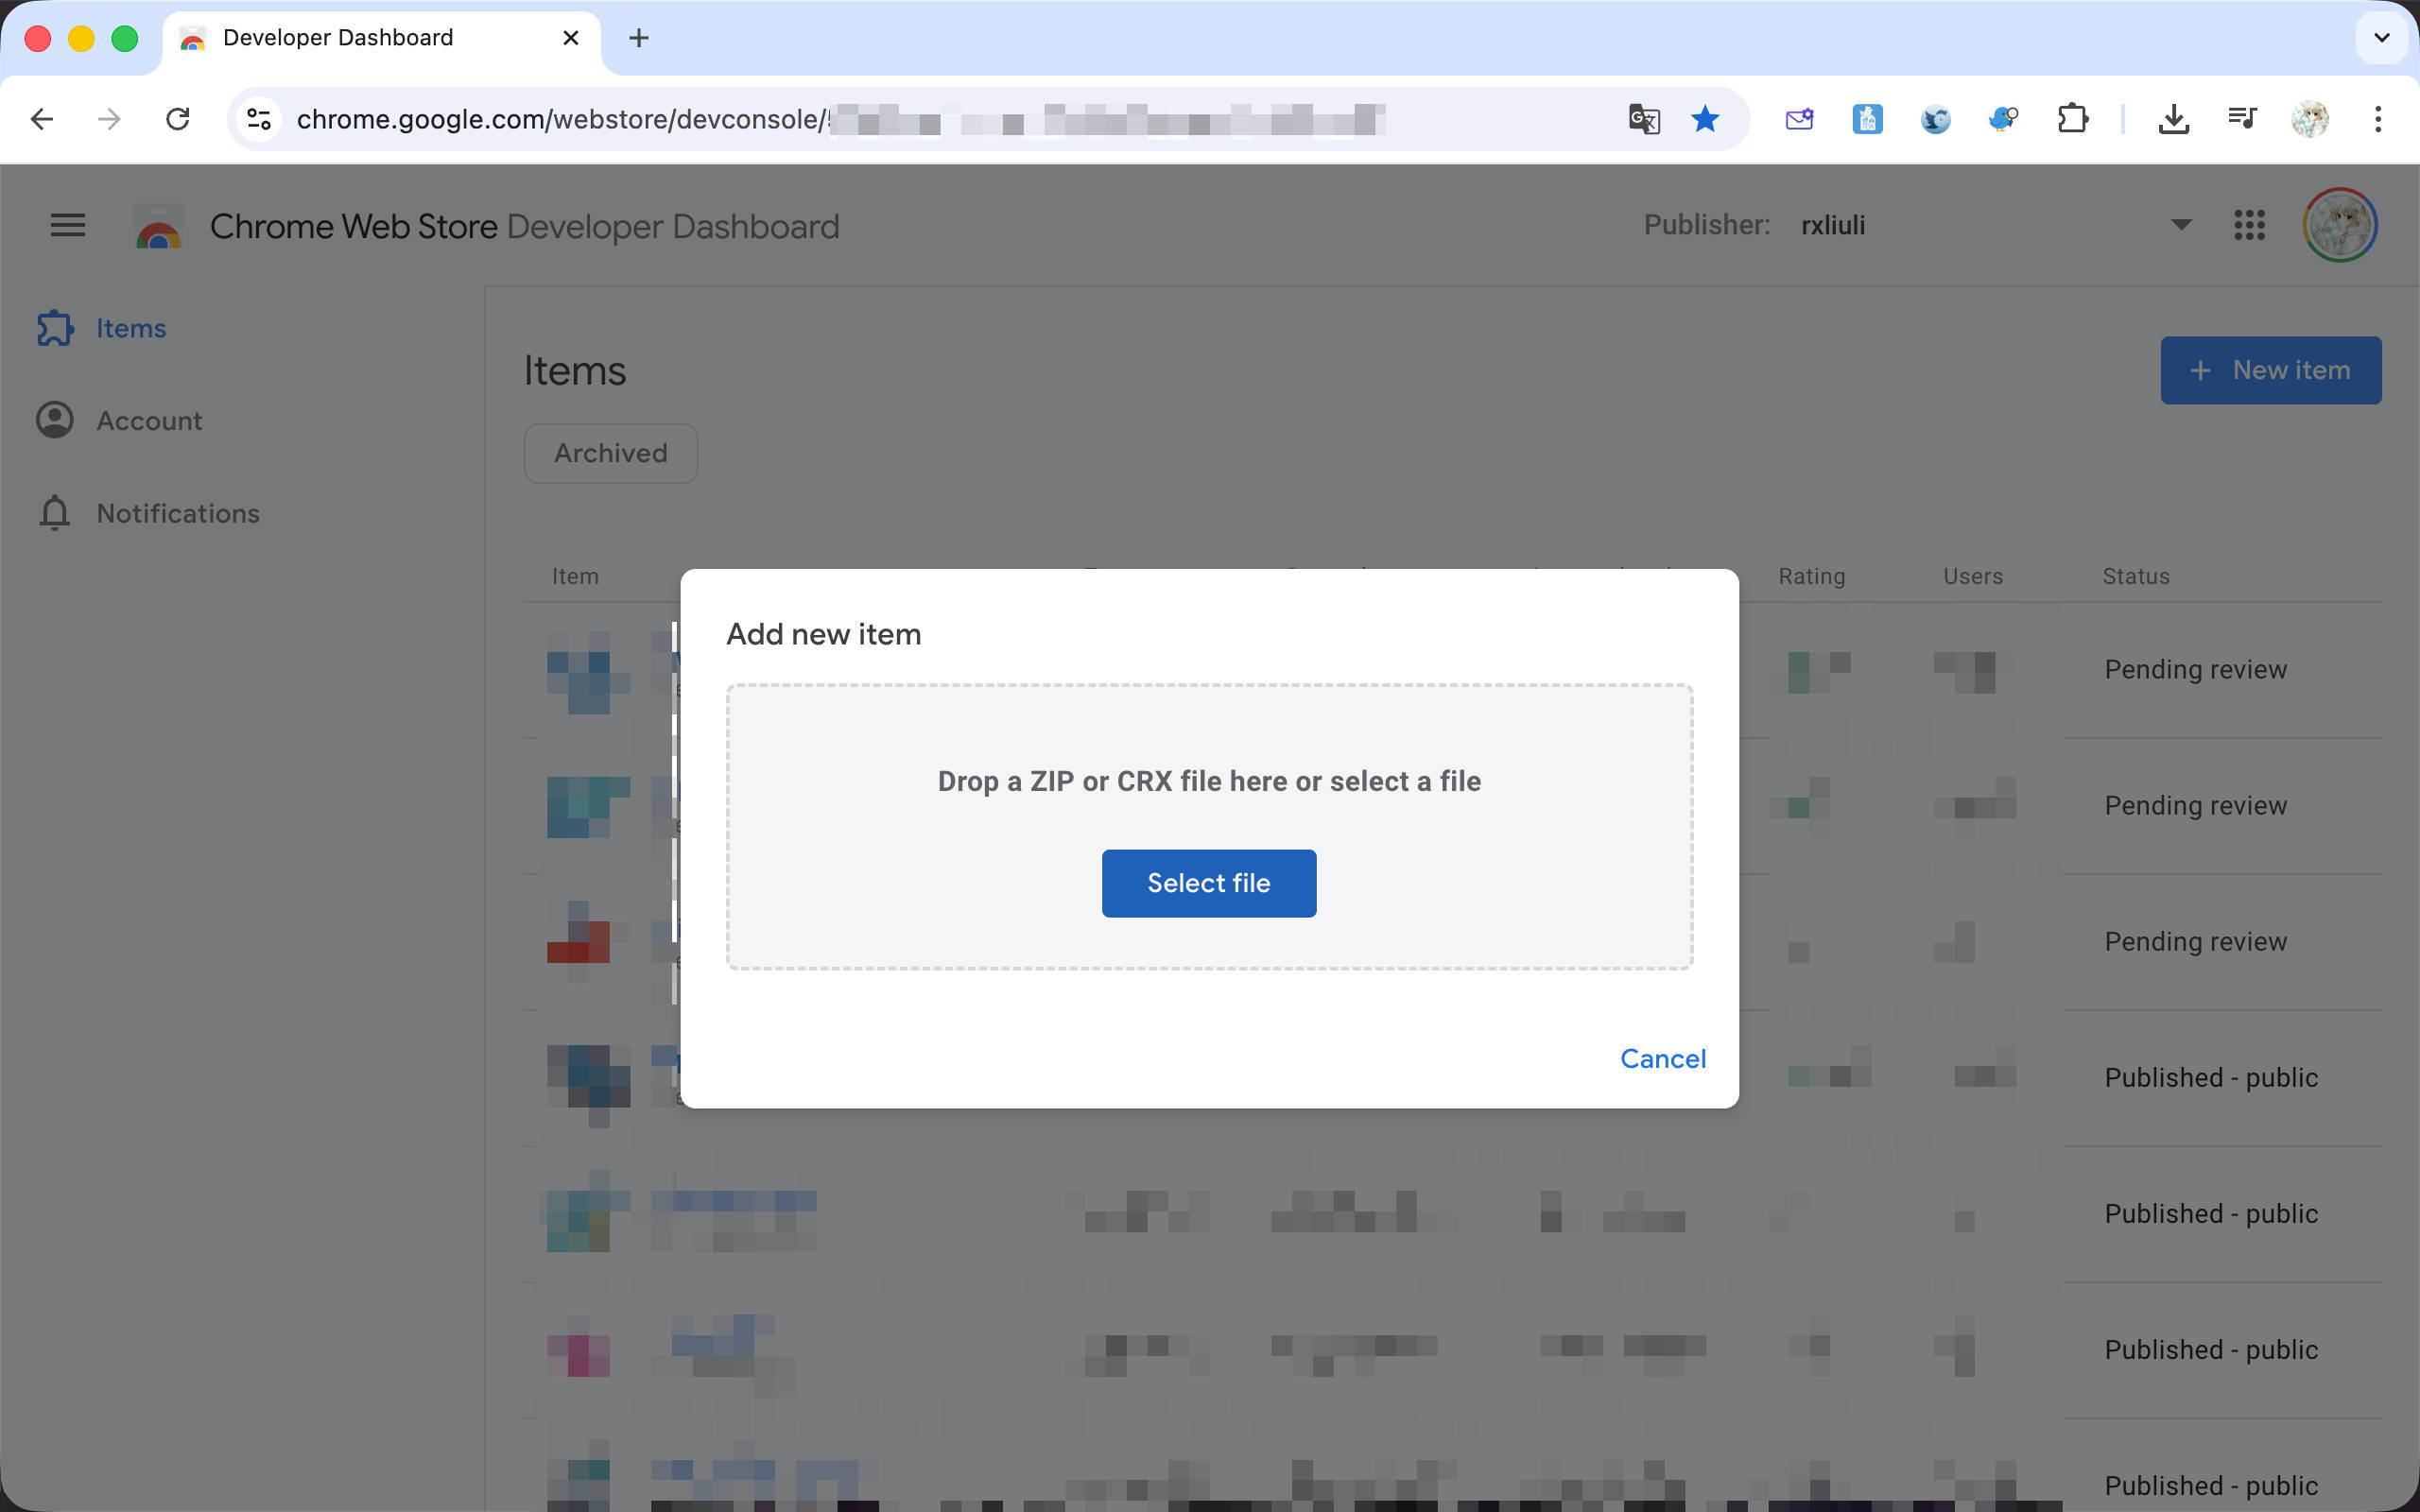
Select the zip file you just found and upload it. At this point, you may encounter an error saying The manifest has an invalid version: 0.0.0. Please format the version as defined - meaning the version number cannot be 0.0.0.
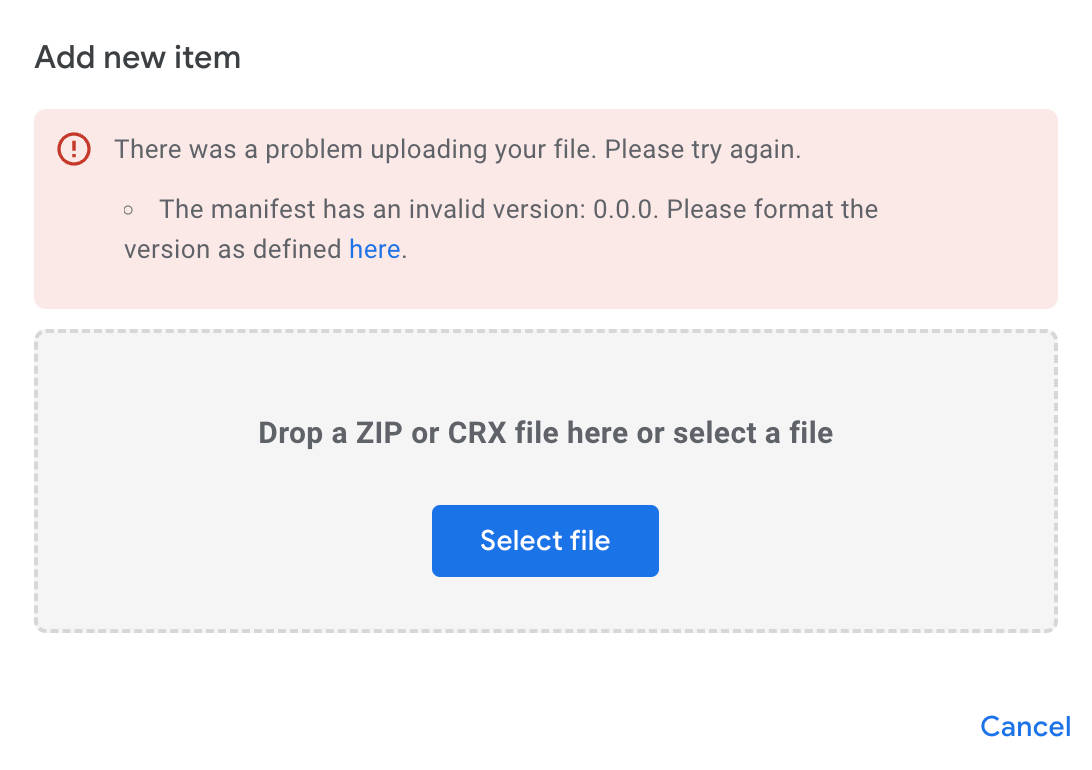
Use pnpm version patch to increment the version number to 0.0.1, then run pnpm zip again to build and upload. You should now see the extension publishing management page.
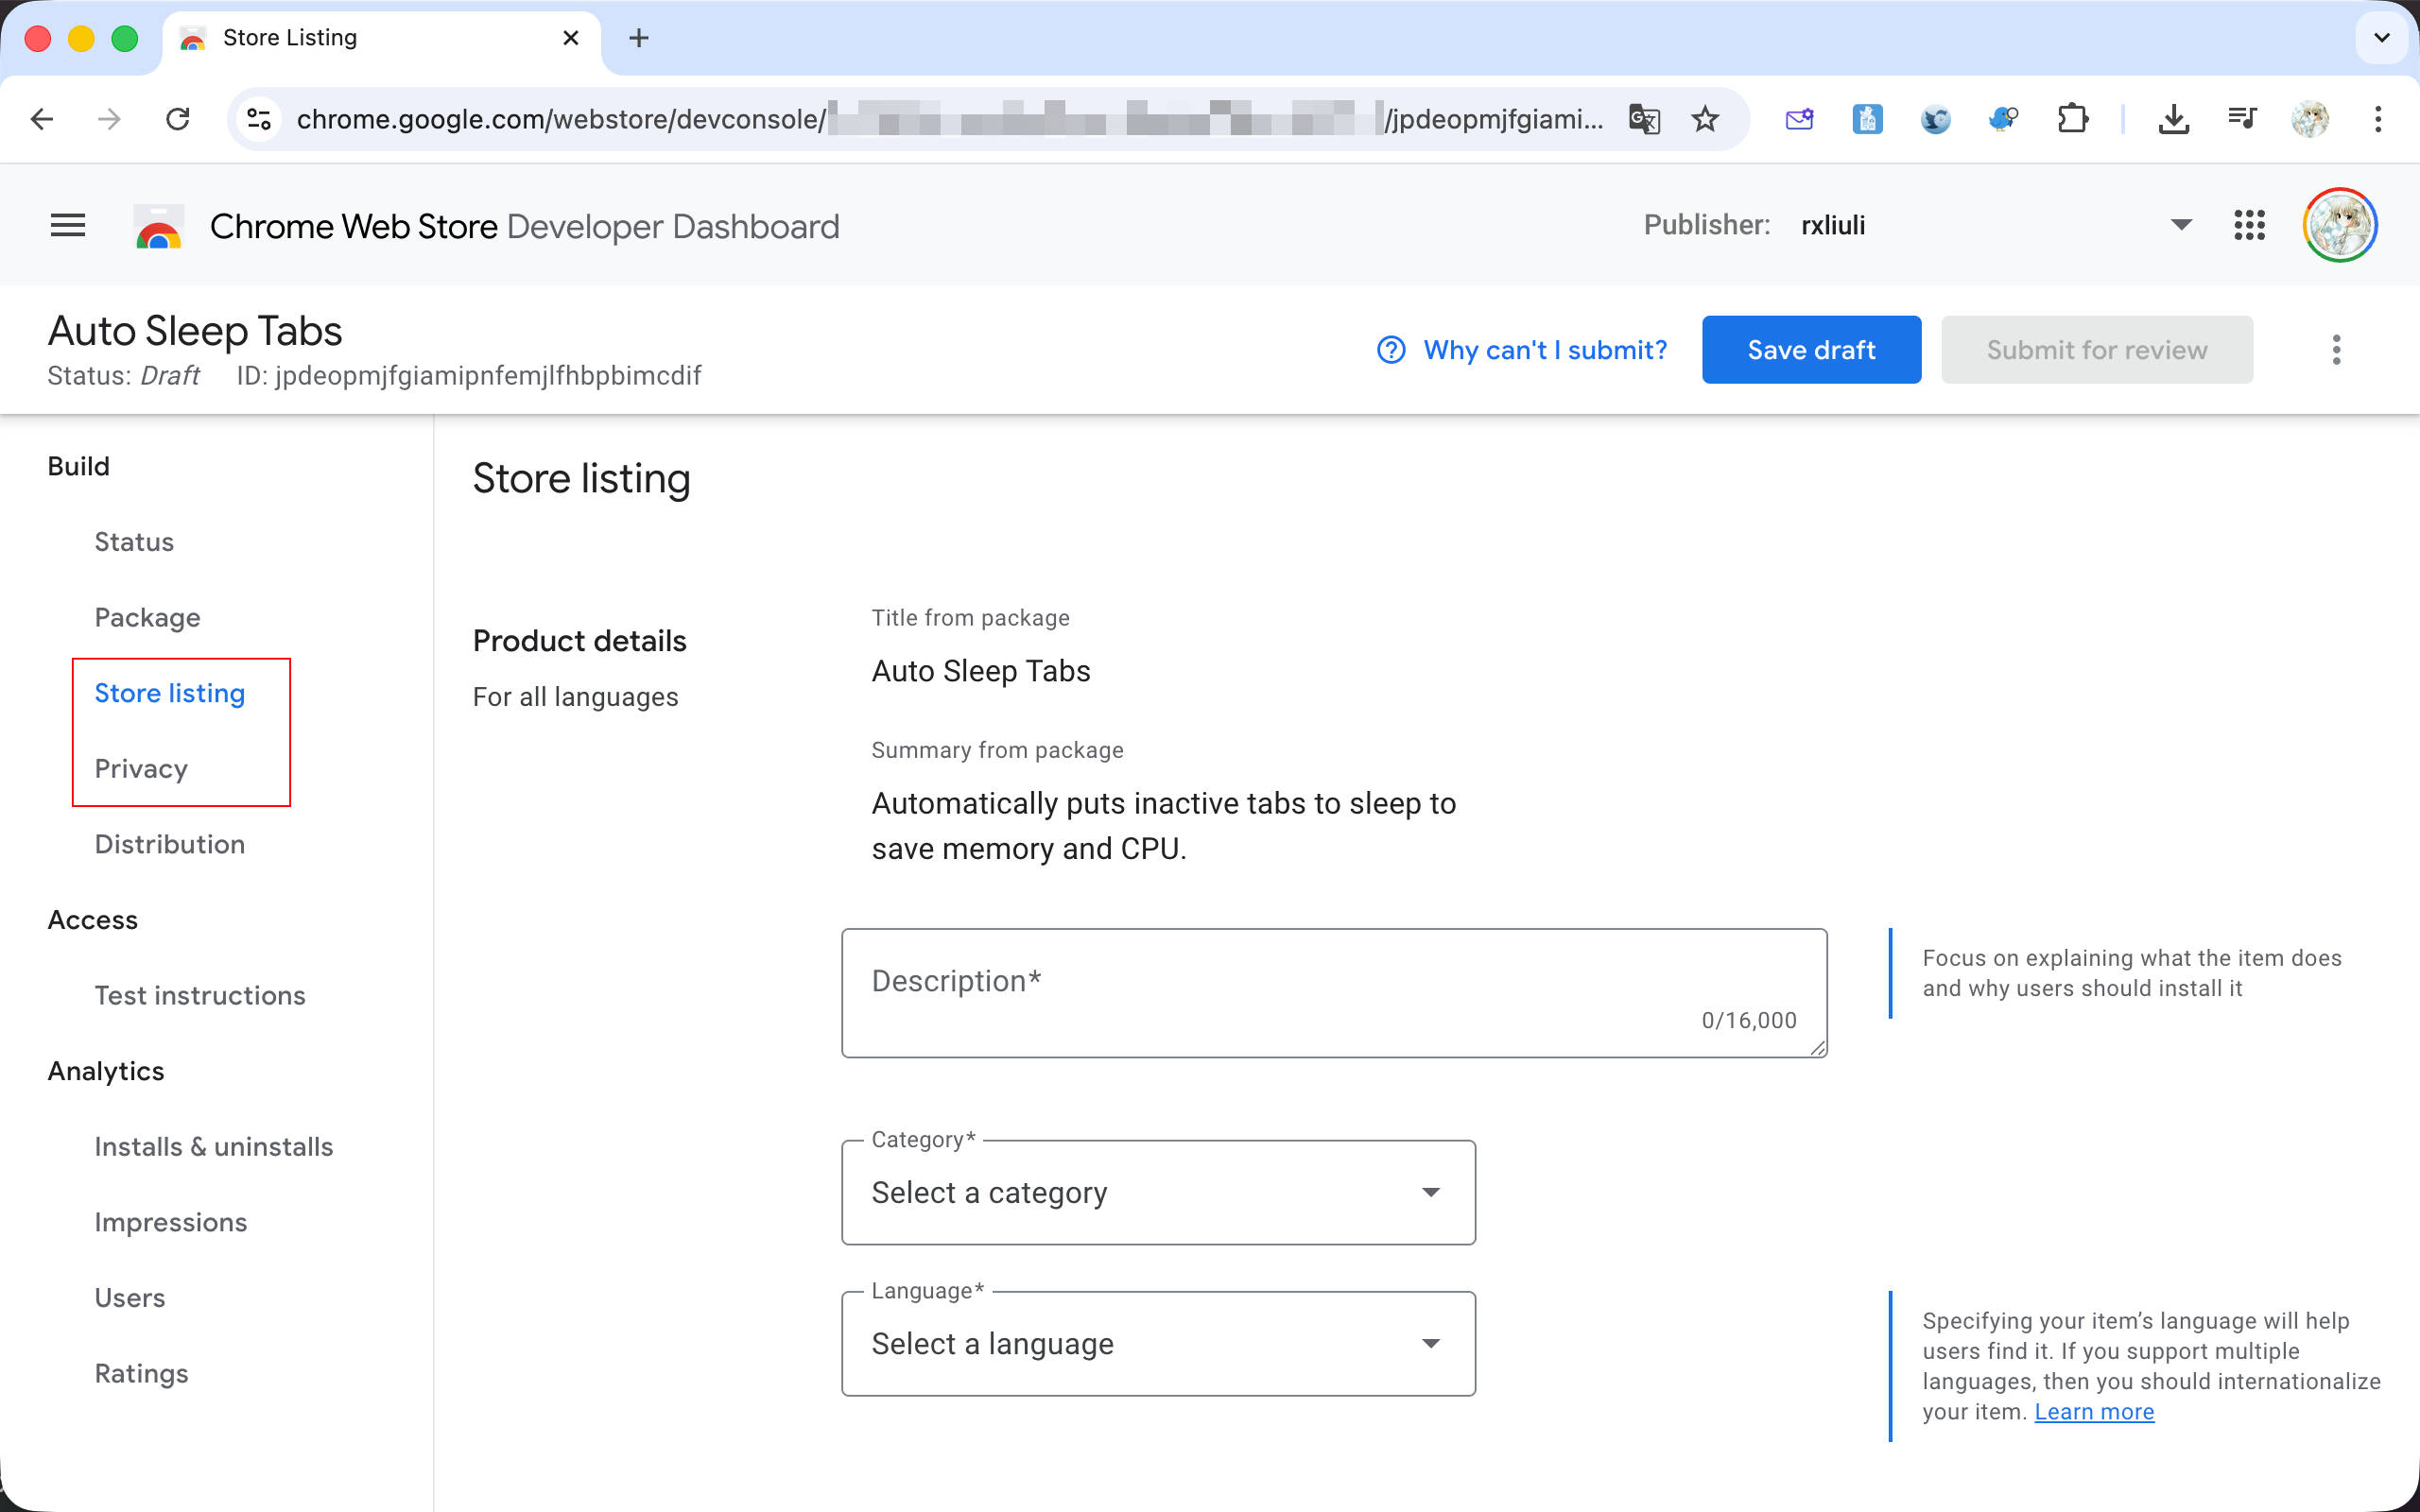
Configuring Store Listing
For publishing, the two most important tabs are Store listing and Privacy. The former is for configuring how your extension appears in the Chrome Web Store - description, category, icon, screenshots, etc. The latter is for permission usage explanations and privacy policy links.
For this extension, select the category as Productivity > Tools, and set the language to English.
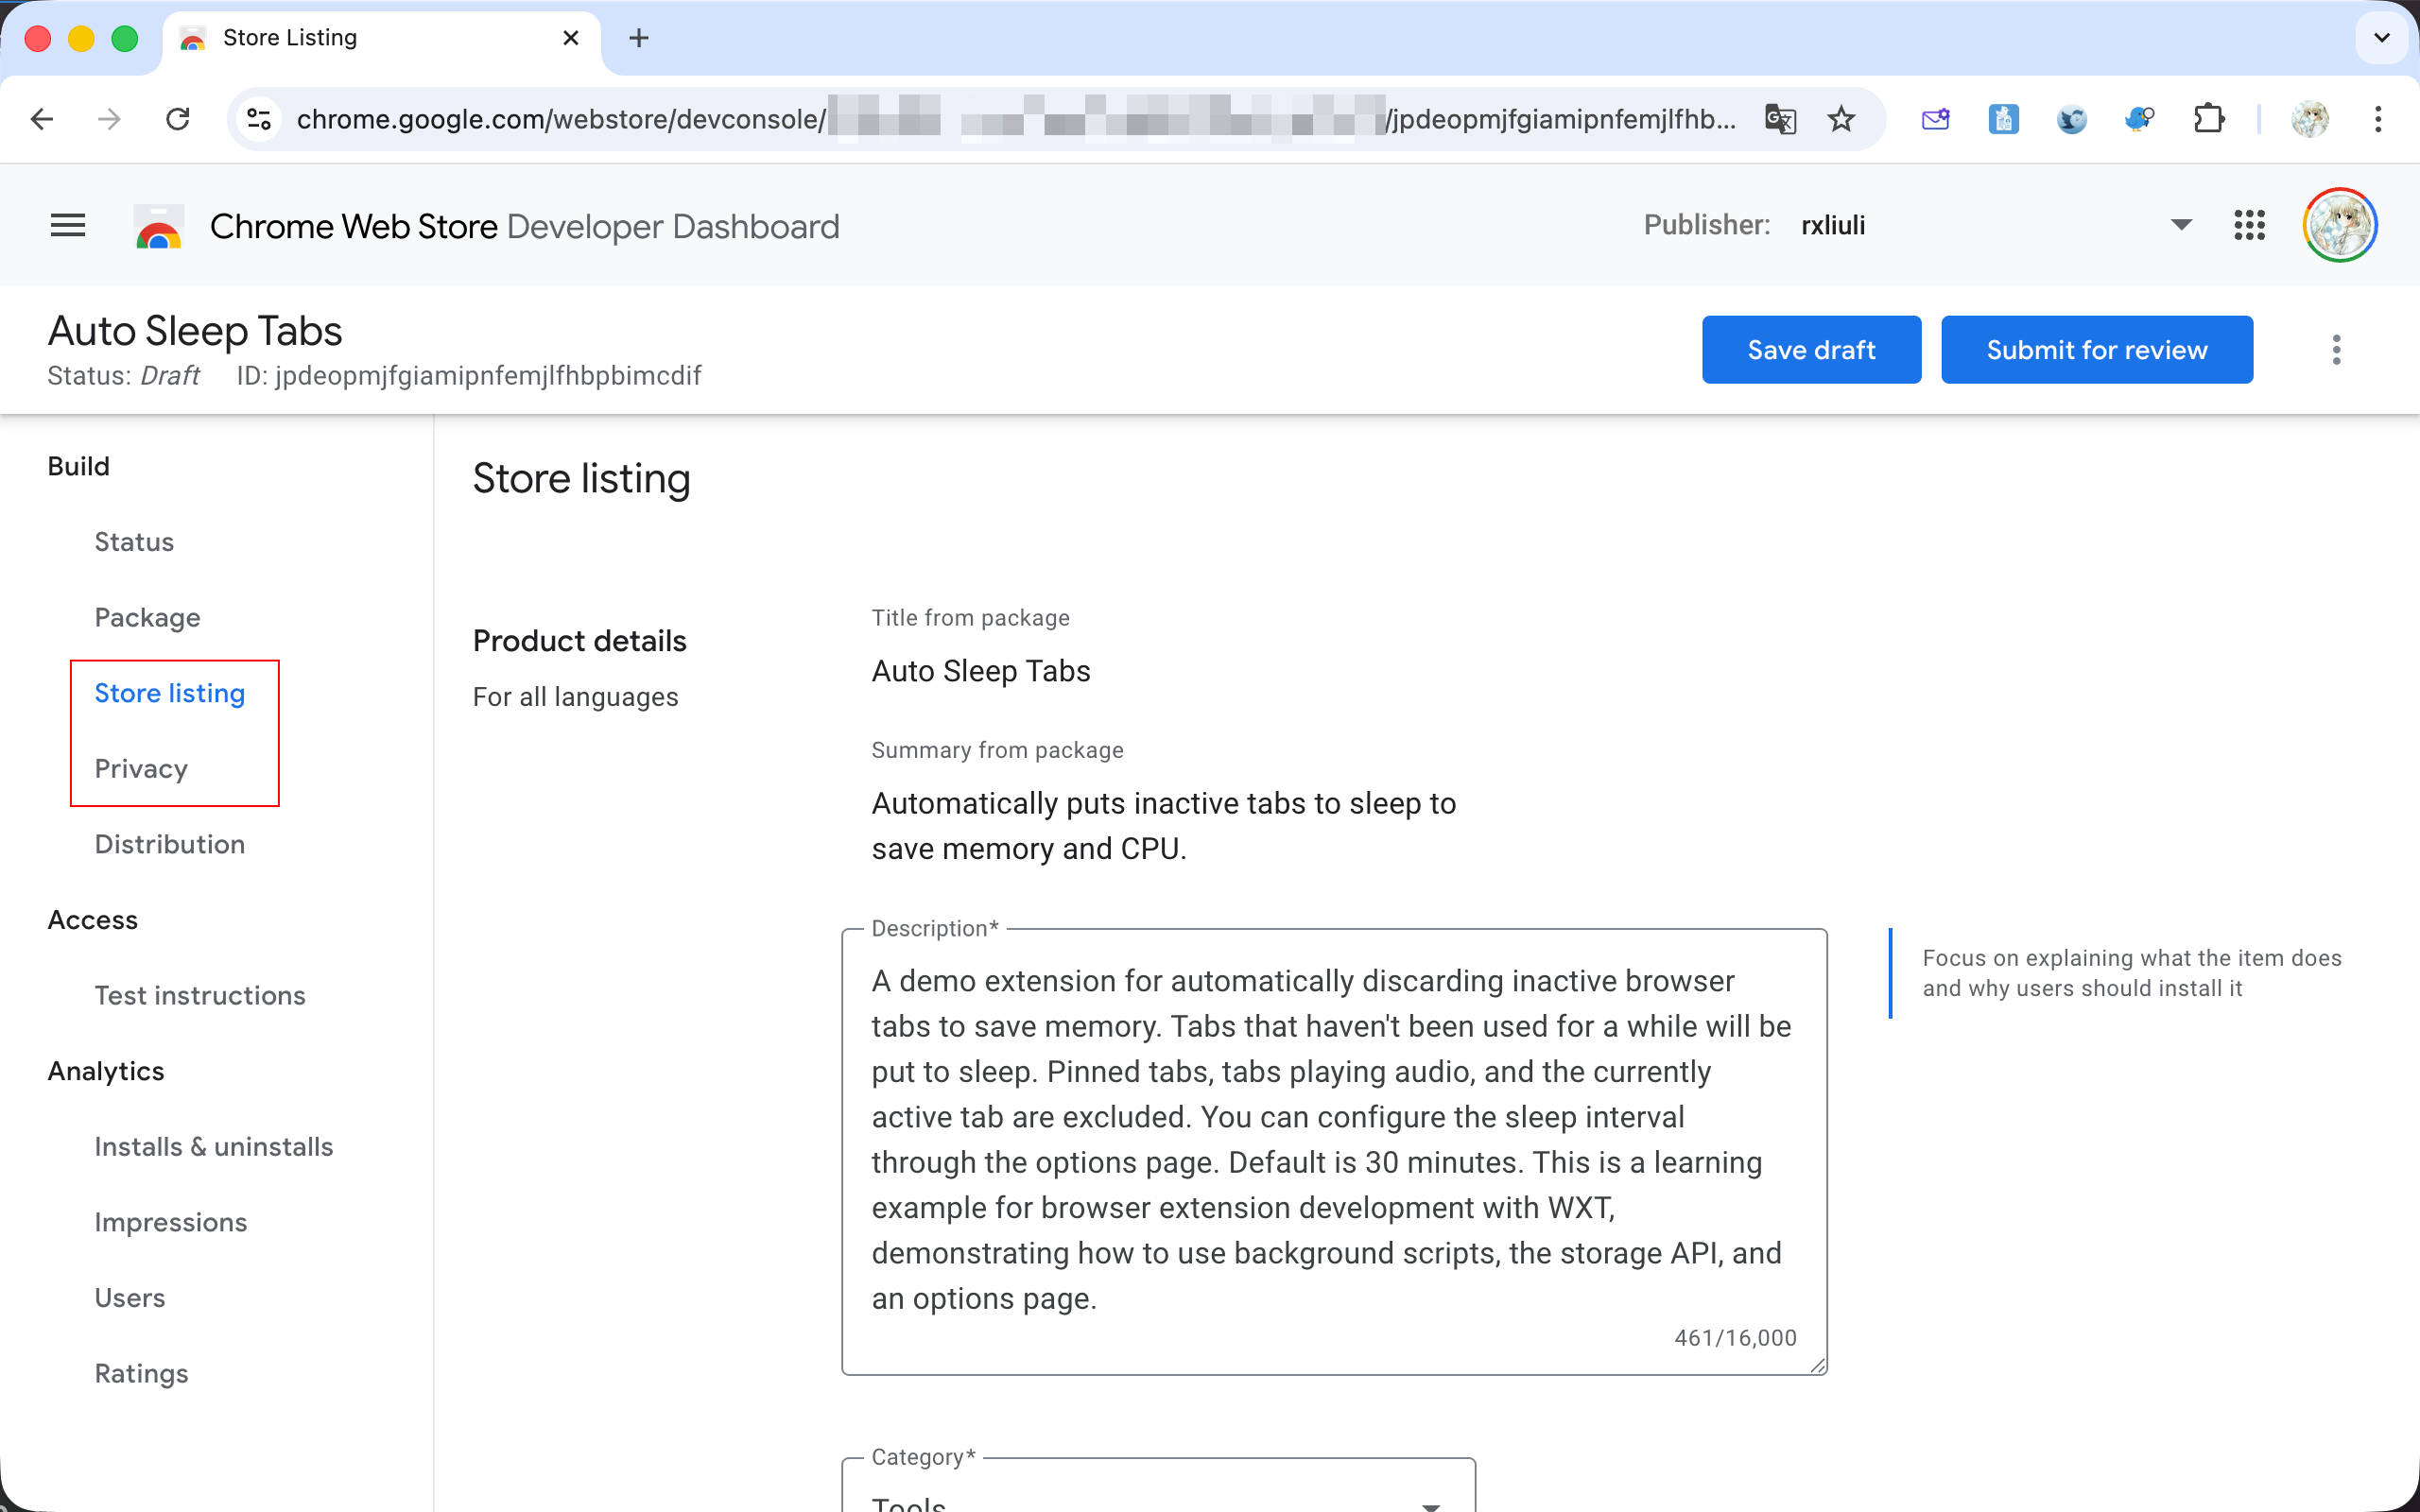
Then select the 128.png icon from the public/icon directory as the extension icon displayed in the store. Taking a screenshot at exactly 1280x800 pixels can be a bit tricky, but you can use https://squoosh.app to resize your screenshot - use the Resize feature to adjust the dimensions to 1280x800.
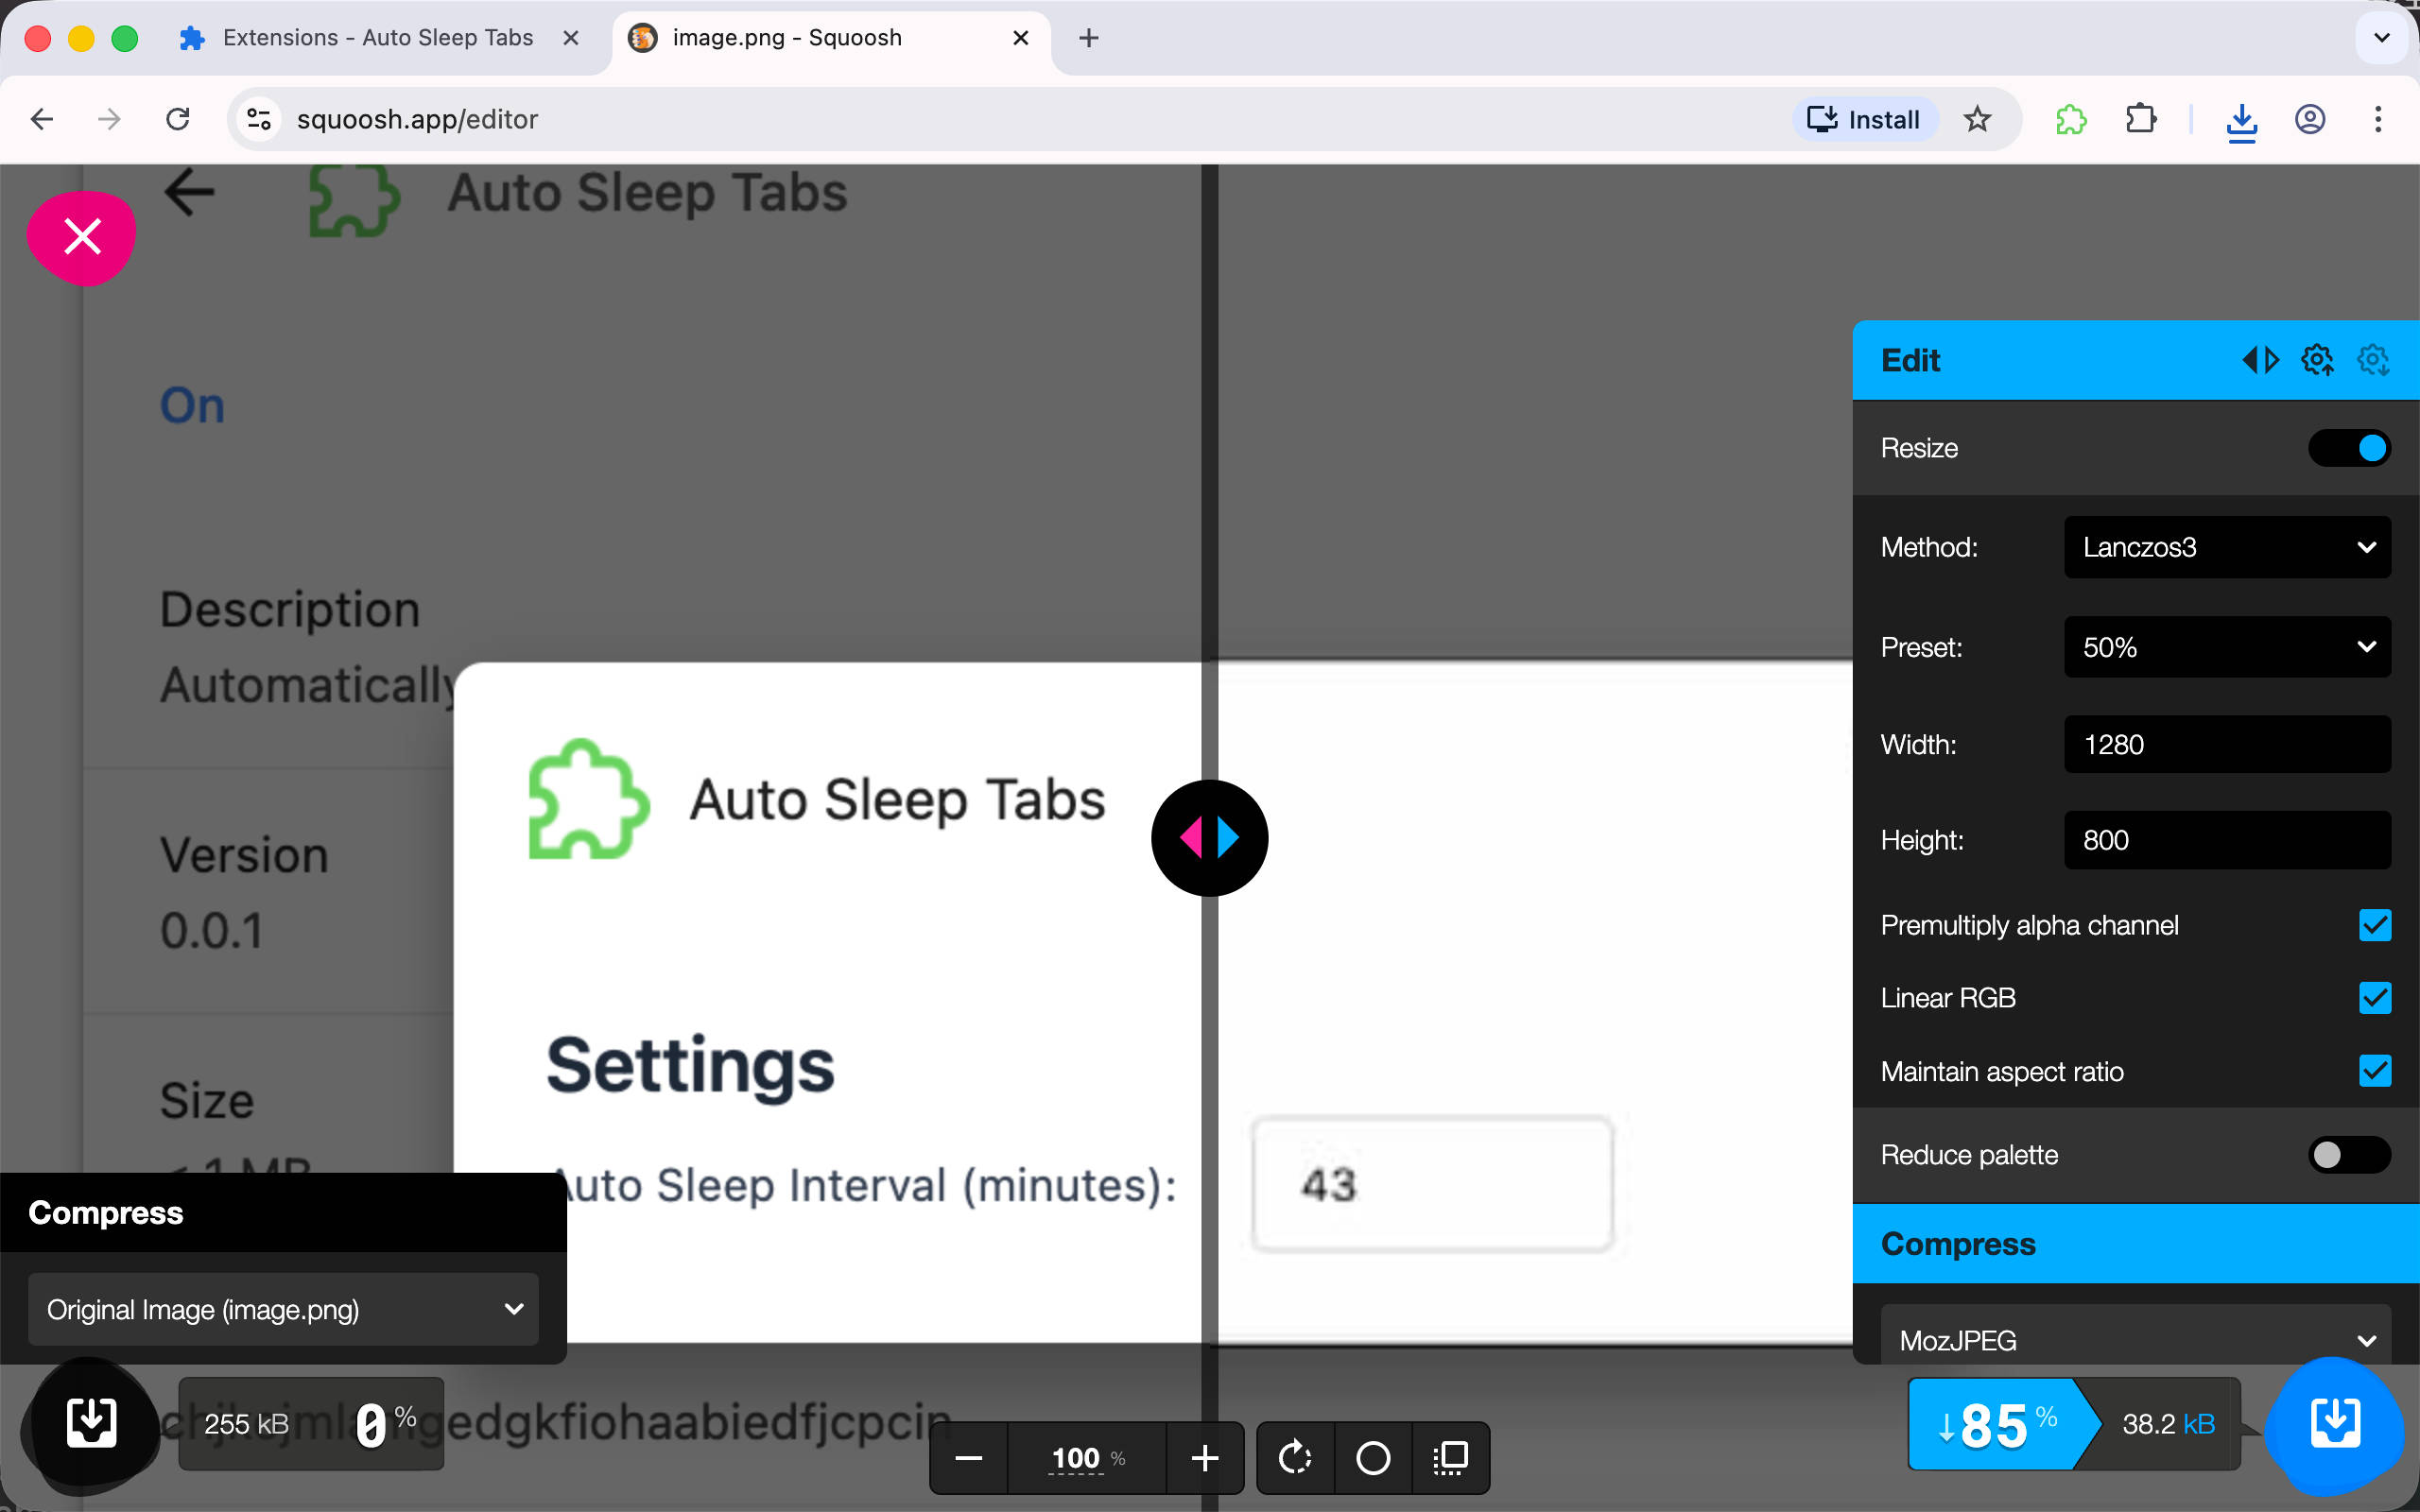
PS: If you’re on macOS, you can use the small utility Window Resizer to resize windows to specific dimensions.
Reference the Chrome official publishing documentation: https://developer.chrome.com/docs/webstore/publish
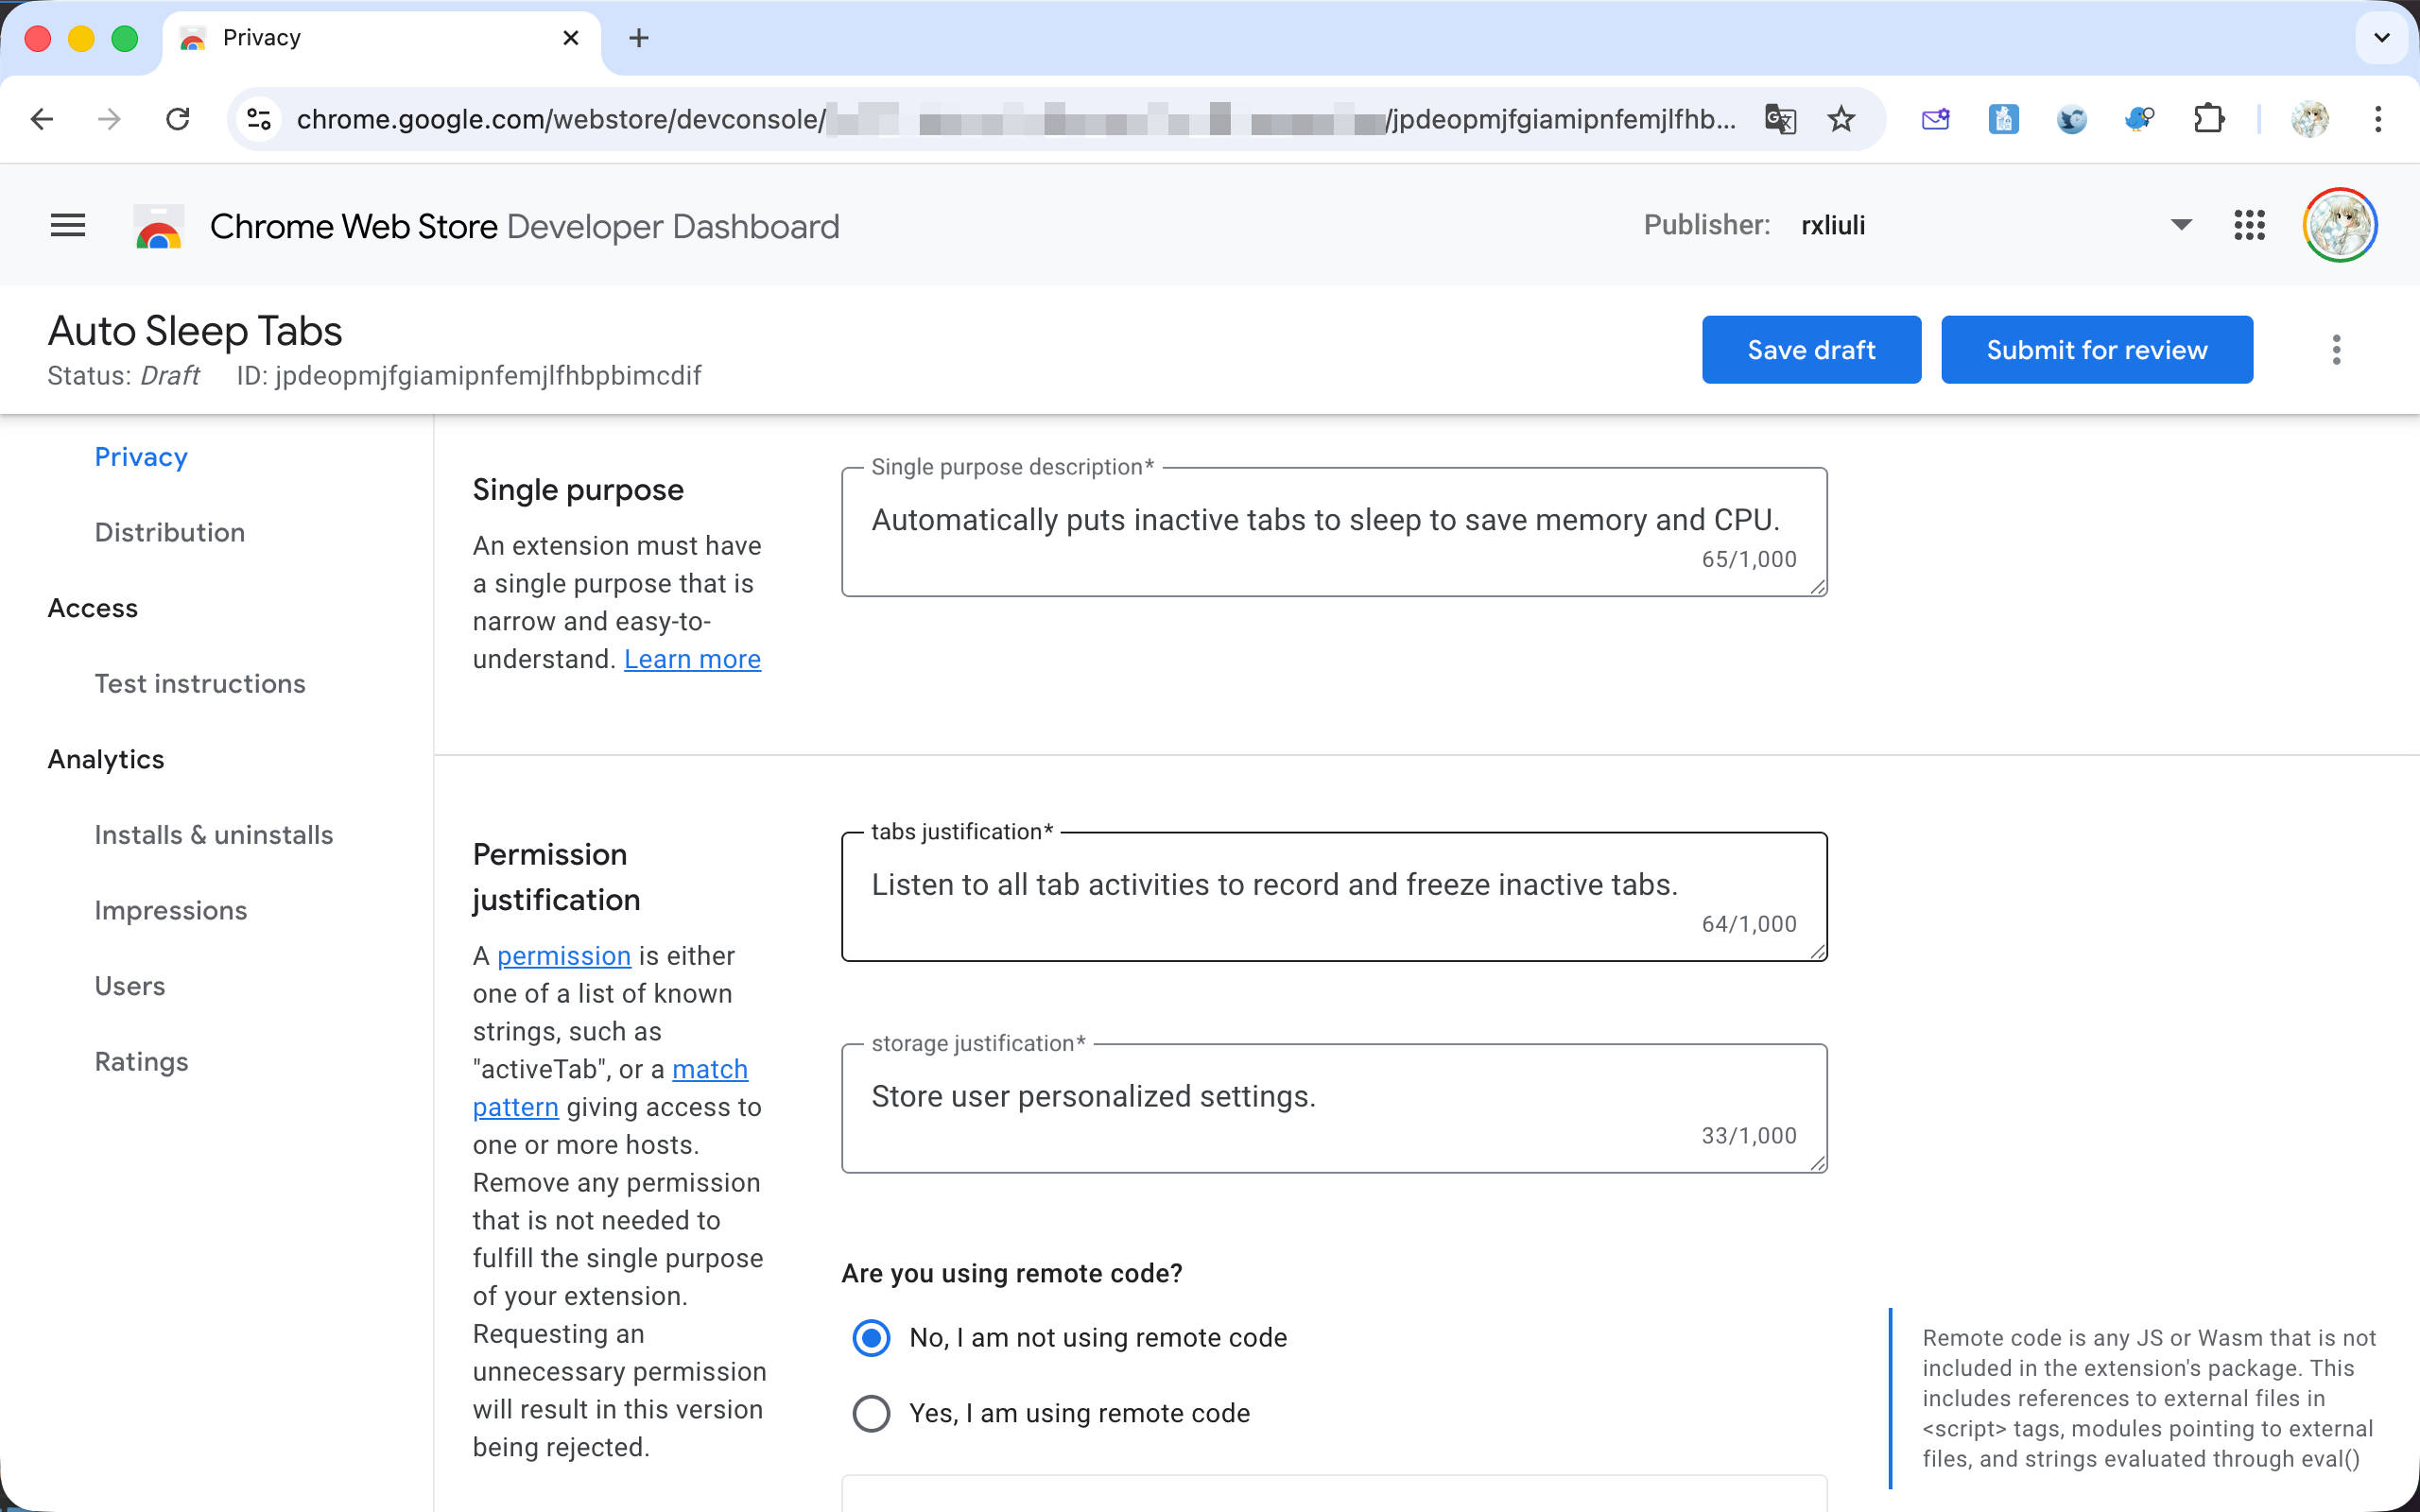
Configuring Privacy
Switch to the Privacy tab, where you’ll see several main sections:
- Single purpose: A brief explanation of what your extension does in one or two sentences
- Permission justification: Explanation of how permissions are used. Pay attention to the “Are you using remote code?” question at the end - Chrome prohibits remote code, and some libraries (like zod) may inadvertently introduce remote code, so be careful
- Data usage: Data collection disclosure - select what data your extension collects. If it runs locally, you don’t need to select any options
- Privacy policy: A link to your privacy policy. This is the only content that needs external hosting - you can host it on your personal domain, or if open source, link directly to the relevant file on GitHub. Here’s an example: https://rxliuli.com/webstore/privacy/

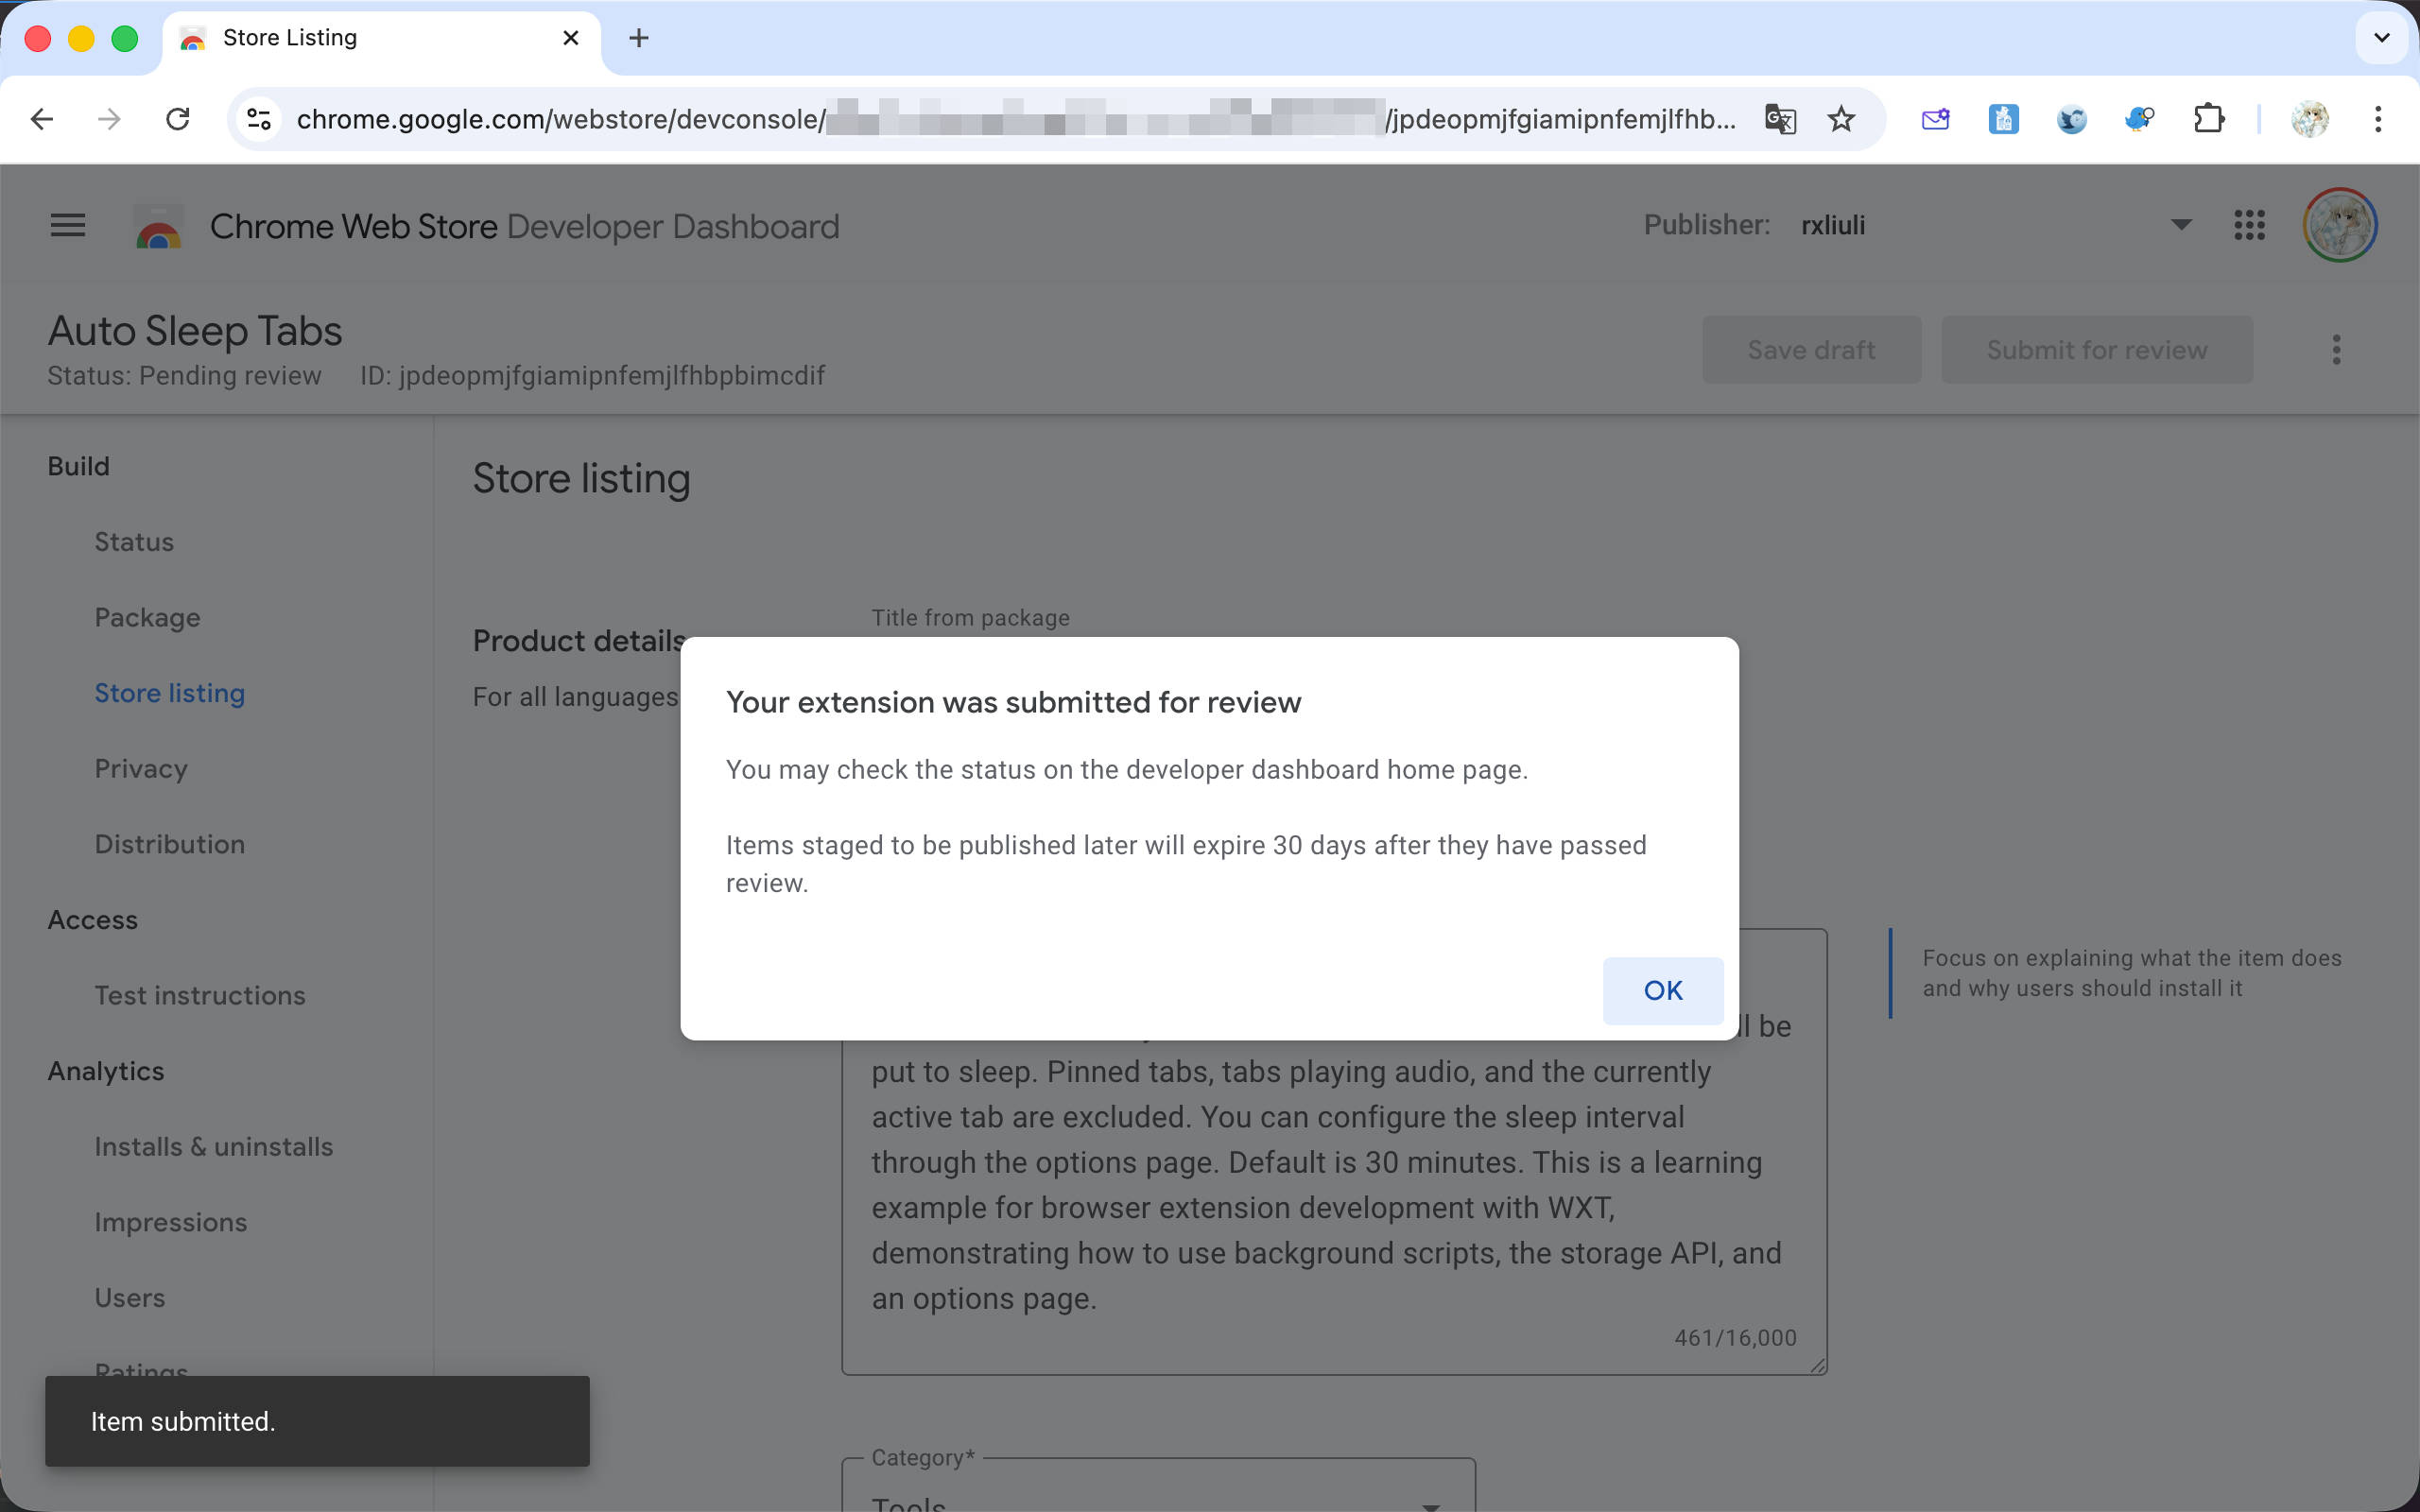
Submitting for Review
After clicking the “Save draft” button, if the “Submit for review” button becomes available, you can submit your extension for review.
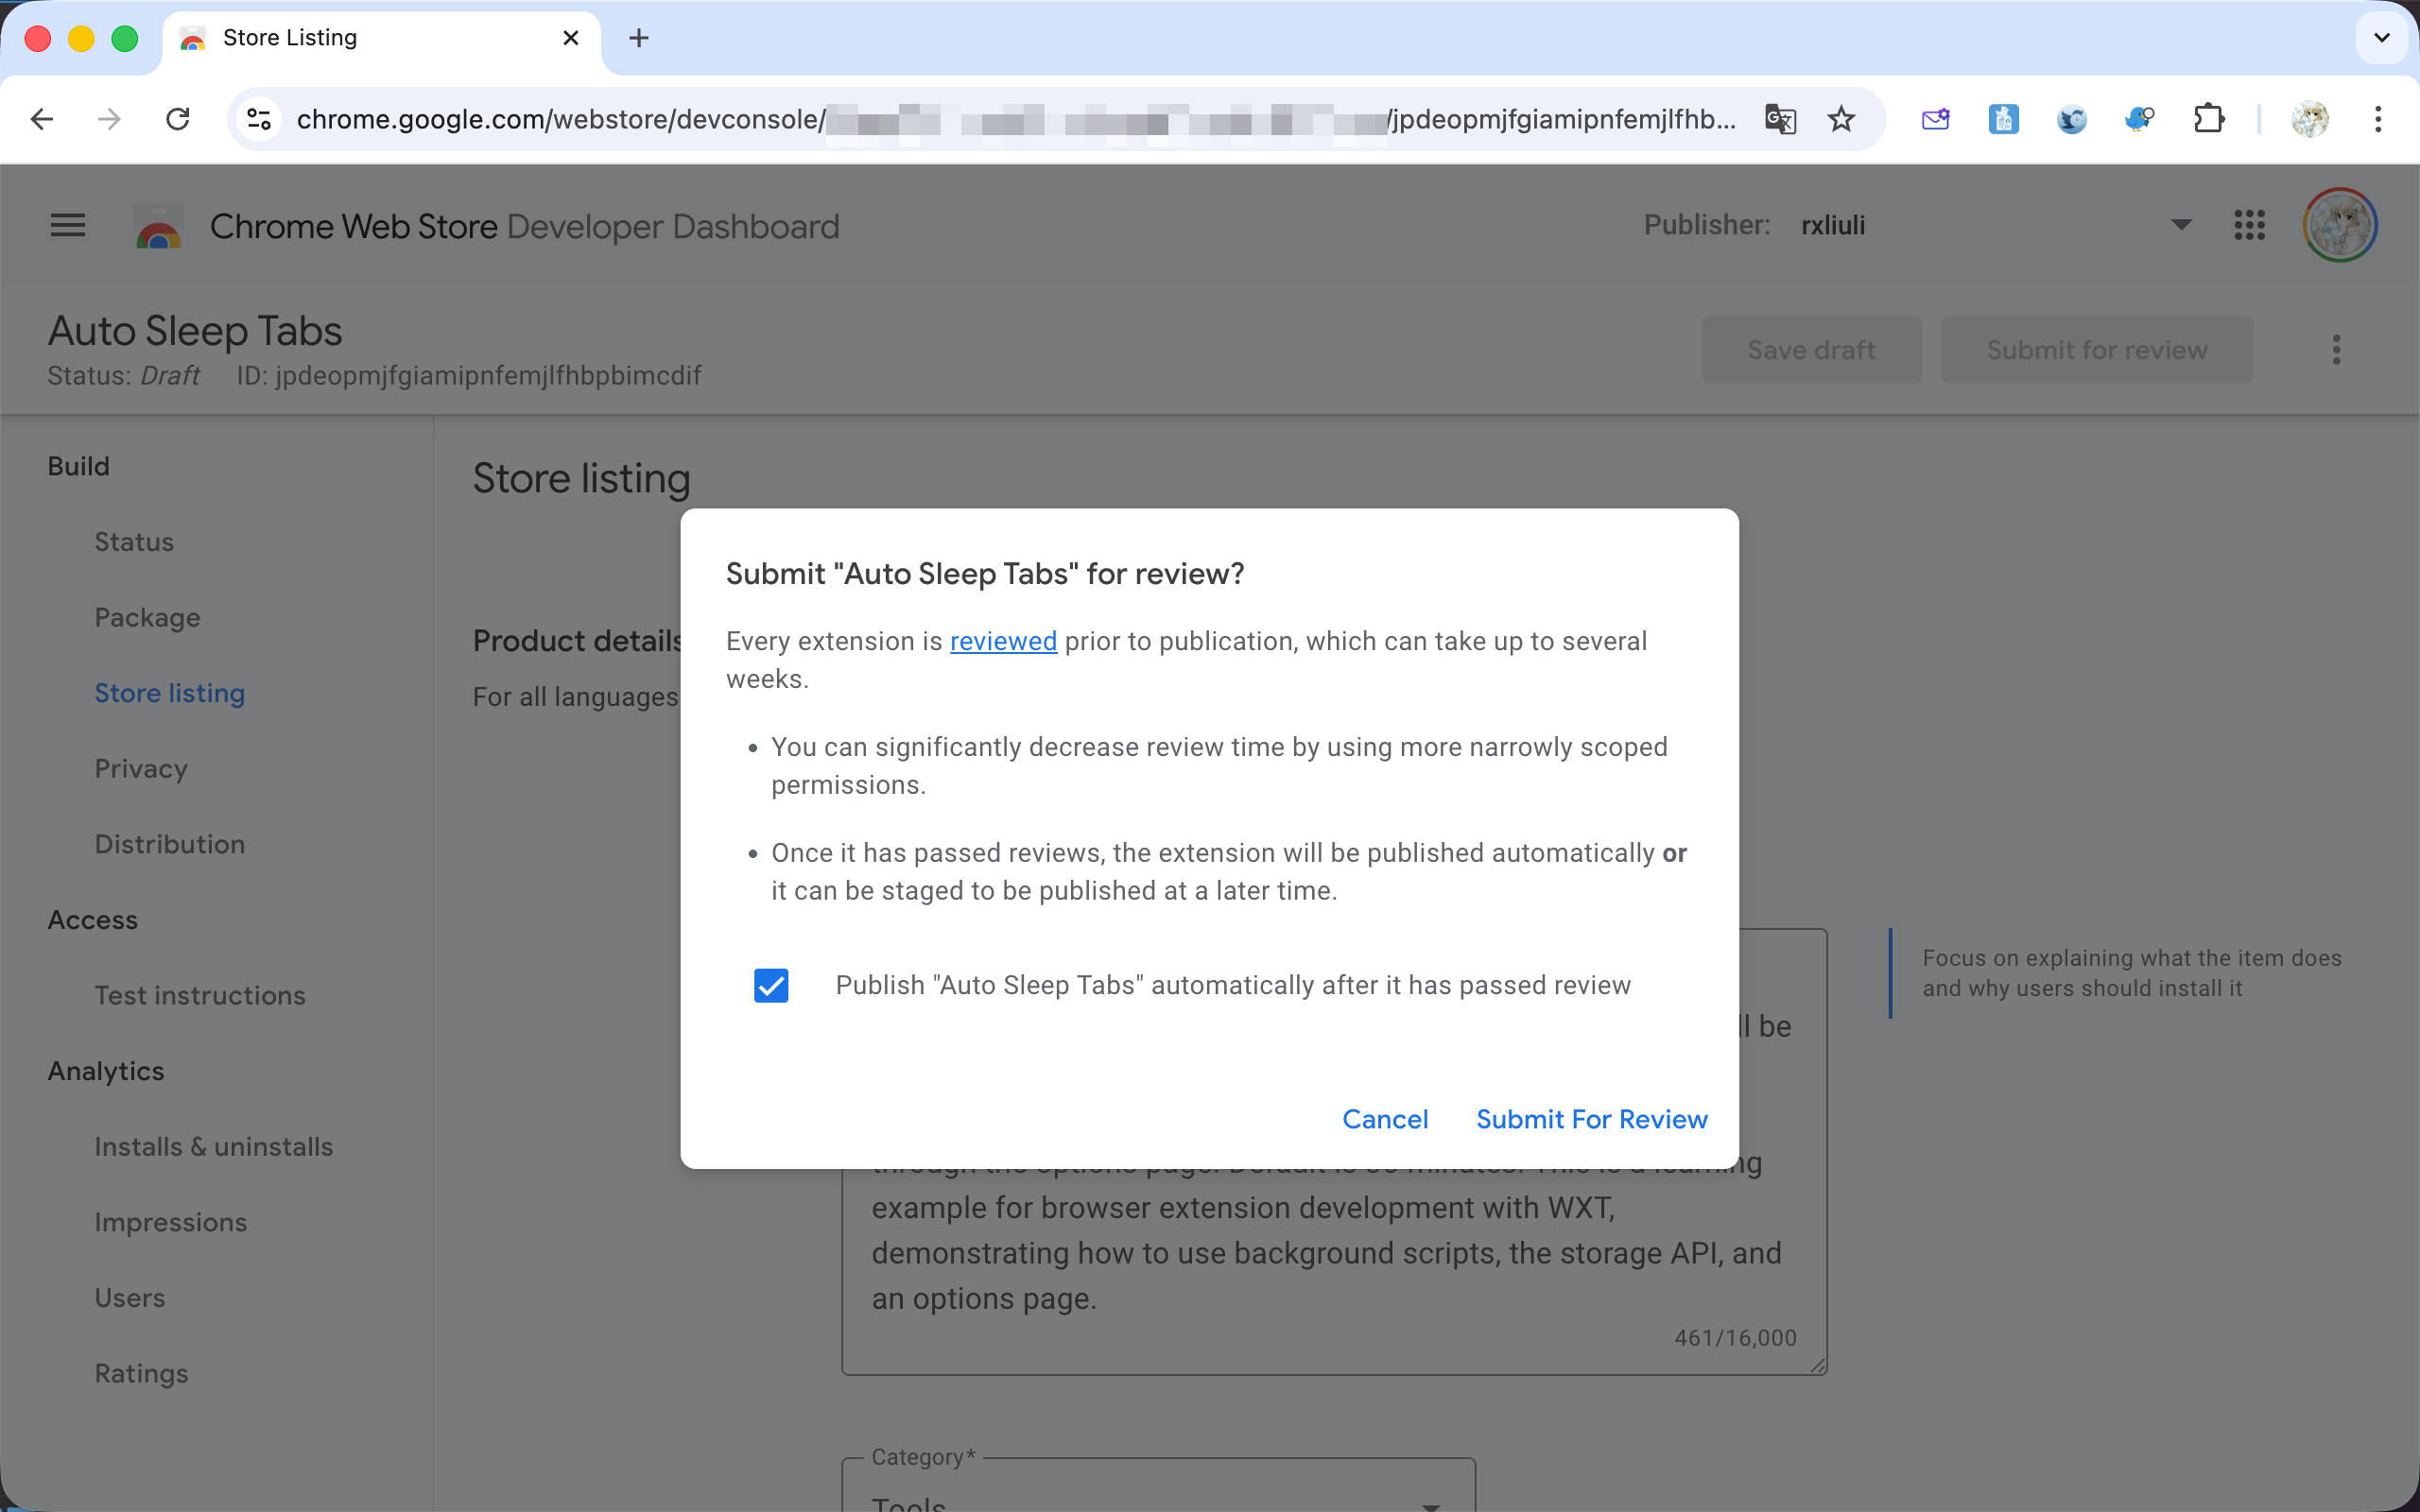
After submission, your extension will enter the review queue. Initial reviews typically take several days or even longer, so please be patient. Extensions using high-risk permissions (such as injecting scripts into all websites) or targeting high-risk websites (yes, I’m talking about YouTube) may require even longer wait times.
Summary
This concludes the basic content on browser extension development. There may be some advanced topics in future bonus chapters, such as internationalization, automated publishing with GitHub Actions, and more.
If you’re also interested in publishing Safari extensions to the App Store, check out my previous blog posts Converting Chrome Extensions to Safari and Publishing Safari Extensions to the iOS App Store. Fair warning: it’s quite complex, and unlike Chrome, there’s no trial period for the developer account. You must 1) have a macOS computer with Xcode and other development tools installed, and 2) set up an App Store developer account and pay $99/year.