
Browser Extension Dev - 05. Storage and Configuration
Introduction
In the previous chapter Browser Extension Dev - 04. Background Script, I introduced the concept and use cases of Background Scripts, and implemented an extension that automatically puts inactive tabs to sleep. In this chapter, I’ll cover how to store data and configuration options in extensions, and provide an options page to access them.
Storage API (Concepts)
Browsers provide the browser.storage API for extensions, allowing you to store key-value data. You can store any data that can be structurally cloned, which is typically sufficient for extension configuration features. Additionally, sometimes localStorage (for Content Scripts) or IndexedDB (when simple key-value storage isn’t enough) are used to store extension settings.
The browser.storage API has several options with consistent interfaces, differing only in storage methods and behaviors:
- storage.local: Local persistent storage
- storage.sync: Syncs across different devices (with serious limitations - only works with the same browser logged into the same account, and Safari doesn’t support sync at all)
- storage.session: Temporary in-memory storage that isn’t persisted and disappears when the browser restarts
- storage.managed: Used in enterprise environments - extension developers typically don’t need to worry about this
Reference Chrome official documentation: https://developer.chrome.com/docs/extensions/reference/api/storage
Options Page (Concepts)
The options page is a dedicated page provided by browsers for extensions, allowing users to adjust extension settings or access extension features in a separate page. Here are two ways to use the options page:
Using the browser’s embedded page directly - compact layout, suitable for fewer configuration options, and is the officially recommended default approach.
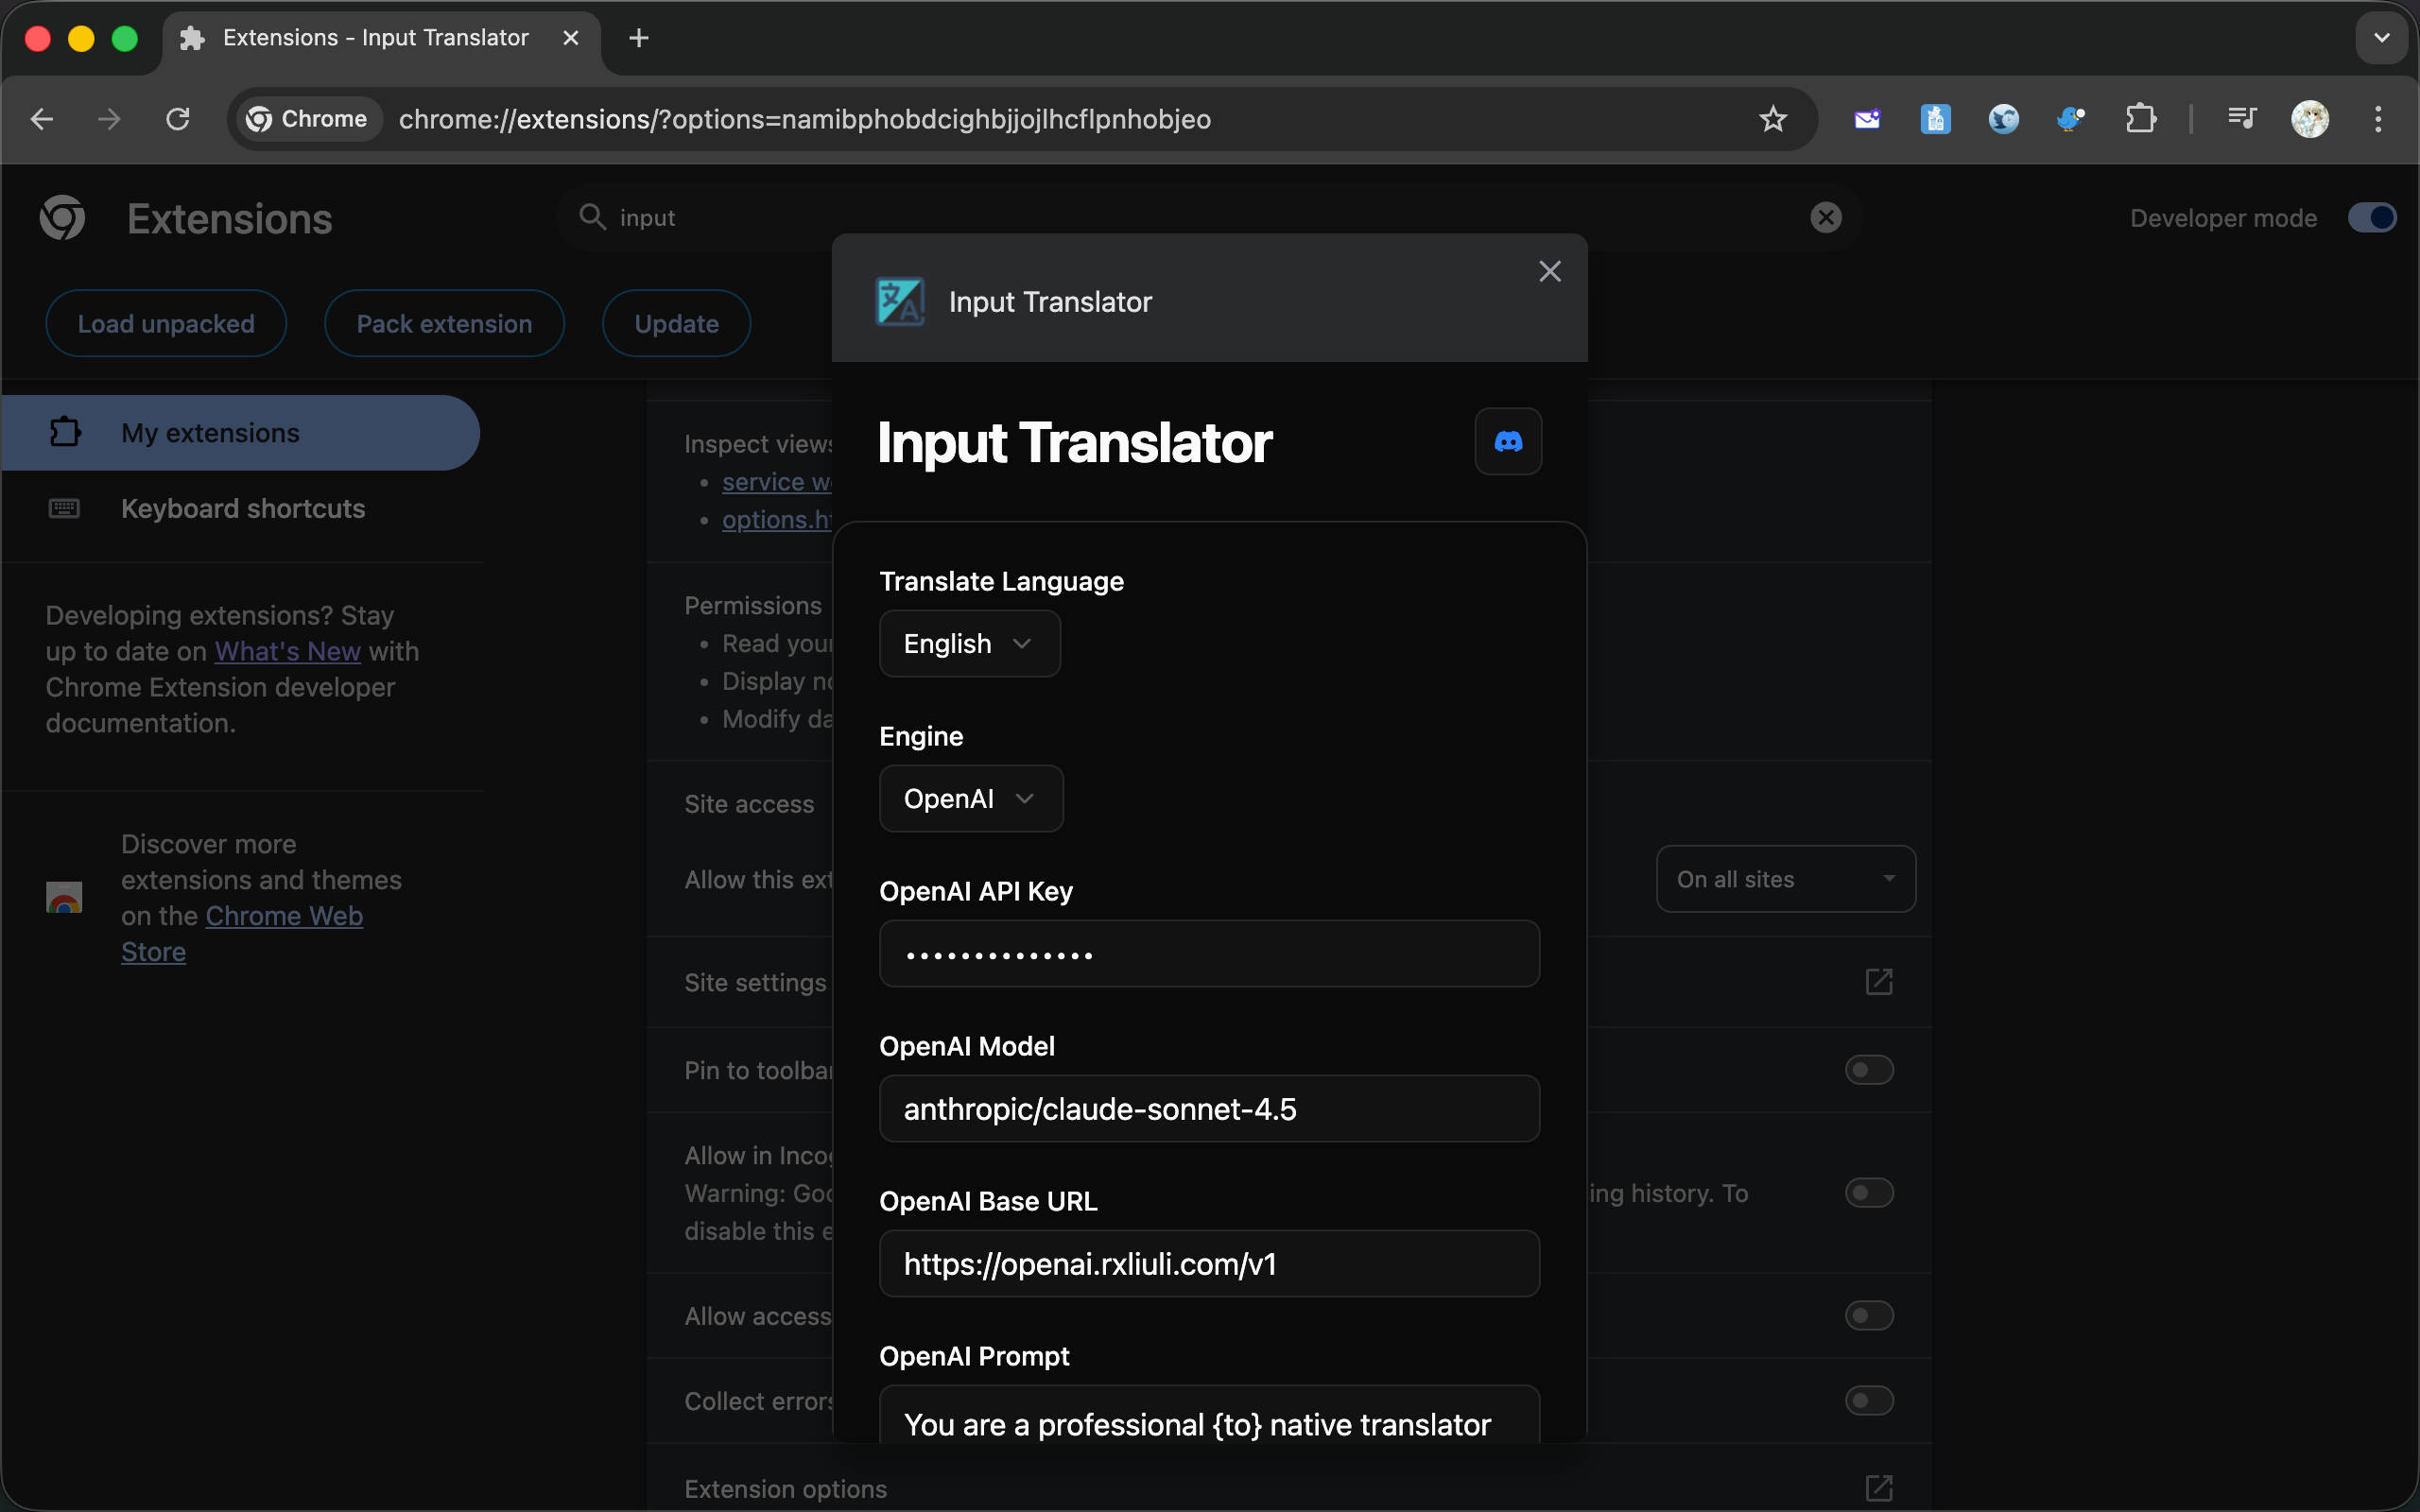
Or opening in a standalone tab - provides more space to display complete configuration or even functionality, but requires additional configuration or code to make it easily accessible to users.
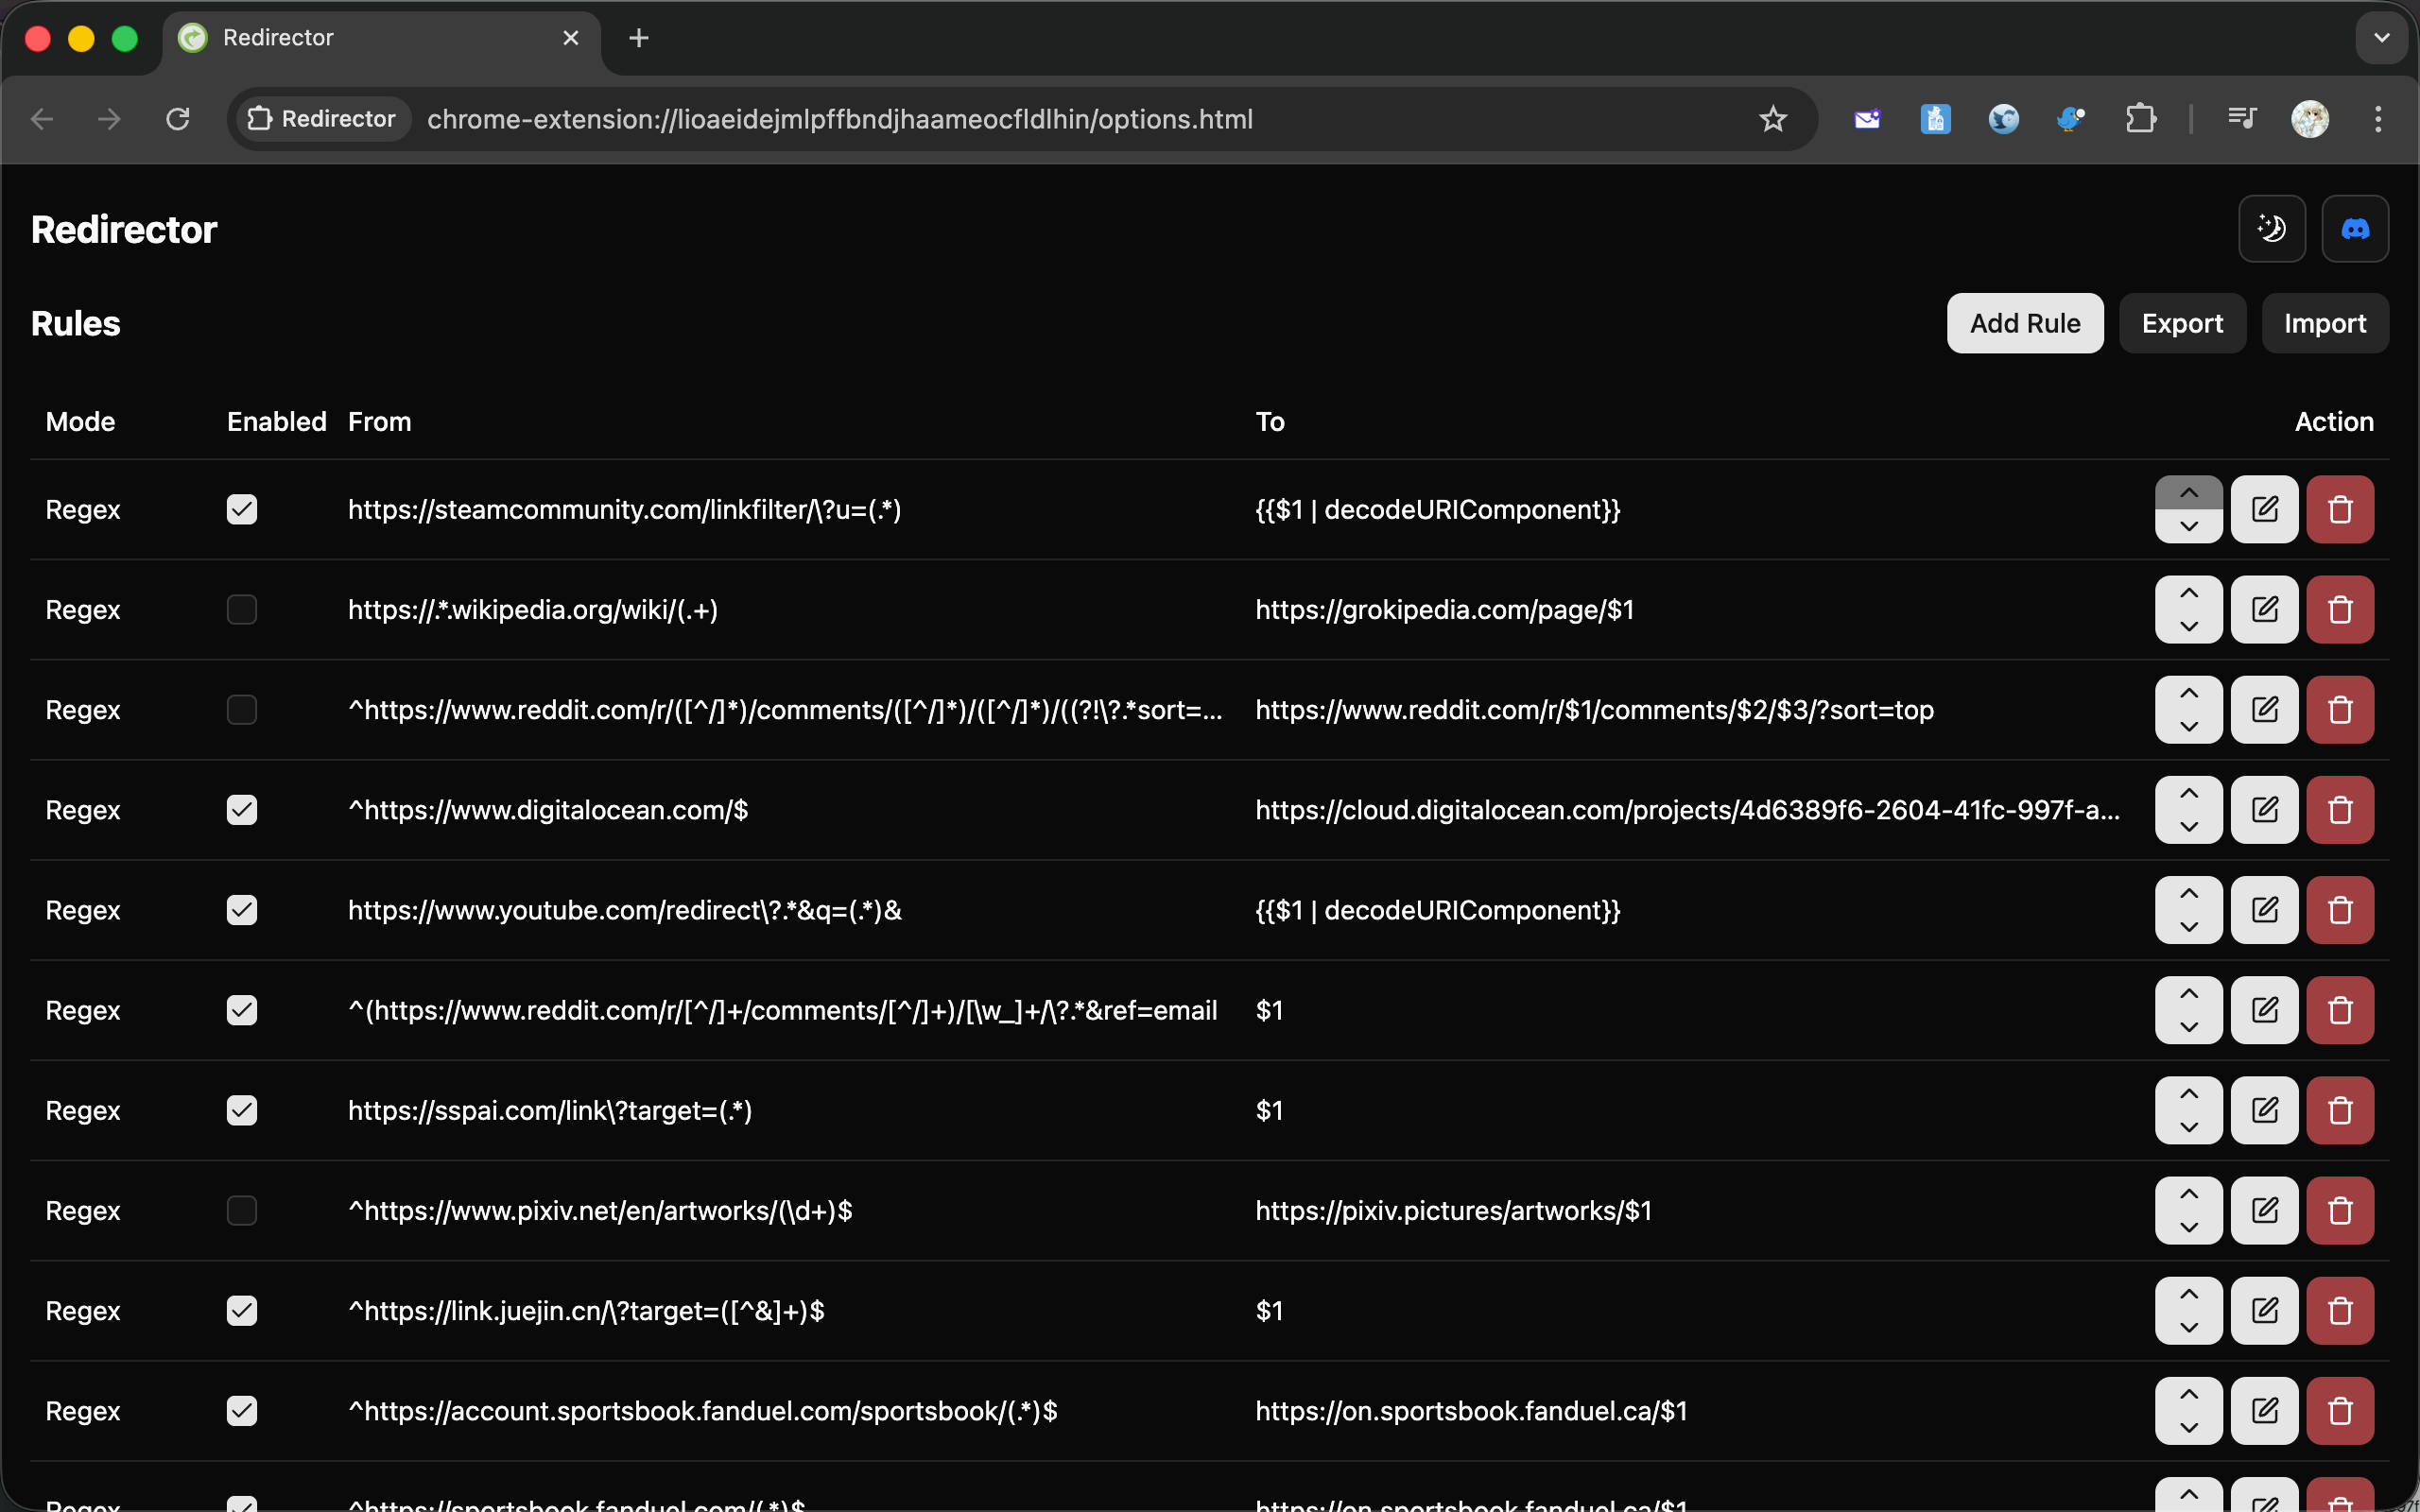
In WXT, you can add a meta tag in options.html to modify this, reference: https://wxt.dev/guide/essentials/entrypoints.html#options
<meta name="manifest.open_in_tab" content="true|false" />There are also two ways to access the extension’s options page:
- Click the extension’s More Options > Options to open it
- Go to the extension’s details page and look for the Extension options button
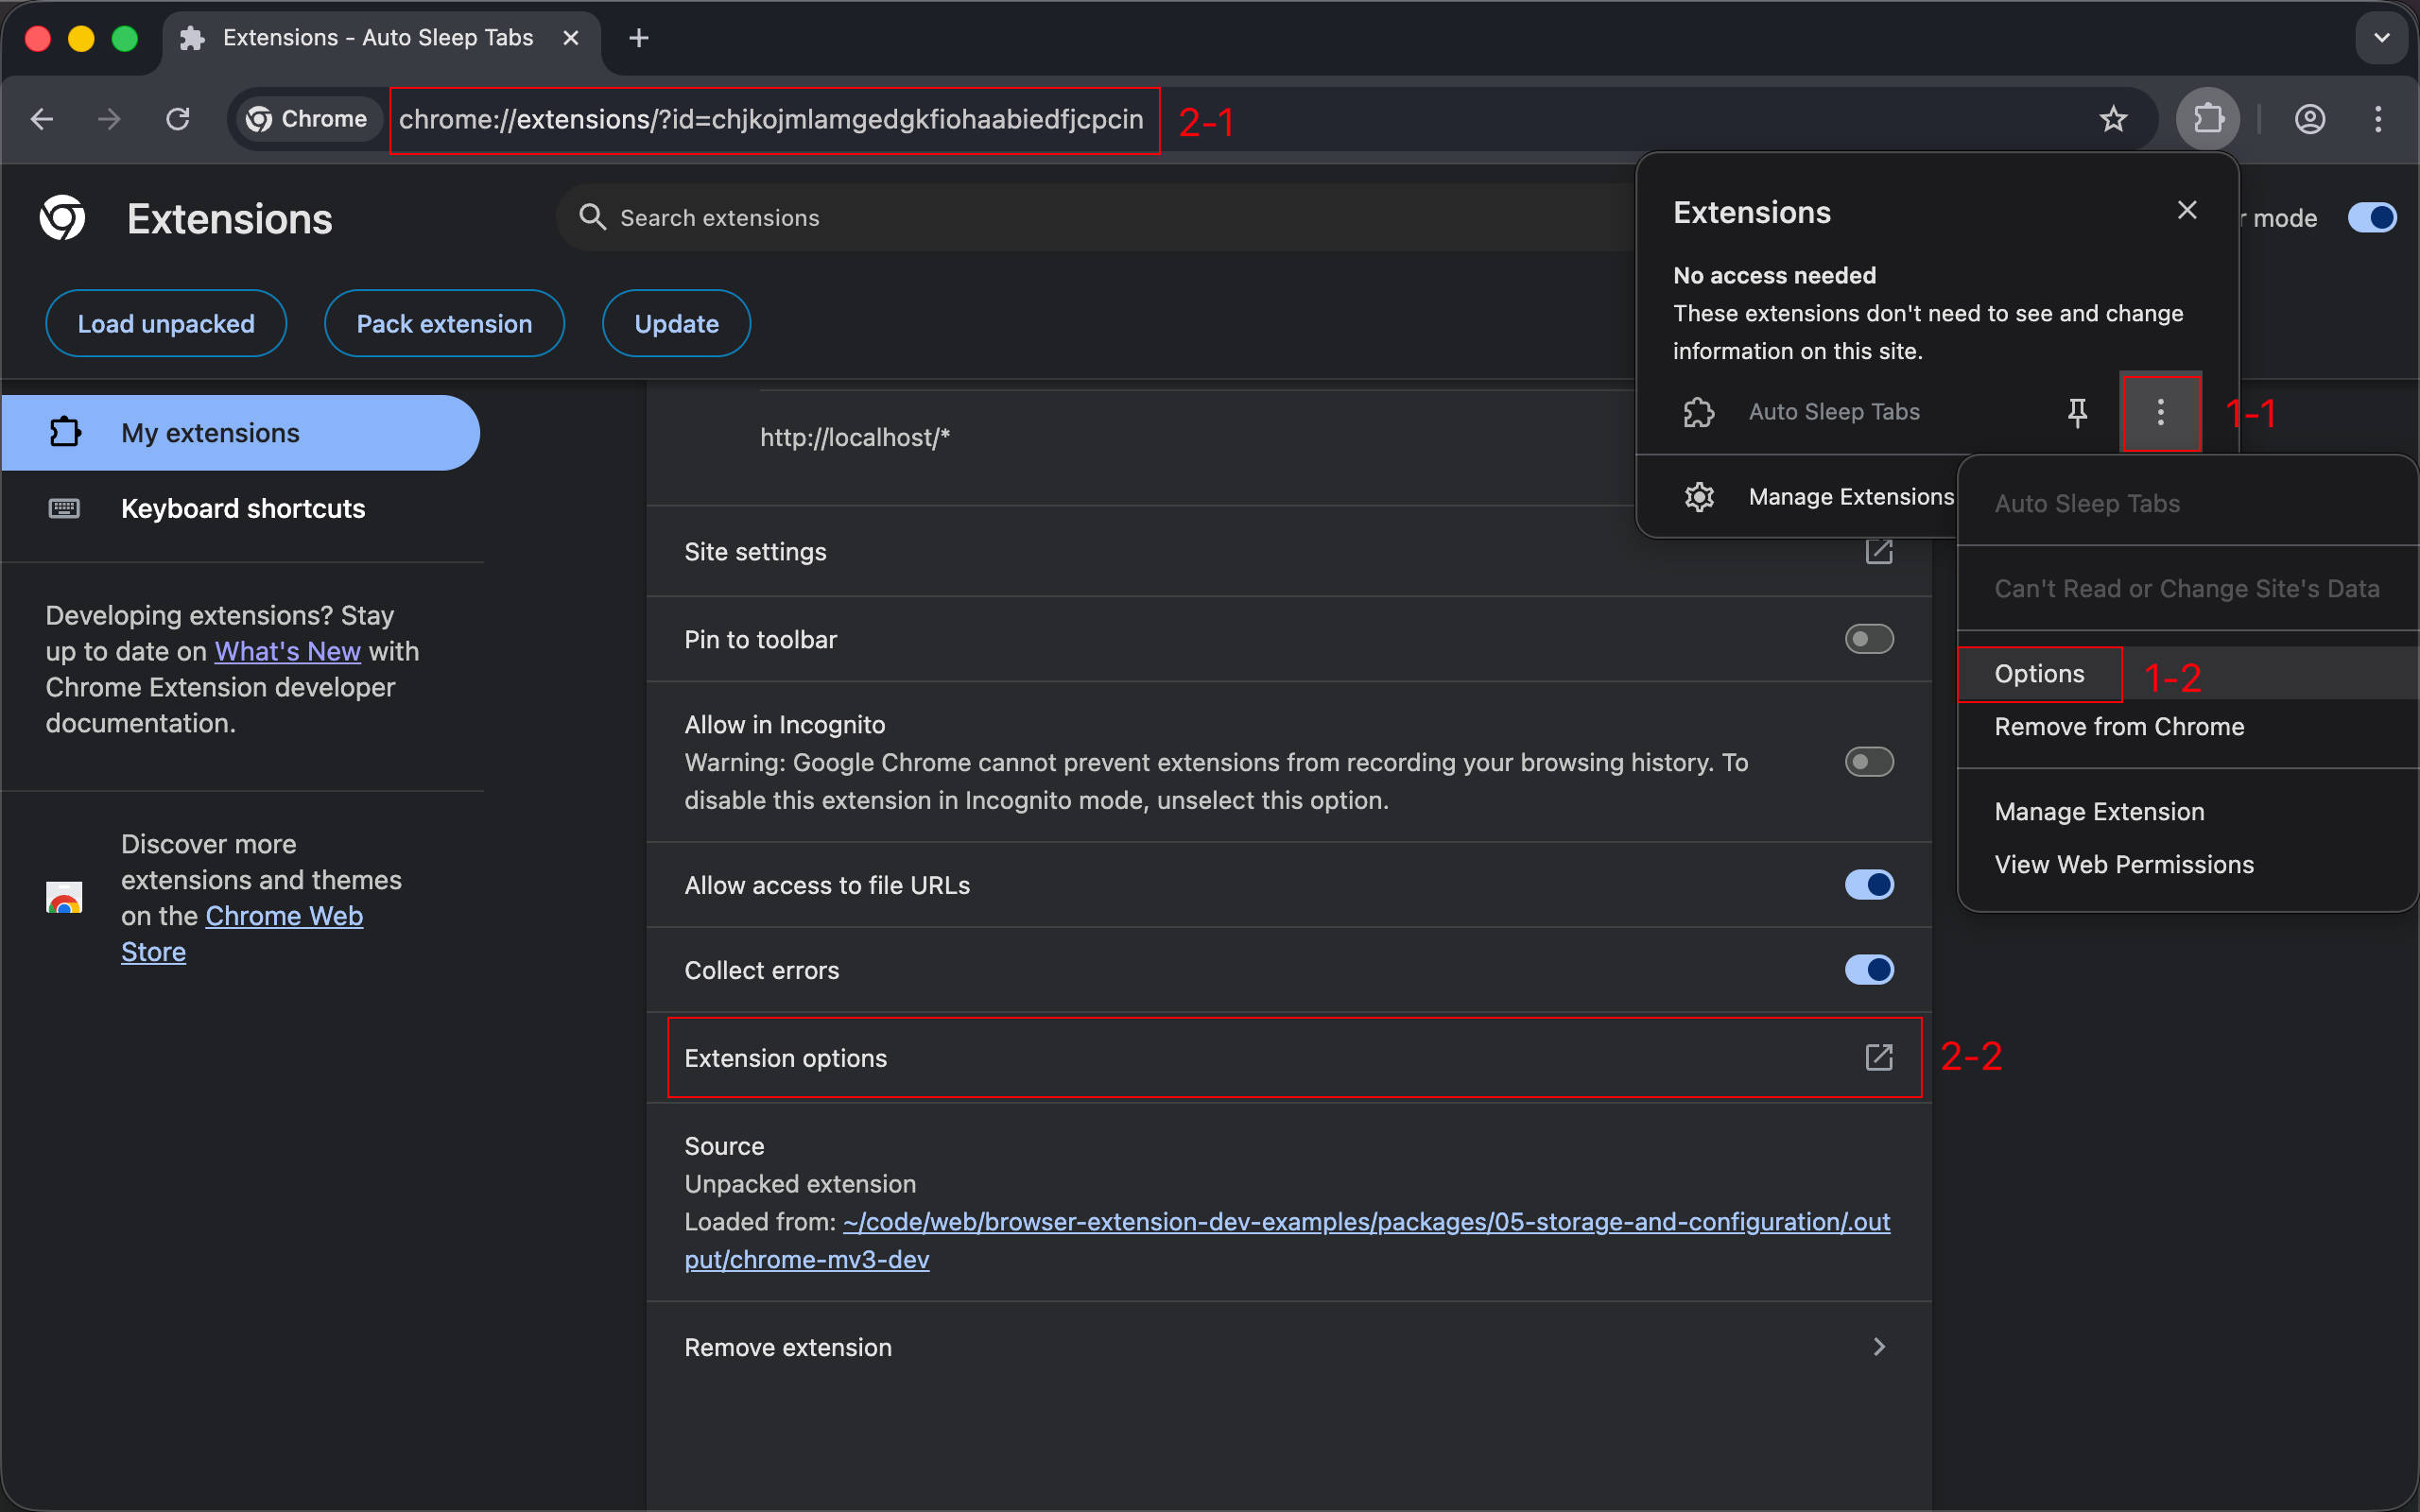
Reference Chrome official documentation: https://developer.chrome.com/docs/extensions/develop/ui/options-page
Implementation
Basic Options Page
In WXT, you need to add an options.html or options/index.html file in the entrypoints directory.
<!-- entrypoints/options/index.html -->
<!doctype html>
<html lang="en">
  <head>
    <meta charset="UTF-8" />
    <meta name="viewport" content="width=device-width, initial-scale=1.0" />
    <title>Options</title>
  </head>
  <body>
    <div>
      <label for="autoSleepInterval">Auto Sleep Interval (minutes):</label>
      <input
        type="number"
        id="autoSleepInterval"
        name="autoSleepInterval"
        min="1"
        value="30"
      />
    </div>
  </body>
</html>
WXT options entrypoint documentation: https://wxt.dev/guide/essentials/entrypoints.html#options
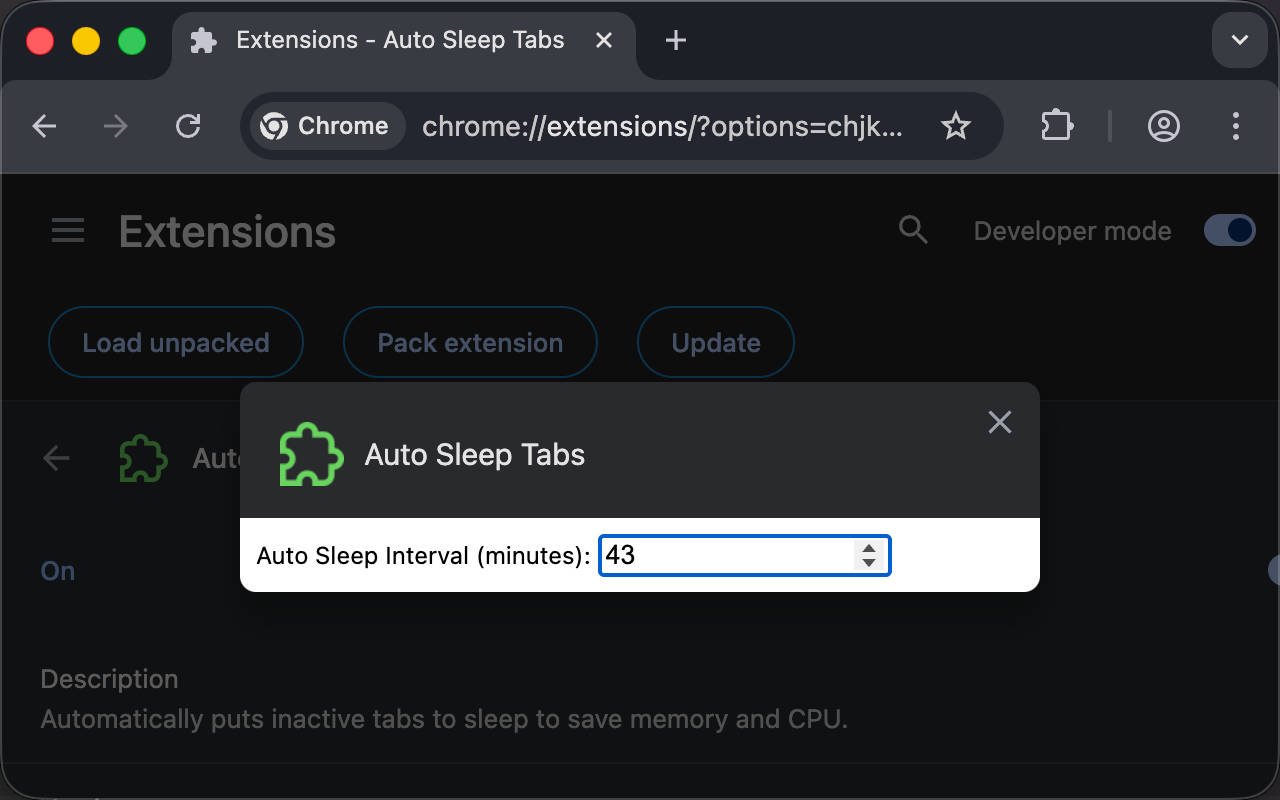
Result:
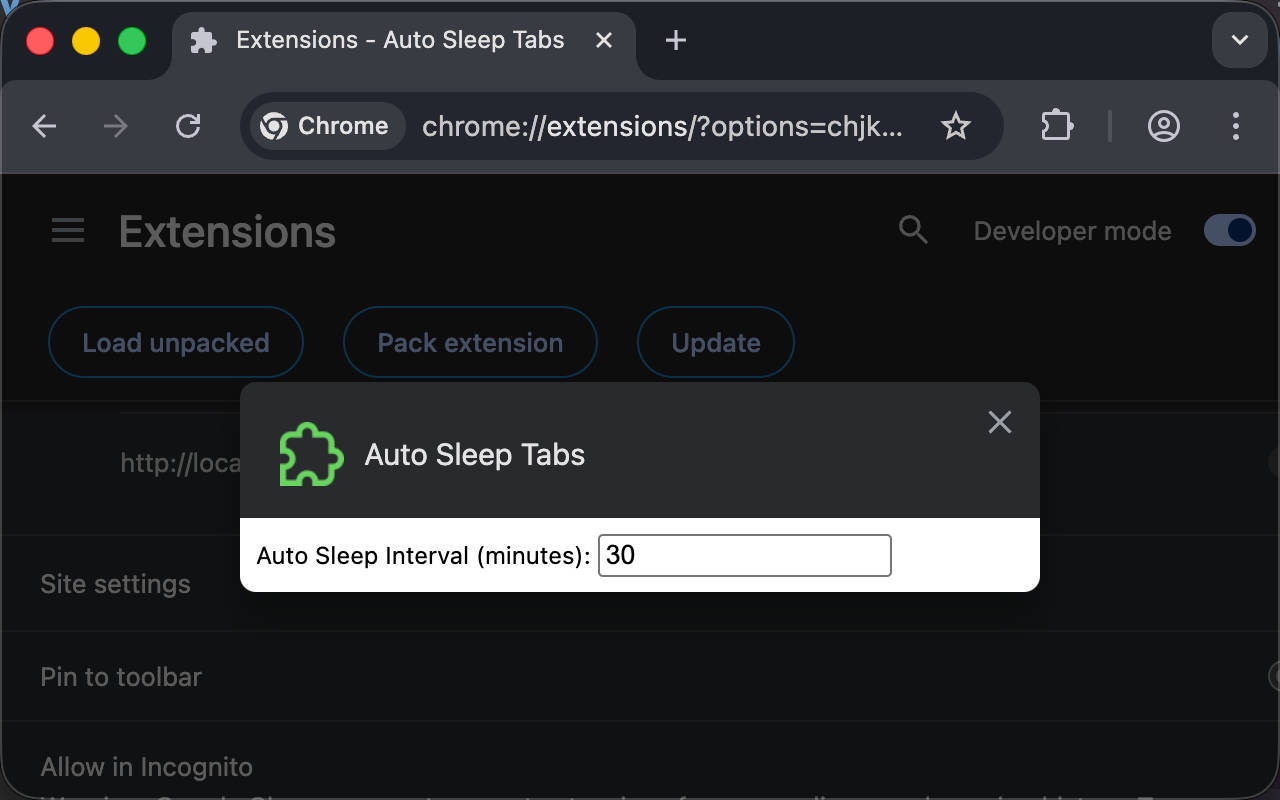
Adding Storage Permission and Implementing Persistence
Create entrypoints/options/main.ts and include it at the end of the body tag in the HTML.
<script type="module" src="./main.ts"></script>// entrypoints/options/main.ts
async function main() {
const input = document.querySelector<HTMLInputElement>('#autoSleepInterval')!
input.value =
(
await browser.storage.local.get<{ autoSleepInterval?: number }>(
'autoSleepInterval',
)
).autoSleepInterval?.toString() ?? '30' // Read saved setting, use default value of 30min if not found
input.addEventListener('input', async (ev) => {
const value = (ev.target as HTMLInputElement).valueAsNumber
// Write to storage.local on every modification, using 'input' instead of 'change' event to avoid missing events if page is refreshed immediately after modification
await browser.storage.local.set({ autoSleepInterval: value })
})
}
main()Open the options page to test, and you’ll find the feature isn’t working. Right-click to open DevTools, and you’ll see the following error in the console:
Uncaught (in promise) TypeError: Cannot read properties of undefined (reading 'local')
    at main (main.ts:3:3)
    at main.ts:15:1
This is because the storage permission is missing. You must declare permissions before using APIs that require them. Modify wxt.config.ts to add the permission:
import { defineConfig } from 'wxt'

export default defineConfig({
  manifestVersion: 3,
  manifest: {
    name: 'Auto Sleep Tabs',
    description:
      'Automatically puts inactive tabs to sleep to save memory and CPU.',
    permissions: ['tabs', 'storage'], // new
  },
  webExt: {
    disabled: true,
  },
})
Now, after modifying the Auto Sleep Interval option value on the page and refreshing, you can see the value has been persisted.
Styling (Tailwind CSS)
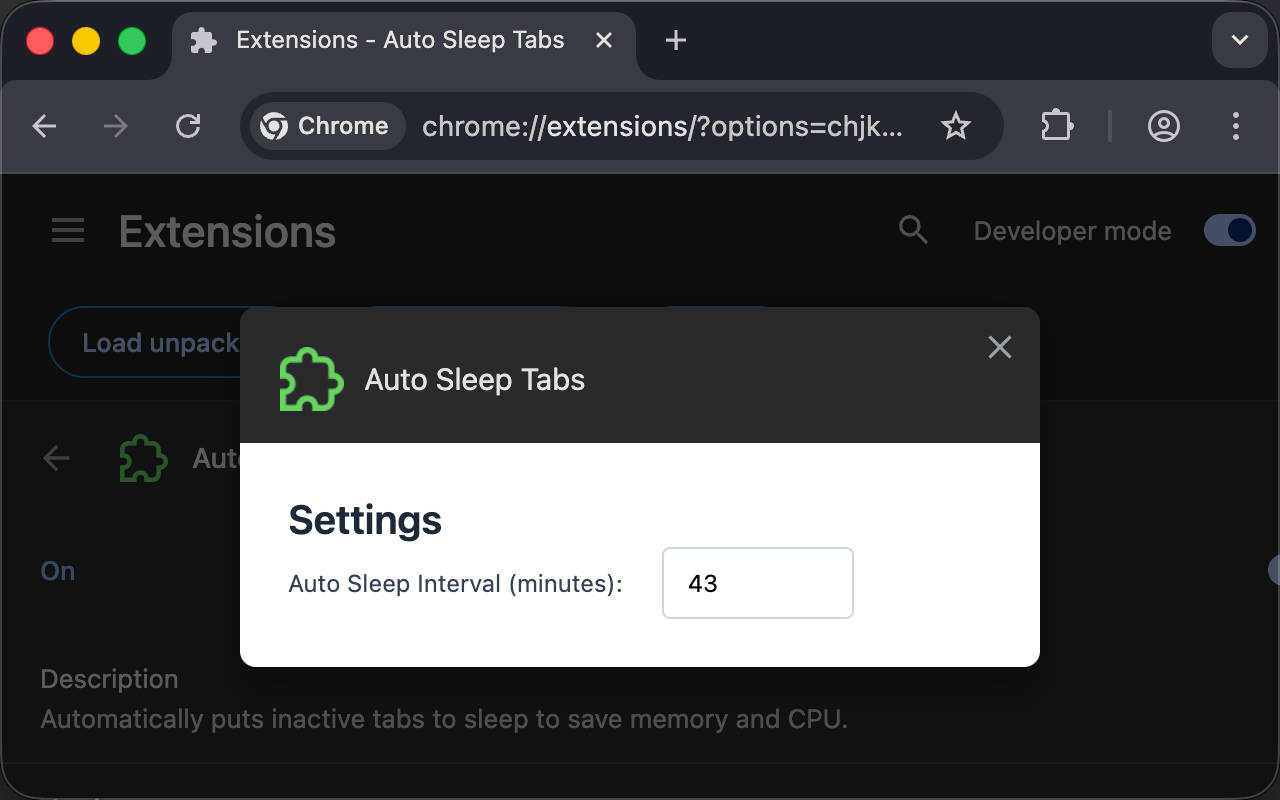
However, the default HTML styling is quite ugly. Let’s add Tailwind CSS with some styling.
Install dependencies:
pnpm install tailwindcss @tailwindcss/viteUpdate the configuration and add the Tailwind CSS plugin.
import { defineConfig } from 'wxt'
import tailwindcss from '@tailwindcss/vite'

export default defineConfig({
  manifestVersion: 3,
  manifest: {
    name: 'Auto Sleep Tabs',
    description:
      'Automatically puts inactive tabs to sleep to save memory and CPU.',
    permissions: ['tabs', 'storage'],
  },
  vite: () => ({
    plugins: [tailwindcss()], // new
  }),
  webExt: {
    disabled: true,
  },
})
Reference: https://tailwindcss.com/docs/installation/using-vite
Then import Tailwind CSS in the HTML and add some styling.
<!doctype html>
<html lang="en">
  <head>
    <meta charset="UTF-8" />
    <meta name="viewport" content="width=device-width, initial-scale=1.0" />
    <title>Options</title>
    <style>
      @import 'tailwindcss';
    </style>
  </head>
  <body>
    <div class="p-6">
      <h1 class="text-xl font-semibold text-gray-800">Settings</h1>
      <div class="space-x-4">
        <label for="autoSleepInterval" class="text-gray-700">
          Auto Sleep Interval (minutes):
        </label>
        <input
          type="number"
          id="autoSleepInterval"
          name="autoSleepInterval"
          min="1"
          value="30"
          class="w-24 px-3 py-2 border border-gray-300 rounded focus:outline-none focus:ring-2 focus:ring-blue-500"
        />
      </div>
    </div>
  </body>
</html>
Now we can see the result looks at least a bit better.
Reading Configuration in Background Script
Change the hardcoded Timeout to read from storage:
// const Timeout = 30 * 60 * 1000
const Timeout =
  ((
    await browser.storage.local.get<{ autoSleepInterval?: number }>(
      'autoSleepInterval',
    )
  ).autoSleepInterval ?? 30) *
  60 *
  1000
If you need to trigger re-detection immediately after modifying configuration, you can also use the storage.onChanged API. Since we’ve already set up listeners to trigger detection when tabs are switched, the following code is just for demonstration.
browser.storage.onChanged.addListener((changes, areaName) => {
  if (areaName === 'local' && changes.autoSleepInterval) {
    console.log(
      'autoSleepInterval changed to',
      changes.autoSleepInterval.newValue,
    )
    autoDiscardTabs()
  }
})
Custom Action to Open Options Page
So far, we’ve been using Chrome’s default methods to open the options page, such as the two methods mentioned above. However, we can also bind clicking the action icon in the browser’s toolbar to open the options page.
First, declare the action option in the manifest in wxt.config.ts - leave it empty for now.
import { defineConfig } from 'wxt'
import tailwindcss from '@tailwindcss/vite'

export default defineConfig({
  manifestVersion: 3,
  manifest: {
    name: 'Auto Sleep Tabs',
    description:
      'Automatically puts inactive tabs to sleep to save memory and CPU.',
    permissions: ['tabs', 'storage'],
    action: {}, // new
  },
  vite: () => ({
    plugins: [tailwindcss()],
  }),
  webExt: {
    disabled: true,
  },
})
Then listen for the browser.action.onClicked event in the background script:
browser.action.onClicked.addListener(async () => {
  await browser.runtime.openOptionsPage()
})
Now, simply clicking the action opens the options page - much more convenient.
Summary
In this chapter, we mainly covered adding an options page and using the Storage API. In the next chapter, we’ll introduce on-demand script injection into web pages, which will be the only extension so far that won’t show any warning messages when installed from the Chrome Web Store.
Complete code: https://github.com/rxliuli/browser-extension-dev-examples/tree/main/packages/05-storage-and-configuration