Browser Extension Dev - 02. Using WXT
What is WXT?

In the first chapter Browser Extension Dev - 01. Introduction to Basic Concepts, I implemented a simple Chrome extension using vanilla JavaScript. Now, I’ll rewrite the extension using WXT. So the question is: what is WXT?
Simply put, WXT is a development framework for browser extensions, just like Vite is a popular framework for web development. In fact, WXT is built on top of Vite, so it can also leverage the Vite plugin ecosystem. In my opinion, this was a great decision.
What Problems Does WXT Solve?
So, what problems can it solve?
- Support for modern frontend development tools like TypeScript, npm, React, etc. — Developers familiar with modern web toolchains will feel right at home. If you don’t like React, you can use Svelte instead; it doesn’t restrict your UI framework choice
- Cross-browser builds, mainly for Chrome, Firefox, and Safari — Yes, it’s very useful for cross-browser extension development. Building multiple dist outputs is effortless, and the APIs provided from the start are designed with cross-browser builds in mind
- Hot reload support for all major web frameworks — You may have noticed that previously, every time you modified the extension, you had to manually refresh it in the browser. WXT makes this unnecessary
- Provides relatively standardized message communication and content script UI injection methods — Making complex injected UI not interfere with the webpage’s original UI is a challenging task
For a more detailed feature comparison, you can refer to the official documentation: https://wxt.dev/guide/resources/compare.html
Initializing the Project
First, let’s initialize a project. Since we won’t be dealing with UI components, we just need to use the vanilla template.
pnpm dlx wxt@latest init 02-use-wxt --template vanilla --pm pnpm
cd 02-use-wxt
pnpm i
Project Structure Overview
Now we have a series of directories and files. Let’s go through them one by one.
wxt.config.ts # Extension entry file, defines manifest and build process, but usually doesn't need modification
entrypoints # Defines different entrypoint files, such as content scripts or background scripts, automatically written to the output extension's manifest
public # Public directory, copied as-is to the final output extension directory, contains the icon directory for extension icons, automatically written to the output extension's manifest
assets # Media assets directory that needs bundling, can be ignored for now
components # Components directory, typically for common components like shadcn, can be ignored for now
package.json
tsconfig.json
Development and Build Process
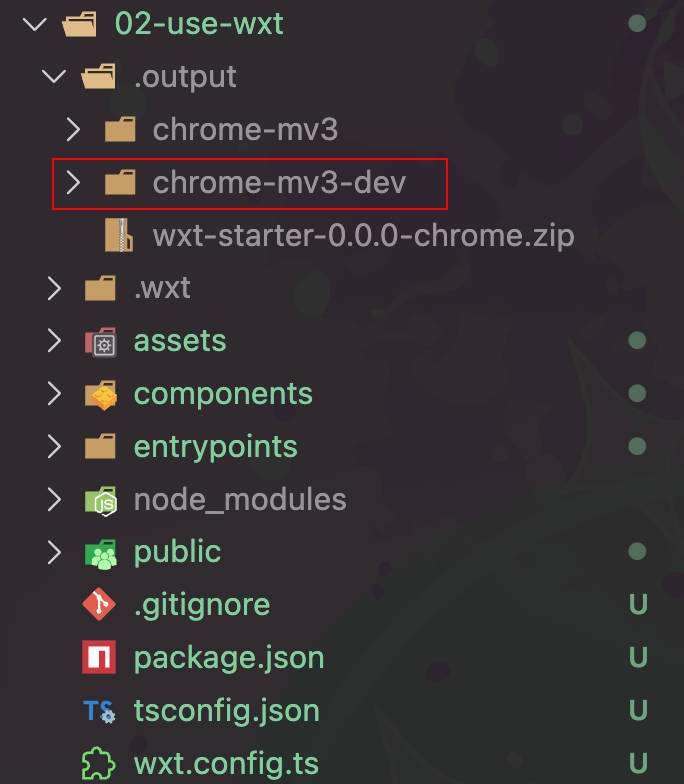
Use pnpm dev to start development mode. The output directory is .output/chrome-mv3-dev. In Chrome, you need to load this directory as the extension directory, not the project root. However, WXT automatically launches a Chrome process and loads the extension, so you don’t need to manually load it.
But if you don’t want Chrome to open automatically, you can configure wxt.config.ts to disable this behavior. This is also necessary when debugging websites that require login.
import { defineConfig } from 'wxt'

export default defineConfig({
  webExt: {
    disabled: true,
  },
})
For those unfamiliar with modern frontend toolchains, development and build code are separate. Unlike earlier times when the JavaScript you wrote was the same JavaScript running on the user’s device, developing extensions with WXT works the same way.
Building
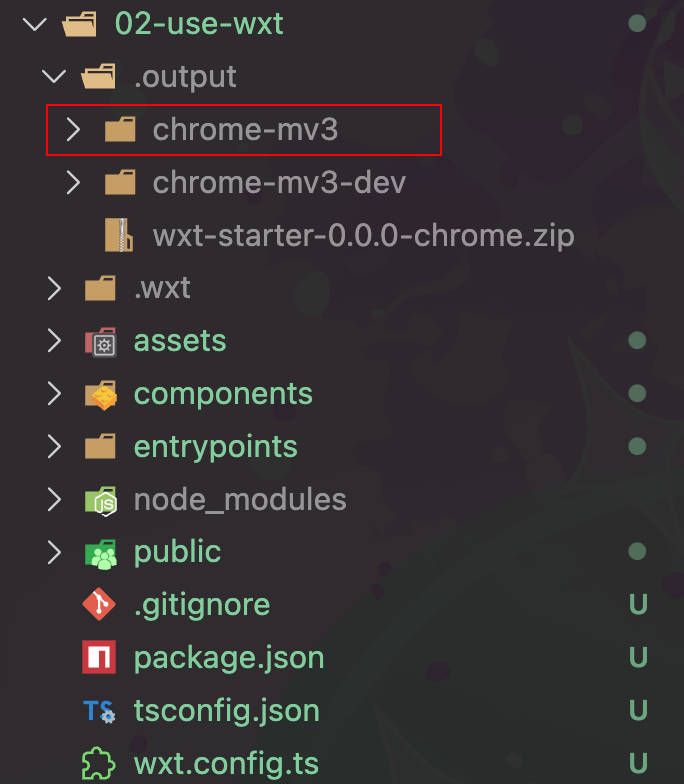
Use pnpm build to start build mode. The output directory is .output/chrome-mv3. Typically, you only need to use the built extension when debugging Firefox or Safari versions.
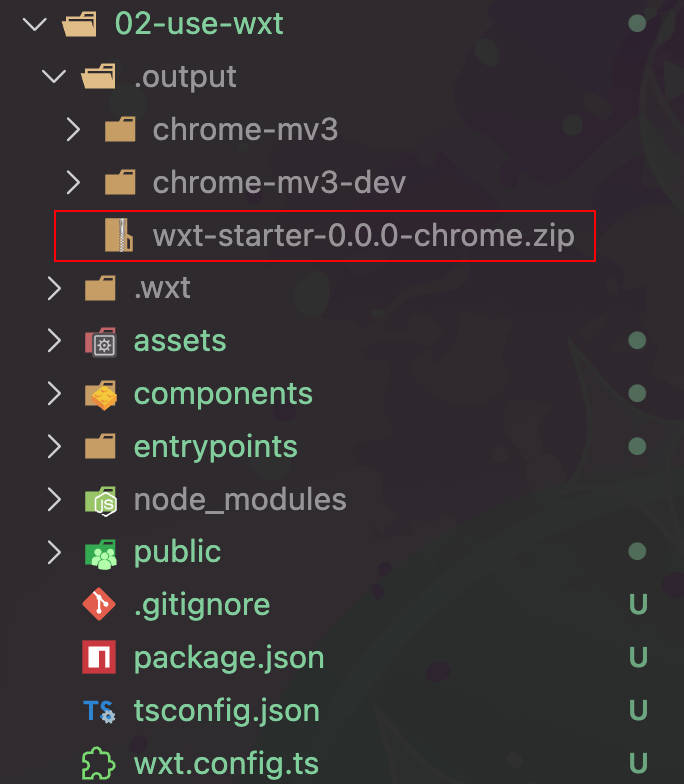
Use pnpm zip to package the extension as a zip file. For Firefox, there will be an additional source file (Firefox AMO requires source code submission with extensions). This is needed when submitting to the Chrome Web Store, so I’ll mention it here.
Implementing the Extension Features
Setting Up the Manifest
After using WXT, many parts of the manifest are no longer needed. They typically become “convention over configuration” and don’t require manual handling. For example, here’s the manifest.json from the previous extension implementation:
{
  "manifest_version": 3,
  "name": "Hide AI Mode on Google Search",
  "version": "0.0.1",
  "description": "Hide the AI Mode button on Google Search pages.",
  "content_scripts": [
    {
      "matches": ["https://www.google.com/"],
      "js": ["content-scripts/content.js"],
      "run_at": "document_start"
    }
  ],
  "icons": {
    "128": "icon/128.png"
  }
}manifest_versionis automatically inferred. Chrome/Safari use v3, while Firefox defaults to v2. However, I still recommend using v3 uniformly to avoid edge cases that need compatibility handlingname/version/descriptioncan be configured in package.json, and they will automatically merge into the output directory’s manifest.json. Since package.json’s name field has case restrictions and may contain package names, I still recommend configuring the name/description fields in wxt.config.tscontent_scripts/iconsfields are completely unnecessary. They are automatically inferred from entrypoints and the public/icon directory
So the updated wxt.config.ts is:
import { defineConfig } from 'wxt'

export default defineConfig({
  manifestVersion: 3,
  manifest: {
    name: 'Hide AI Mode on Google Search',
    version: '0.0.1',
    description: 'Hide the AI Mode button on Google Search pages.',
  },
  // other config...
})
Implementing the Content Script
First, let’s clean up the irrelevant files.
rm -r ./assets ./components ./entrypoints/background.ts ./entrypoints/popup ./public/wxt.svgNext, open the entrypoints/content.ts file. You can see the initial content as follows:
export default defineContentScript({
  matches: ['*://*.google.com/*'],
  main() {
    console.log('Hello content.')
  },
})
Here’s the interesting part: defineContentScript actually defines both the manifest configuration and the actual script execution. This is why we omitted the content_scripts field in wxt.config.ts above. This makes sense - keeping related code and configuration together. After modifying the code and configuration from the previous extension:
export default defineContentScript({
  matches: ['https://www.google.com/'],
  runAt: 'document_start',
  main() {
    const style = document.createElement('style')
    style.textContent =
      'button:has([d="M15.65 11.58c.18-.5.27-1.03.31-1.58h-2c-.1 1.03-.51 1.93-1.27 2.69-.88.87-1.94 1.31-3.19 1.31C7.03 14 5 12.07 5 9.5 5 7.03 6.93 5 9.5 5c.46 0 .89.08 1.3.2l1.56-1.56C11.5 3.22 10.55 3 9.5 3 5.85 3 3 5.85 3 9.5S5.85 16 9.5 16c.56 0 2.26-.06 3.8-1.3l6.3 6.3 1.4-1.4-6.3-6.3c.4-.5.72-1.08.95-1.72z"]) { display: none; }'
    document.documentElement.appendChild(style)
  },
})
For comparison, the previous content script was split between manifest.json and content-scripts/content.js files.
{
  "content_scripts": [
    {
      "matches": ["https://www.google.com/"],
      "js": ["content-scripts/content.js"],
      "run_at": "document_start"
    }
  ]
}
// content-scripts/content.js
const style = document.createElement('style')
style.textContent =
'button:has([d="M15.65 11.58c.18-.5.27-1.03.31-1.58h-2c-.1 1.03-.51 1.93-1.27 2.69-.88.87-1.94 1.31-3.19 1.31C7.03 14 5 12.07 5 9.5 5 7.03 6.93 5 9.5 5c.46 0 .89.08 1.3.2l1.56-1.56C11.5 3.22 10.55 3 9.5 3 5.85 3 3 5.85 3 9.5S5.85 16 9.5 16c.56 0 2.26-.06 3.8-1.3l6.3 6.3 1.4-1.4-6.3-6.3c.4-.5.72-1.08.95-1.72z"]) { display: none; }'
document.documentElement.appendChild(style)As you can see, WXT’s content script is still very intuitive. It just renames underscore fields to camelCase (run_at => runAt). After updating the content script, opening google.com shows that the extension has hot reloaded with our modified code. Extension effect:
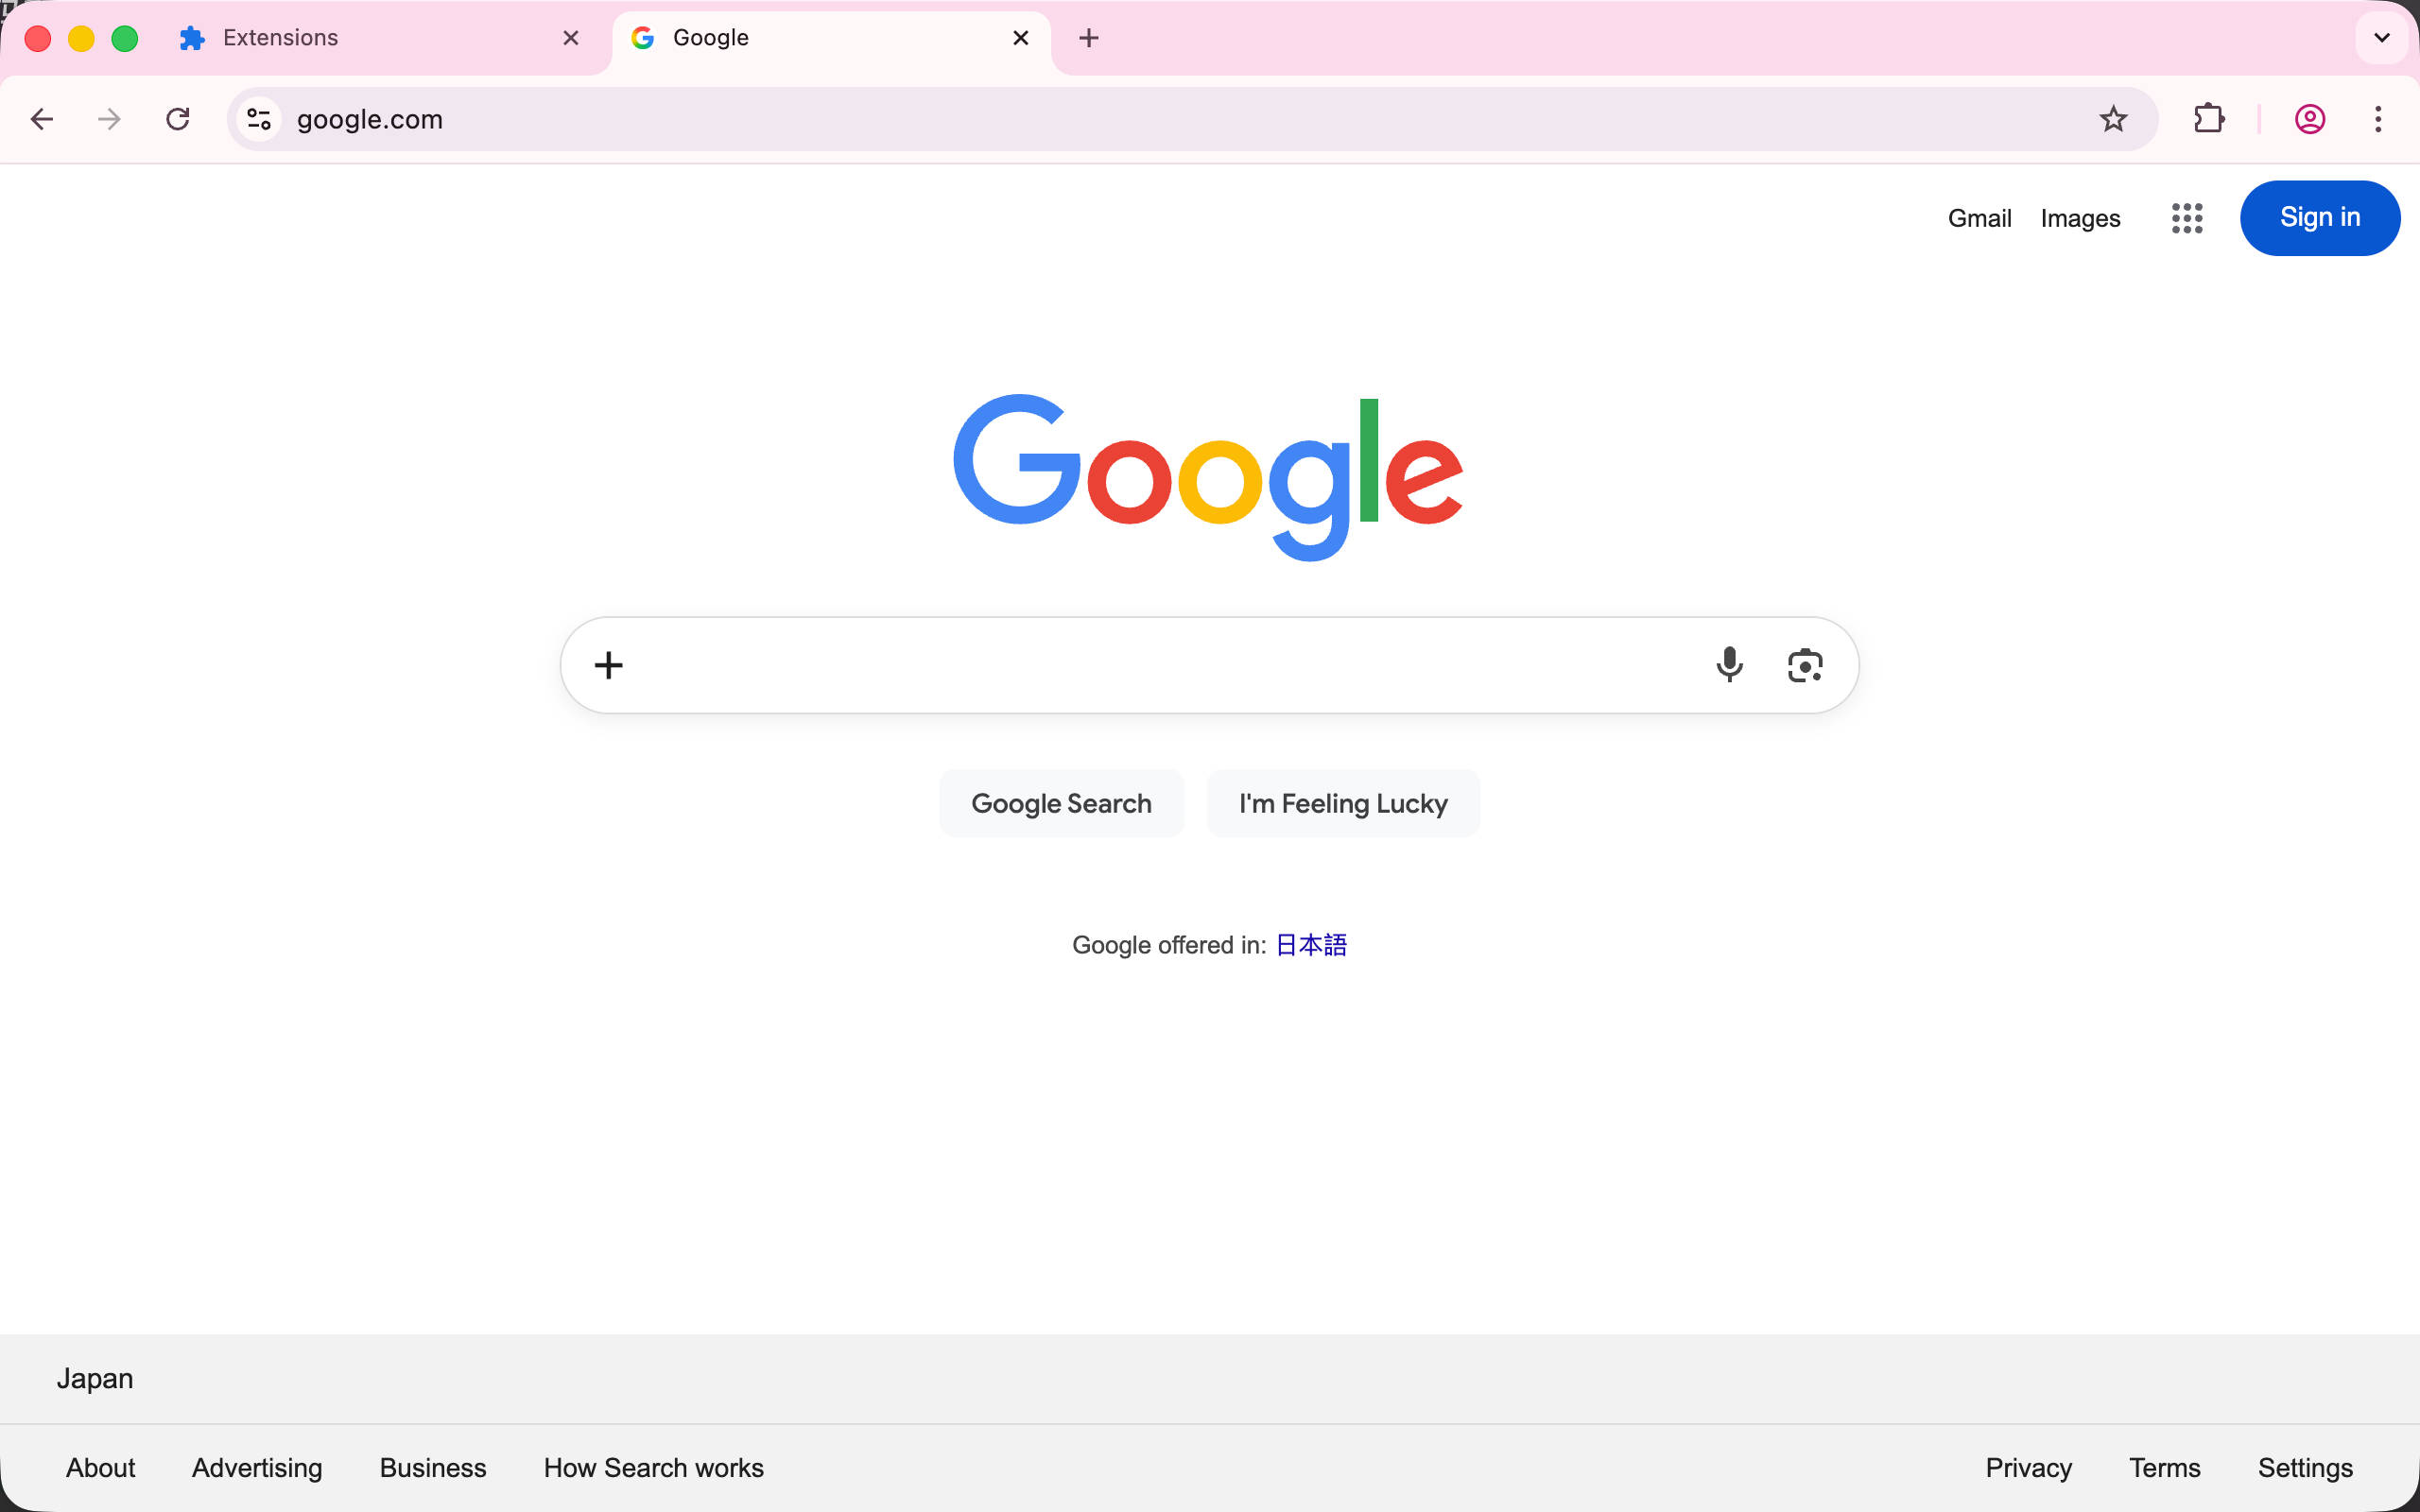
Note: You may notice the flickering issue has returned. This is because WXT dynamically injects content scripts to implement the hot reload mechanism, which makes the
run_at: document_startsetting less effective in development mode. Don’t worry though - it works correctly after building. Reference: https://github.com/wxt-dev/wxt/issues/357
Tip: During development, if you need to view the content script’s console.log output, you need to open DevTools > Console on the google.com webpage (not the extension page).
Adding the Icon
Next, let’s add the extension icon. In WXT, you just need to place the icons in the ./public/icon/ directory. After creating the project, you can see that icons of different sizes are automatically created. These are used to automatically select the appropriate icon when displaying. You can use any tool to generate icons of the appropriate sizes. Here I’ll use ImageMagick as a demonstration.
cd ./public
magick logo.png -resize 16x16 ./icon/16.png
magick logo.png -resize 32x32 ./icon/32.png
magick logo.png -resize 48x48 ./icon/48.png
magick logo.png -resize 96x96 ./icon/96.png
magick logo.png -resize 128x128 ./icon/128.png
If you prefer a visual tool, you can also use https://squoosh.app/ to resize images. Alternatively, you can use WXT’s official icon module https://wxt.dev/auto-icons for automatic generation.
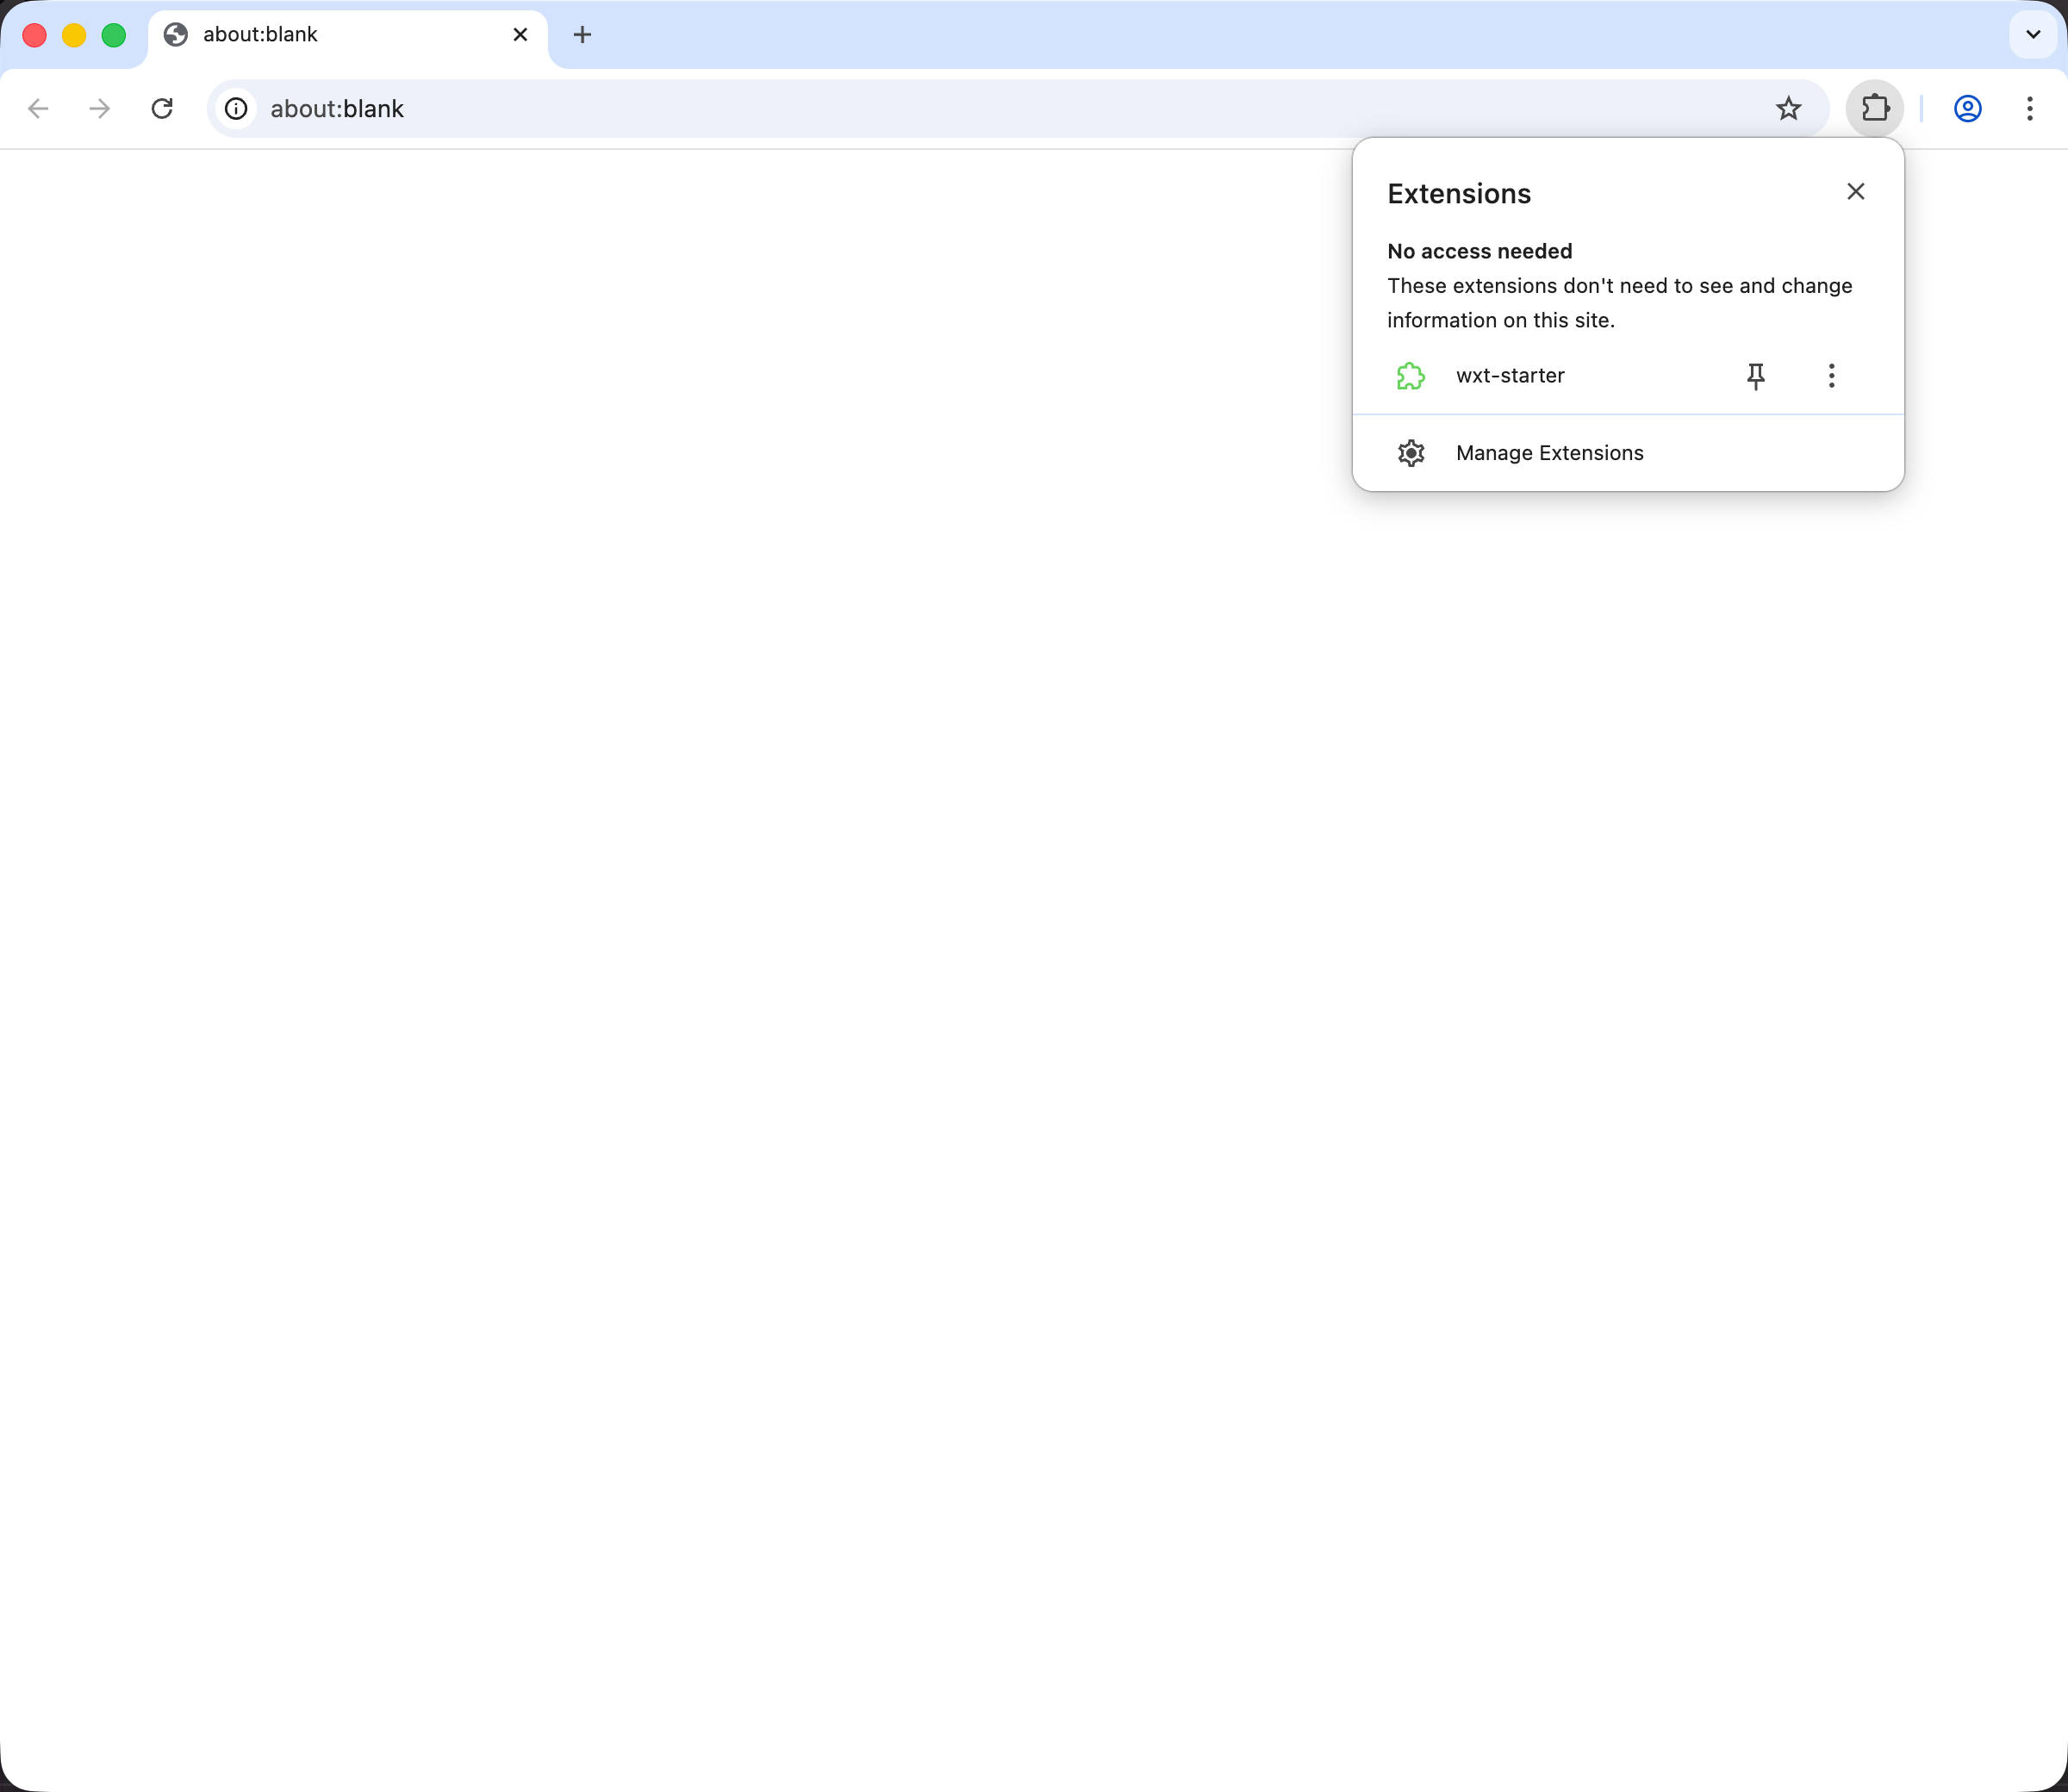
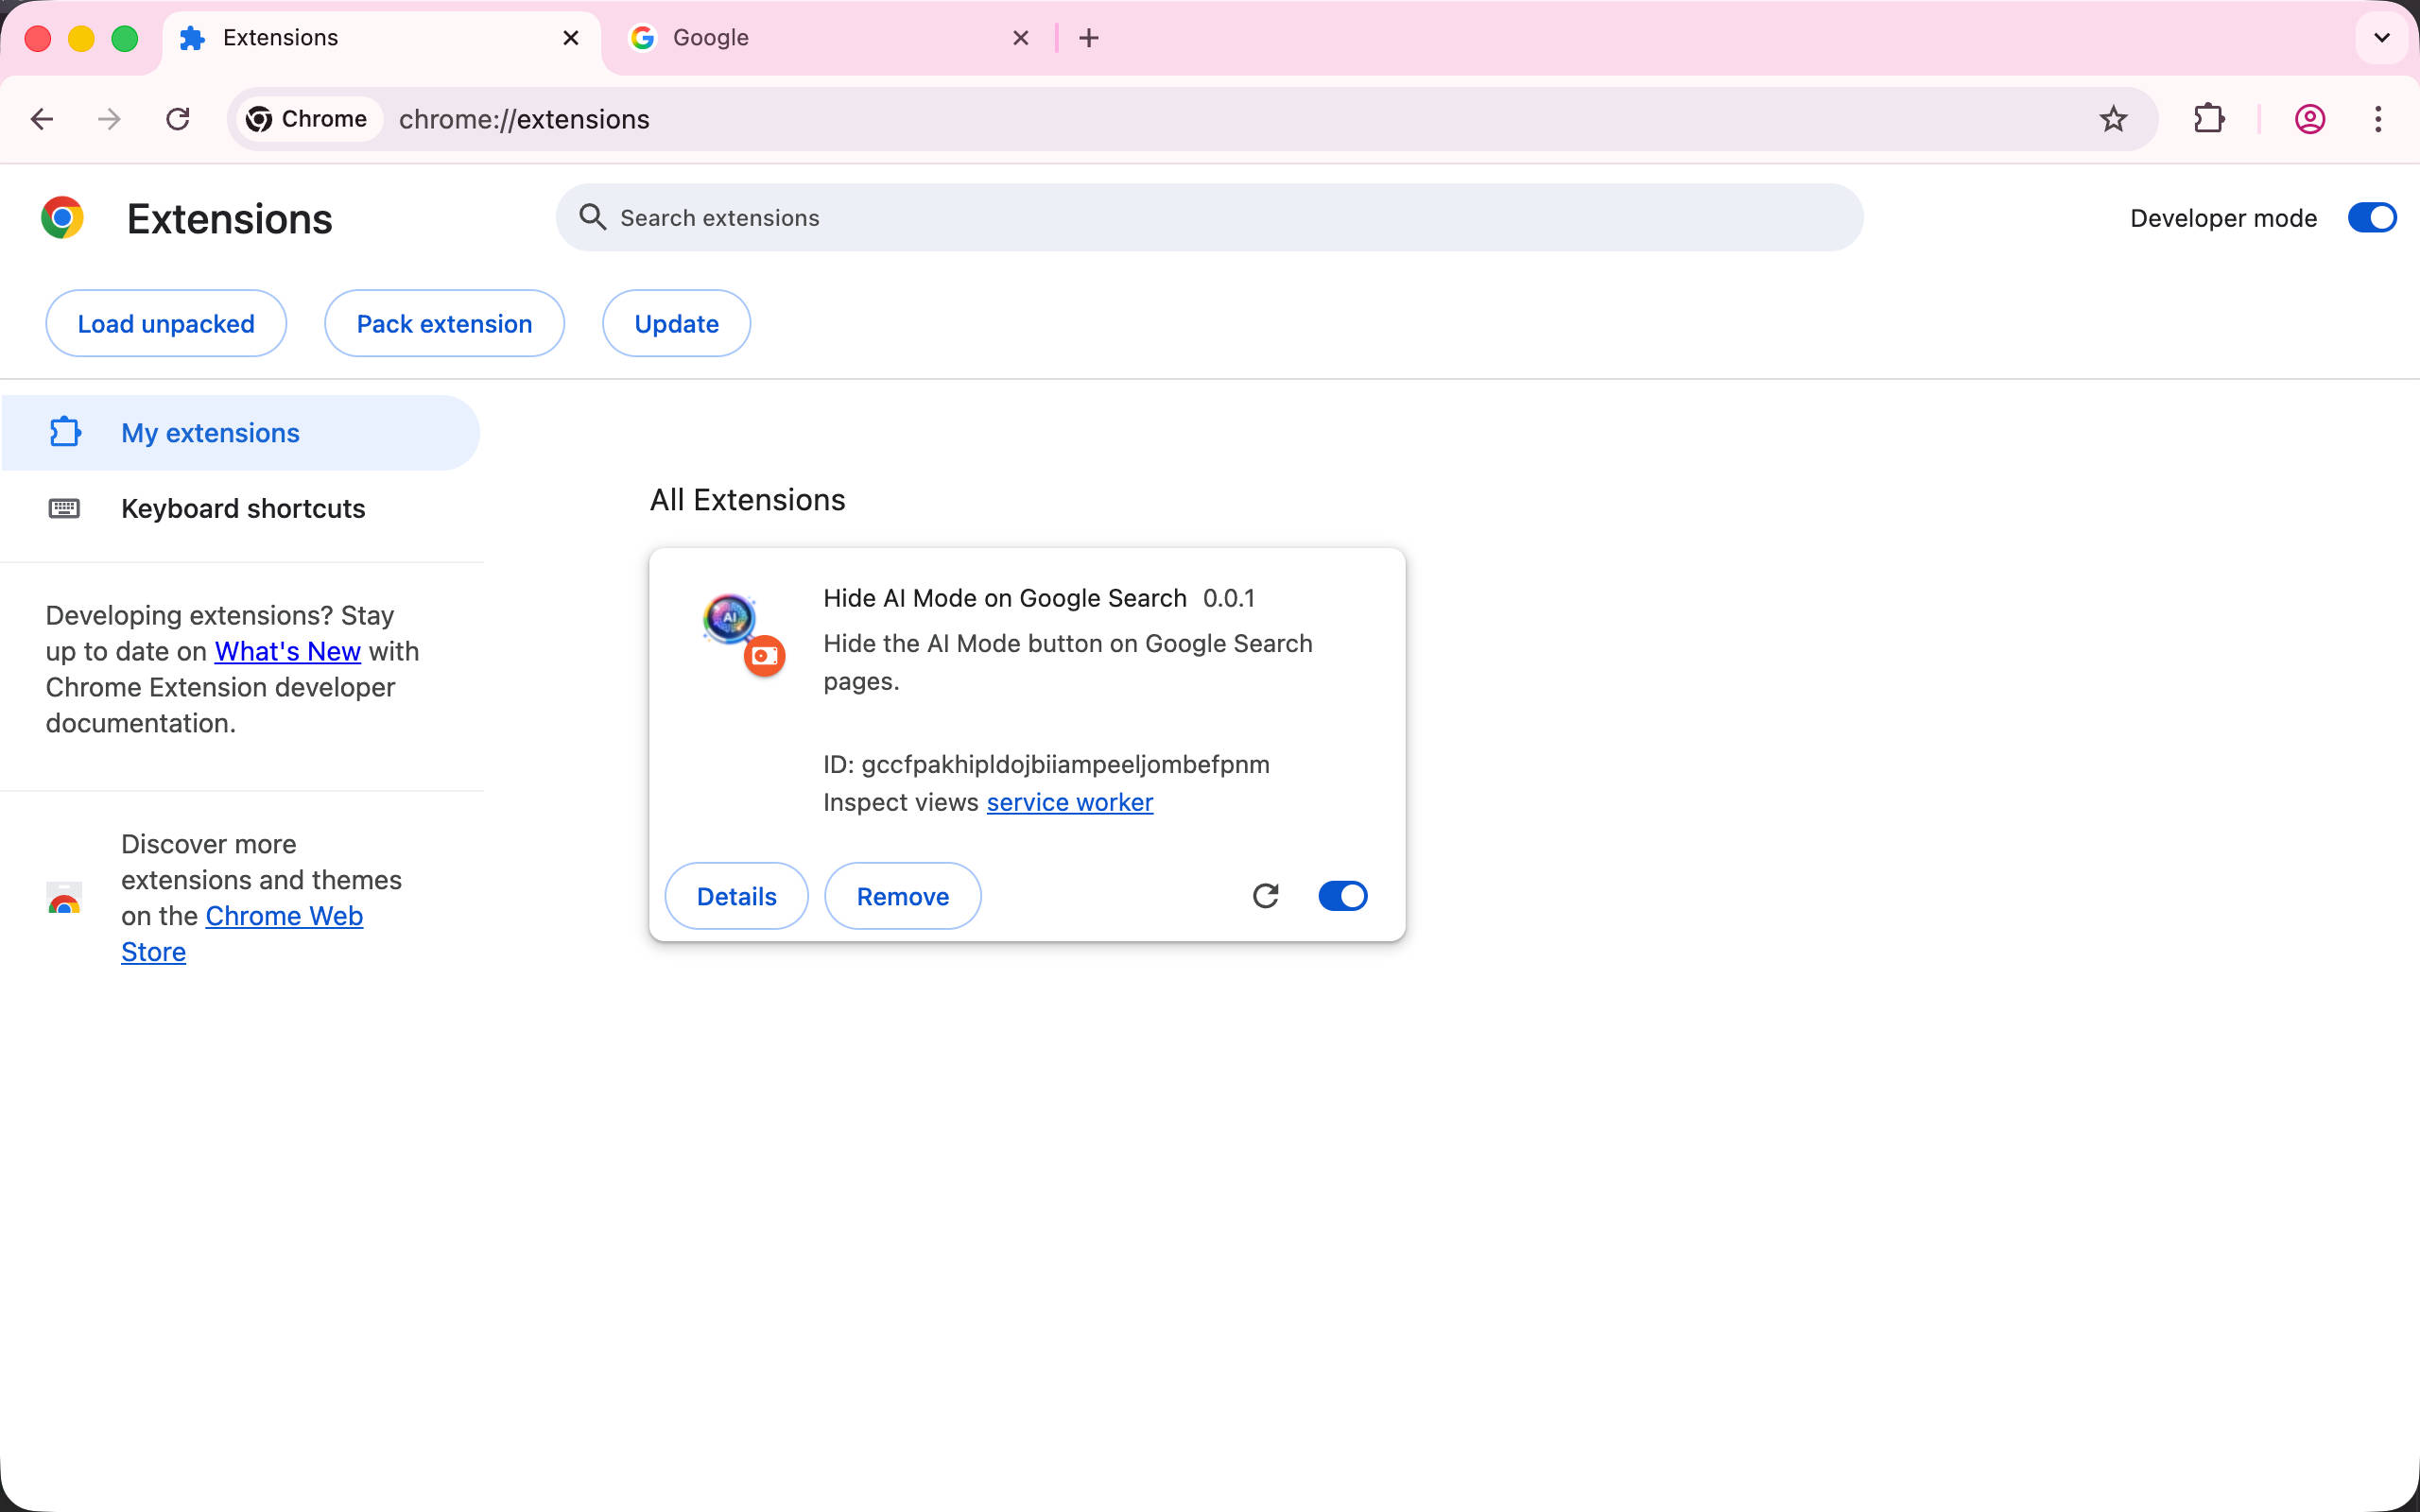
Go back to the browser extension management page, and you can see the icon has been correctly recognized.
Summary
Now we’ve completed our first extension implemented with WXT. What do you think? In the next chapter, we’ll use modern web frameworks and npm packages to inject UI into web pages and implement more complex features.
Complete code: https://github.com/rxliuli/browser-extension-dev-examples/tree/main/packages/02-use-wxt
References
WXT Official Website https://wxt.dev/