
Automating Safari Extension Publishing with GitHub Actions
Background
I’ve previously written two blog posts about Safari extensions: Converting Chrome Extensions to Safari and Publishing Safari Extensions to the iOS App Store. Those posts solved the “how do I get this working the first time” problem. But as I’ve accumulated more and more Safari extensions, the manual release process for each one has become increasingly unbearable: open Xcode, bump the version number, Archive, Validate, Distribute, then open App Store Connect to pick the bundle, fill in release notes, and click submit — at least ten minutes per extension, with no room for mistakes.
This post describes my current release process: bump version in package.json, push to GitHub, and that’s it. Building, signing, uploading, and submitting for review all happen automatically in GitHub Actions.
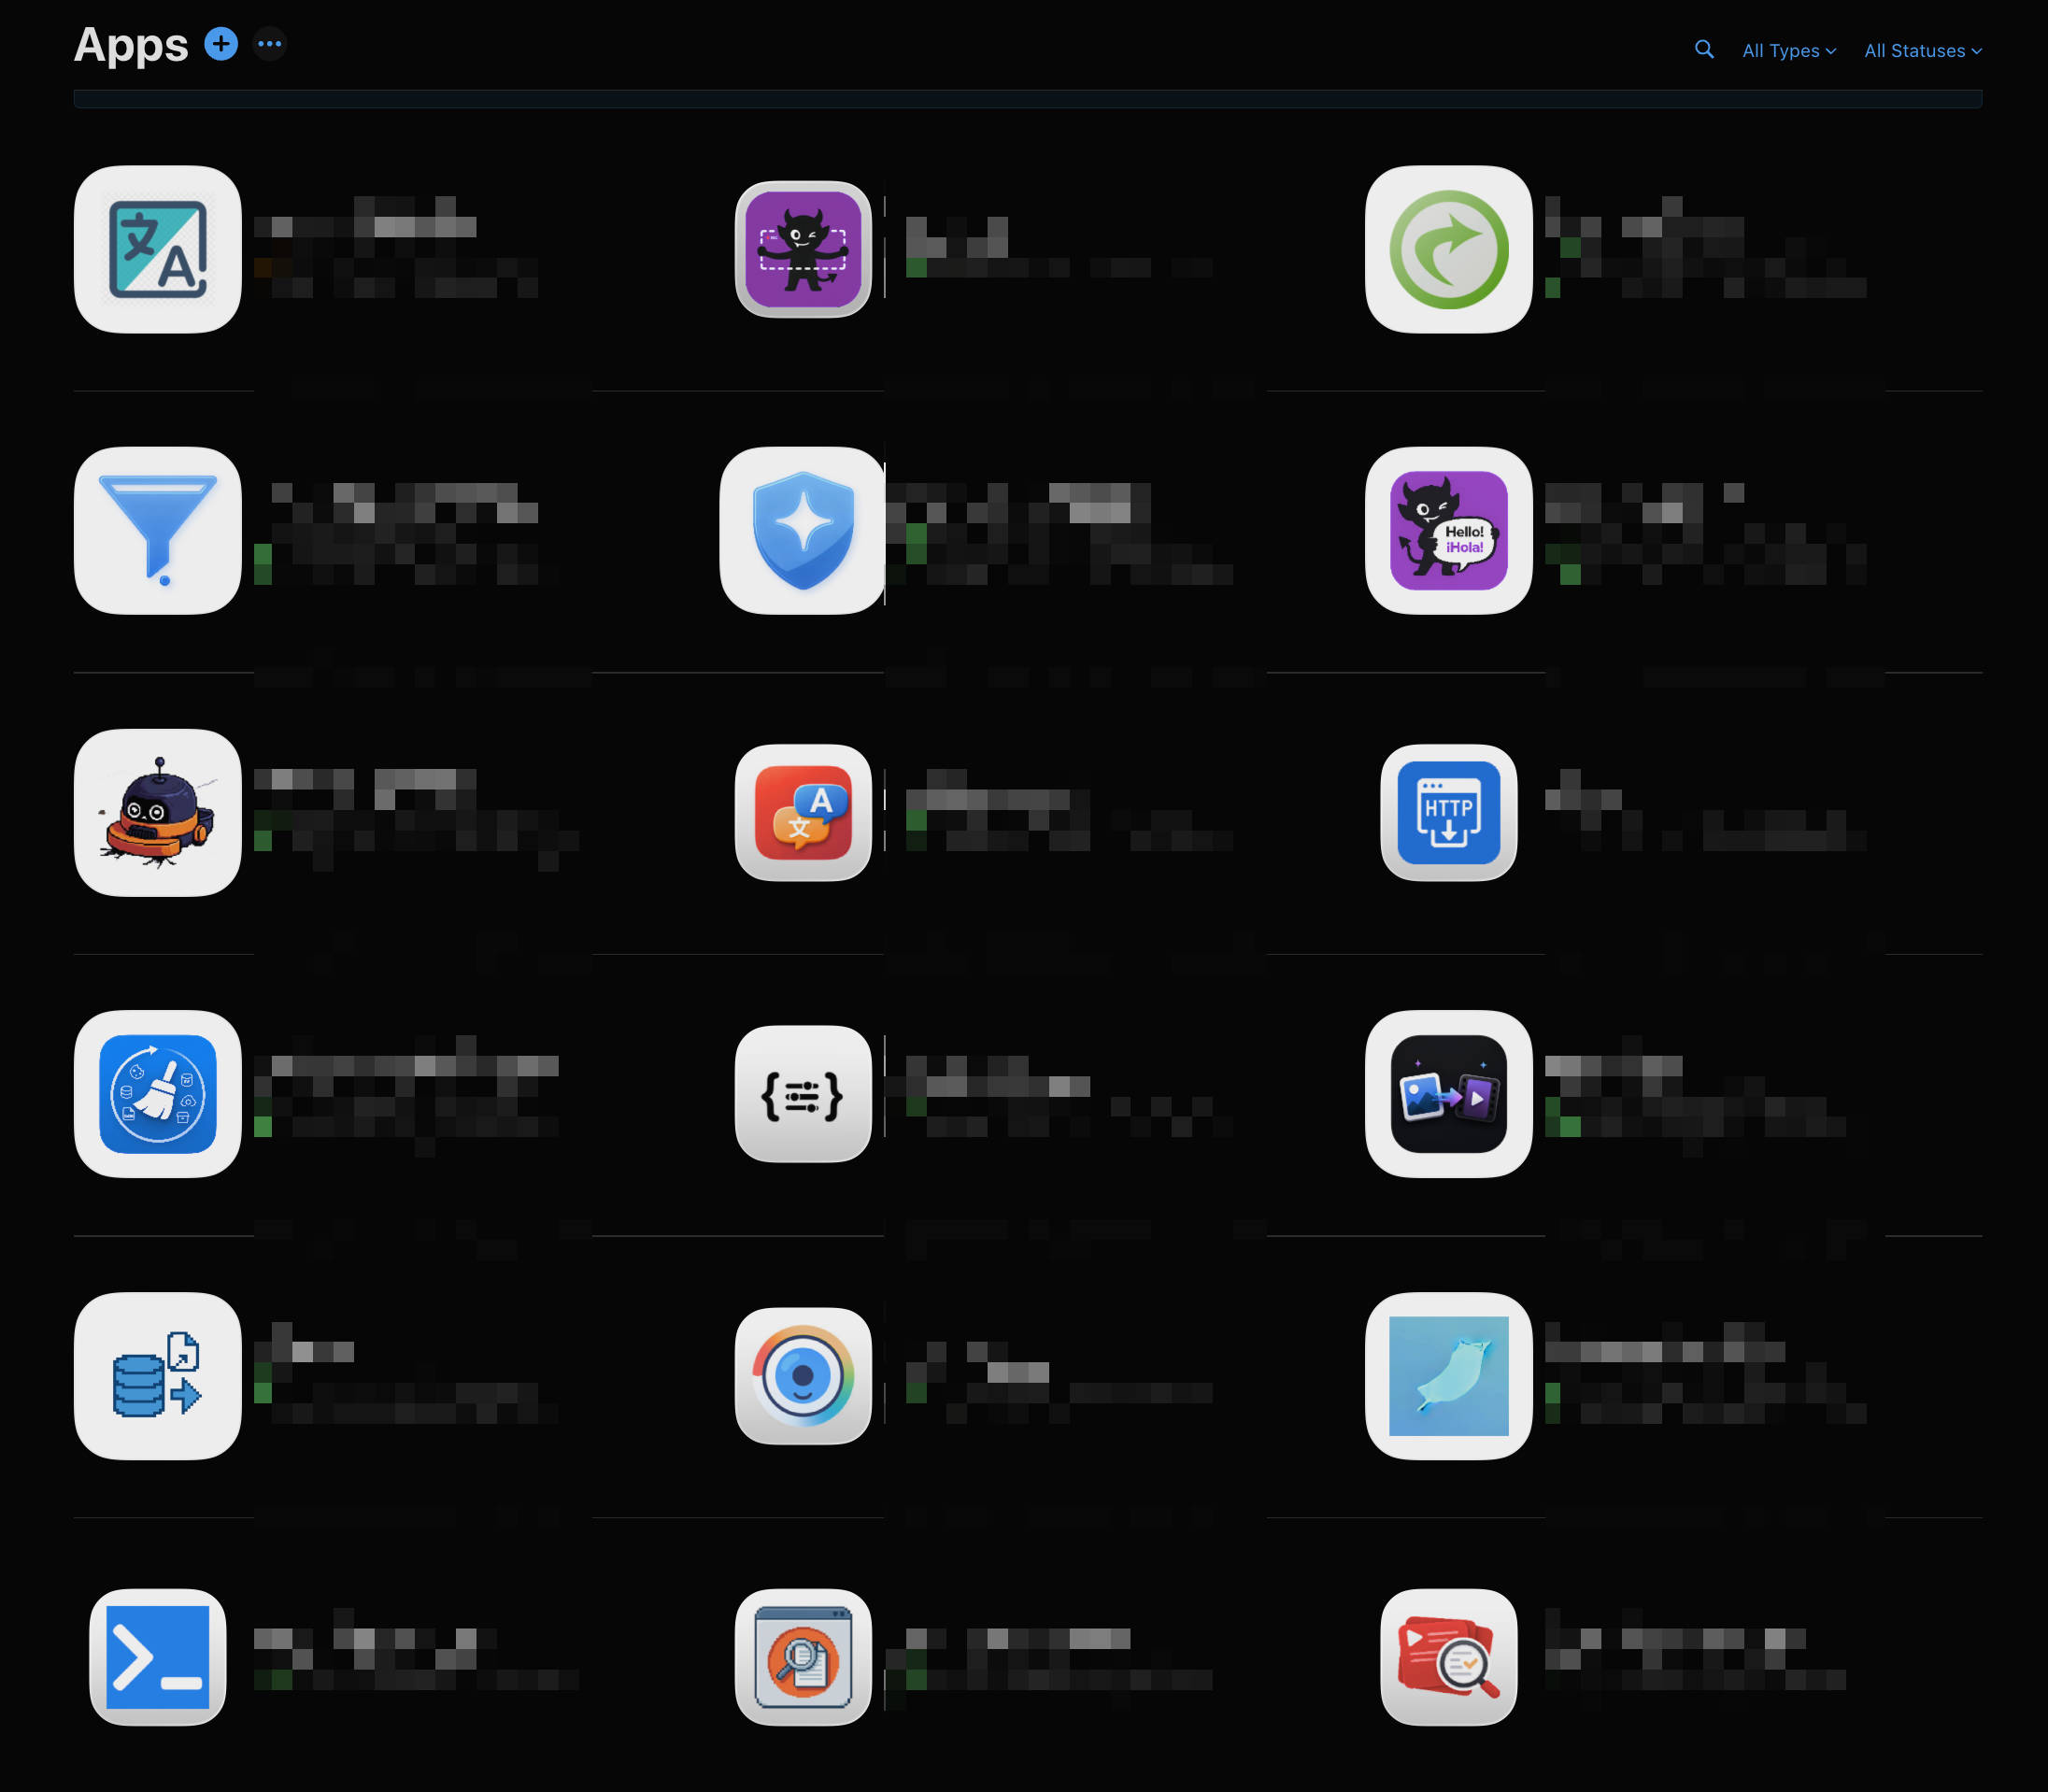
The End Result
Let’s start with the final state. Here’s the complete Safari release workflow configuration from a real project:
safari:
  needs: version
  runs-on: macos-26
  steps:
    - uses: actions/checkout@v5
    - uses: pnpm/action-setup@v6
    - uses: actions/setup-node@v6
      with:
        node-version: 24
        cache: 'pnpm'
    - run: pnpm install
    # Build the extension and convert it into an Xcode project, output to .output/My Extension
    - run: pnpm build:safari

    - uses: rxliuli/safari-webext-publish-action@v2
      with:
        # build mode: build, sign, and upload the bundle to App Store Connect, but don't submit for review
        mode: build
        project-path: '.output/My Extension'
        bundle-identifier: 'com.example.my-extension'
        team-id: 'ABCDE12345'
        app-signing-identity: '3rd Party Mac Developer Application: Your Name (ABCDE12345)'
        installer-signing-identity: '3rd Party Mac Developer Installer: Your Name (ABCDE12345)'
      env:
        APPLE_CERTIFICATE_BASE64: ${{ secrets.APPLE_CERTIFICATE_BASE64 }}
        APPLE_CERTIFICATE_PASSWORD: ${{ secrets.APPLE_CERTIFICATE_PASSWORD }}
        APPLE_MACOS_PROVISIONING_PROFILE_BASE64: ${{ secrets.APPLE_MACOS_PROVISIONING_PROFILE_BASE64 }}
        APPLE_MACOS_EXTENSION_PROVISIONING_PROFILE_BASE64: ${{ secrets.APPLE_MACOS_EXTENSION_PROVISIONING_PROFILE_BASE64 }}
        APPLE_IOS_PROVISIONING_PROFILE_BASE64: ${{ secrets.APPLE_IOS_PROVISIONING_PROFILE_BASE64 }}
        APPLE_IOS_EXTENSION_PROVISIONING_PROFILE_BASE64: ${{ secrets.APPLE_IOS_EXTENSION_PROVISIONING_PROFILE_BASE64 }}
        APPLE_API_KEY: ${{ secrets.APPLE_API_KEY }}
        APPLE_API_KEY_ID: ${{ secrets.APPLE_API_KEY_ID }}
        APPLE_API_ISSUER: ${{ secrets.APPLE_API_ISSUER }}

safari-submit:
  needs: [version, safari]
  runs-on: ubuntu-latest
  steps:
    - uses: rxliuli/safari-webext-publish-action@v2
      with:
        # submit mode: create a new version from the bundle just uploaded and submit it for review, only needs 3 secrets
        mode: submit
        bundle-identifier: 'com.example.my-extension'
        version: ${{ needs.version.outputs.version }}
      env:
        APPLE_API_KEY: ${{ secrets.APPLE_API_KEY }}
        APPLE_API_KEY_ID: ${{ secrets.APPLE_API_KEY_ID }}
        APPLE_API_ISSUER: ${{ secrets.APPLE_API_ISSUER }}
Once this YAML and the secrets it references are configured, that’s the entire setup. It relies on two tools I wrote for this purpose:
- wxt-module-safari-xcode: a WXT module that automatically converts the extension into a fully configured Xcode project at build time
- safari-webext-publish-action: a GitHub Action that handles signing, uploading, and submitting for review
Why does Safari need dedicated tooling? WXT already handles Chrome/Firefox/Edge releases well — it’s a single command. But a Safari extension is fundamentally an app: the extension code is embedded inside a macOS/iOS app, and publishing goes through the App Store. That means dealing with Apple’s entire distribution stack — Xcode projects, certificates, signing, notarization, provisioning profiles. Here’s a concrete illustration of the complexity: all the secrets a fully cross-platform extension needs:
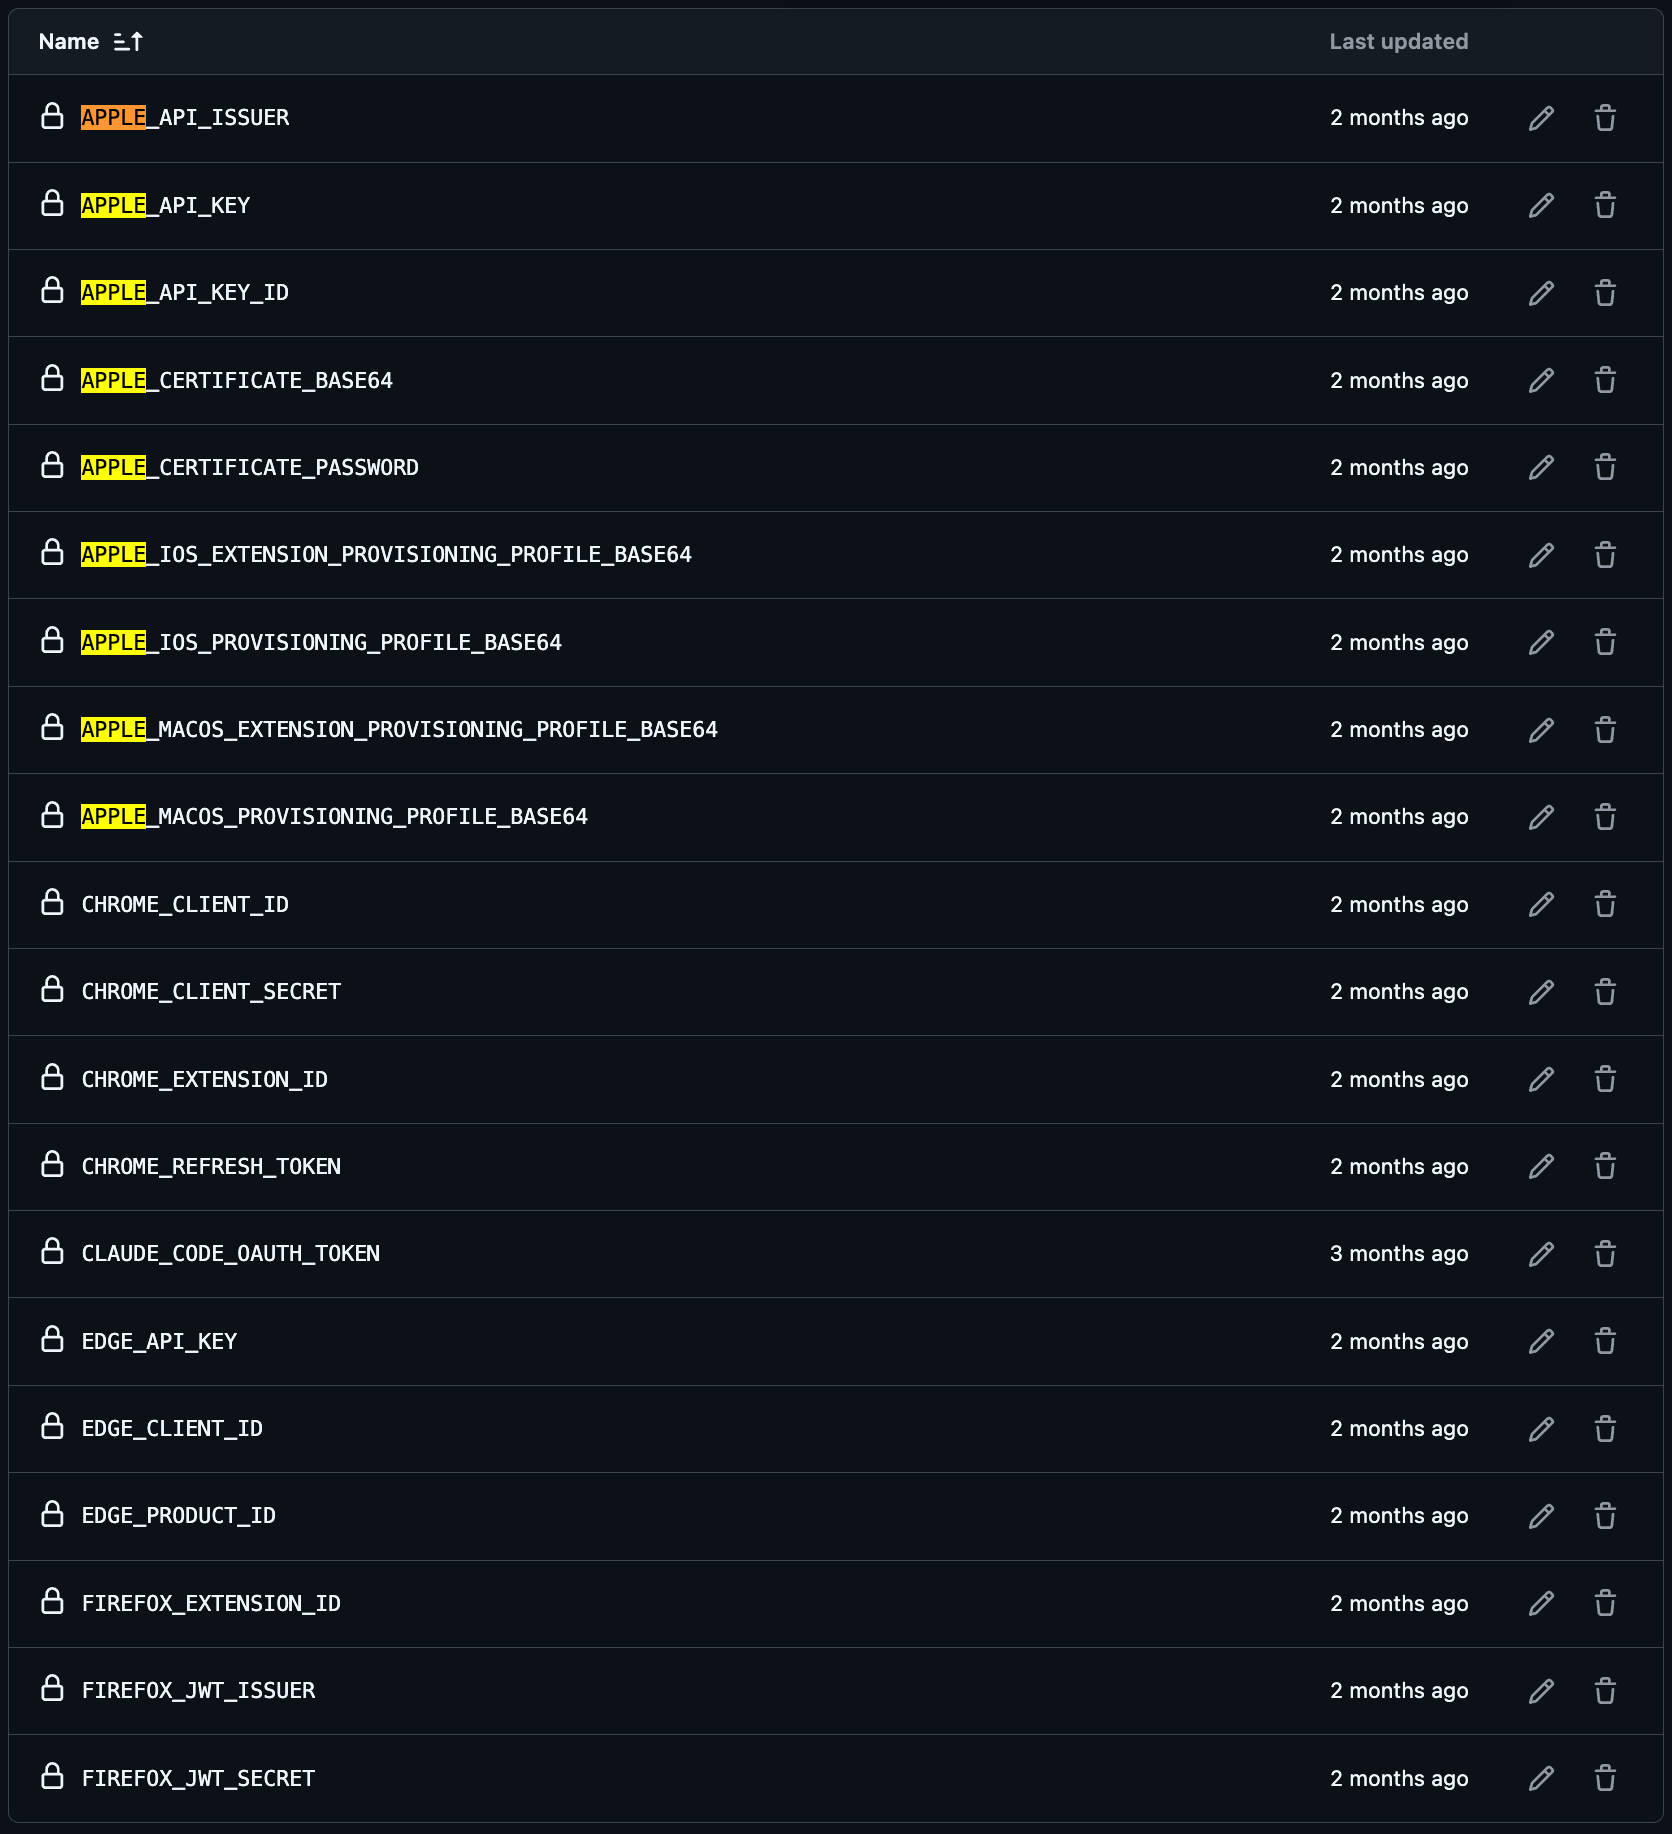
It looks intimidating, but each one only needs to be configured once. Below I’ll walk through, in order, what each step does and where each secret comes from.
As an aside, this pipeline evolved gradually. At first I only used wxt-module-safari-xcode to generate the project and still built and uploaded manually in Xcode. Then the action’s build mode meant I no longer needed to open Xcode. Finally, adding submit mode eliminated the last remaining step — the two or three minutes spent clicking through App Store Connect. If you want to understand the full manual process (and why it’s worth automating), see the two posts linked at the top.
Step 1: Configure WXT to Convert the Extension into an Xcode Project
Apple provides an official conversion tool, xcrun safari-web-extension-converter, but it only does the most basic conversion: the resulting Xcode project still needs the version number, app category, development team, and so on set manually. wxt-module-safari-xcode integrates all of this into WXT’s build process — running wxt build -b safari automatically performs the conversion and injects all the configuration.
// wxt.config.ts
import { defineConfig } from 'wxt'

export default defineConfig({
  modules: ['wxt-module-safari-xcode'],
  safariXcode: {
    projectName: 'Your Project Name',
    appCategory: 'public.app-category.productivity',
    bundleIdentifier: 'com.example.your-extension',
    developmentTeam: 'ABC1234567',
  },
  // ... other configurations
})
Where these four configuration values come from:
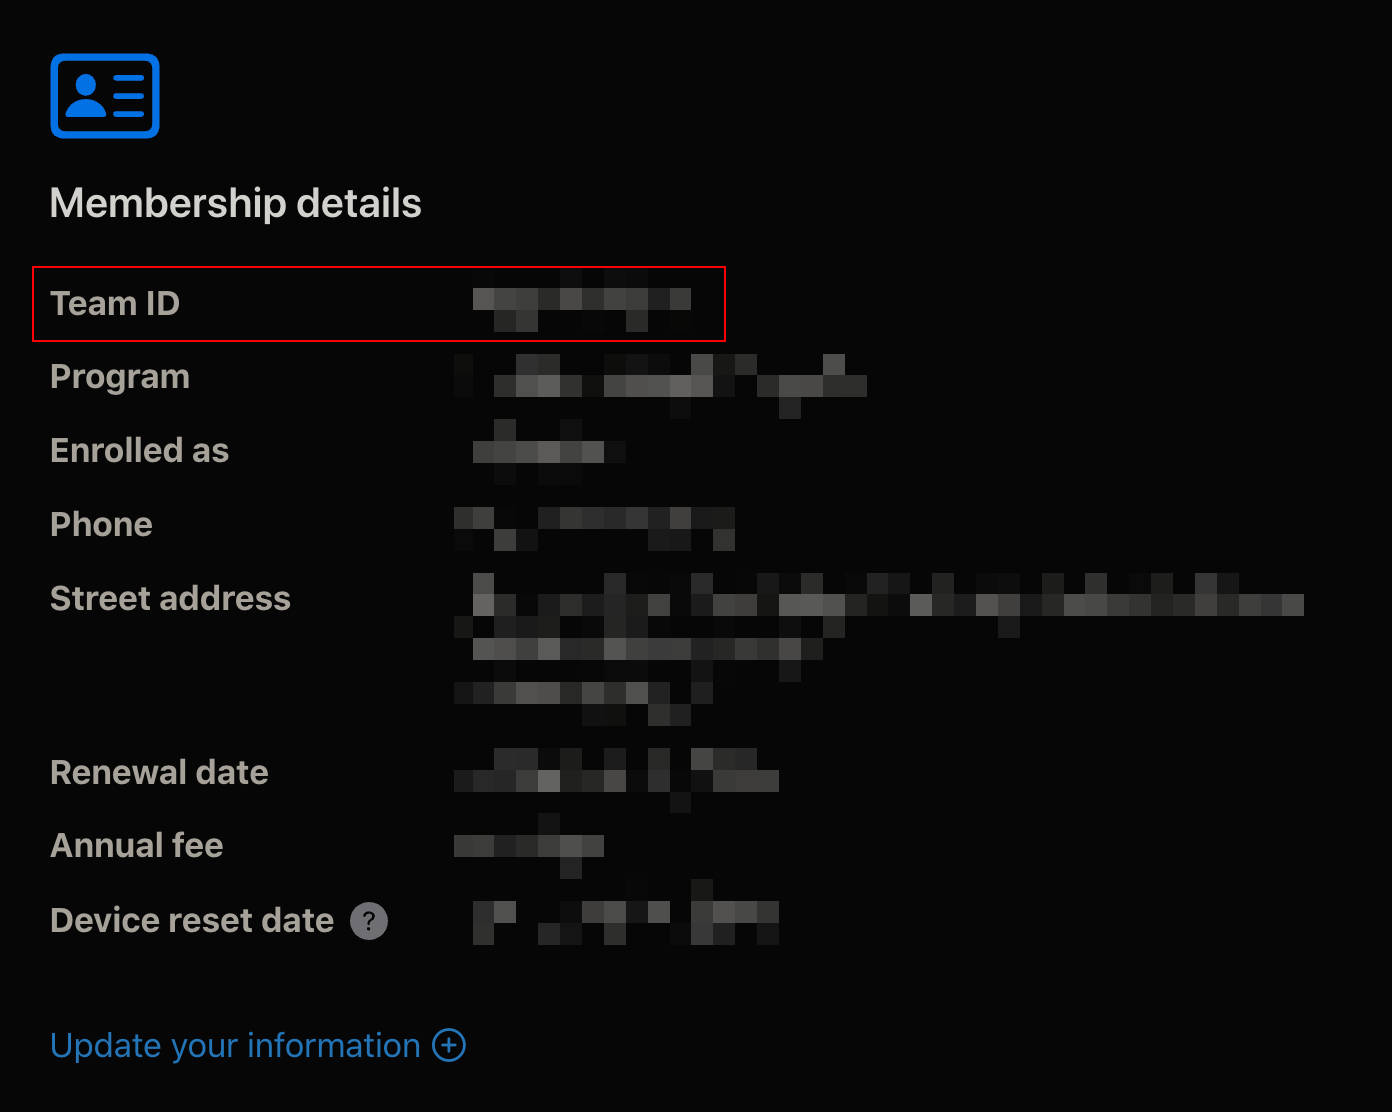
projectName: the extension’s display name. Uppercase letters or spaces are fine.appCategory: the App Store category. See the official Apple category list for valid values.bundleIdentifier: a globally unique identifier. Convention is reverse-domain + app name, all lowercase, no spaces.developmentTeam: your Apple Developer Team ID, found on the Membership page at developer.apple.com/account.
After running pnpm wxt build -b safari, the Xcode project appears at .output/<projectName>, with the version number already synced automatically from package.json (the module updates both MARKETING_VERSION and CFBundleVersion; the latter is derived as major×10000 + minor×100 + patch — Apple requires the build number to increase with every upload, and this conversion rule satisfies that automatically as long as you follow semantic versioning).
Real-world configuration example: https://github.com/rxliuli/imp-translate/blob/main/wxt.config.ts
Step 2: Prepare the Secrets
This is the most tedious part of the whole process, but each item only needs to be done once. It breaks down into three groups.
Certificates (APPLE_CERTIFICATE_BASE64 / APPLE_CERTIFICATE_PASSWORD)
Signing in CI works like this: export your distribution certificate (including the private key) as a .p12 file, store it as base64 in GitHub secrets, and the action imports it into a temporary keychain on the runner at run time for Xcode to sign with. Steps:
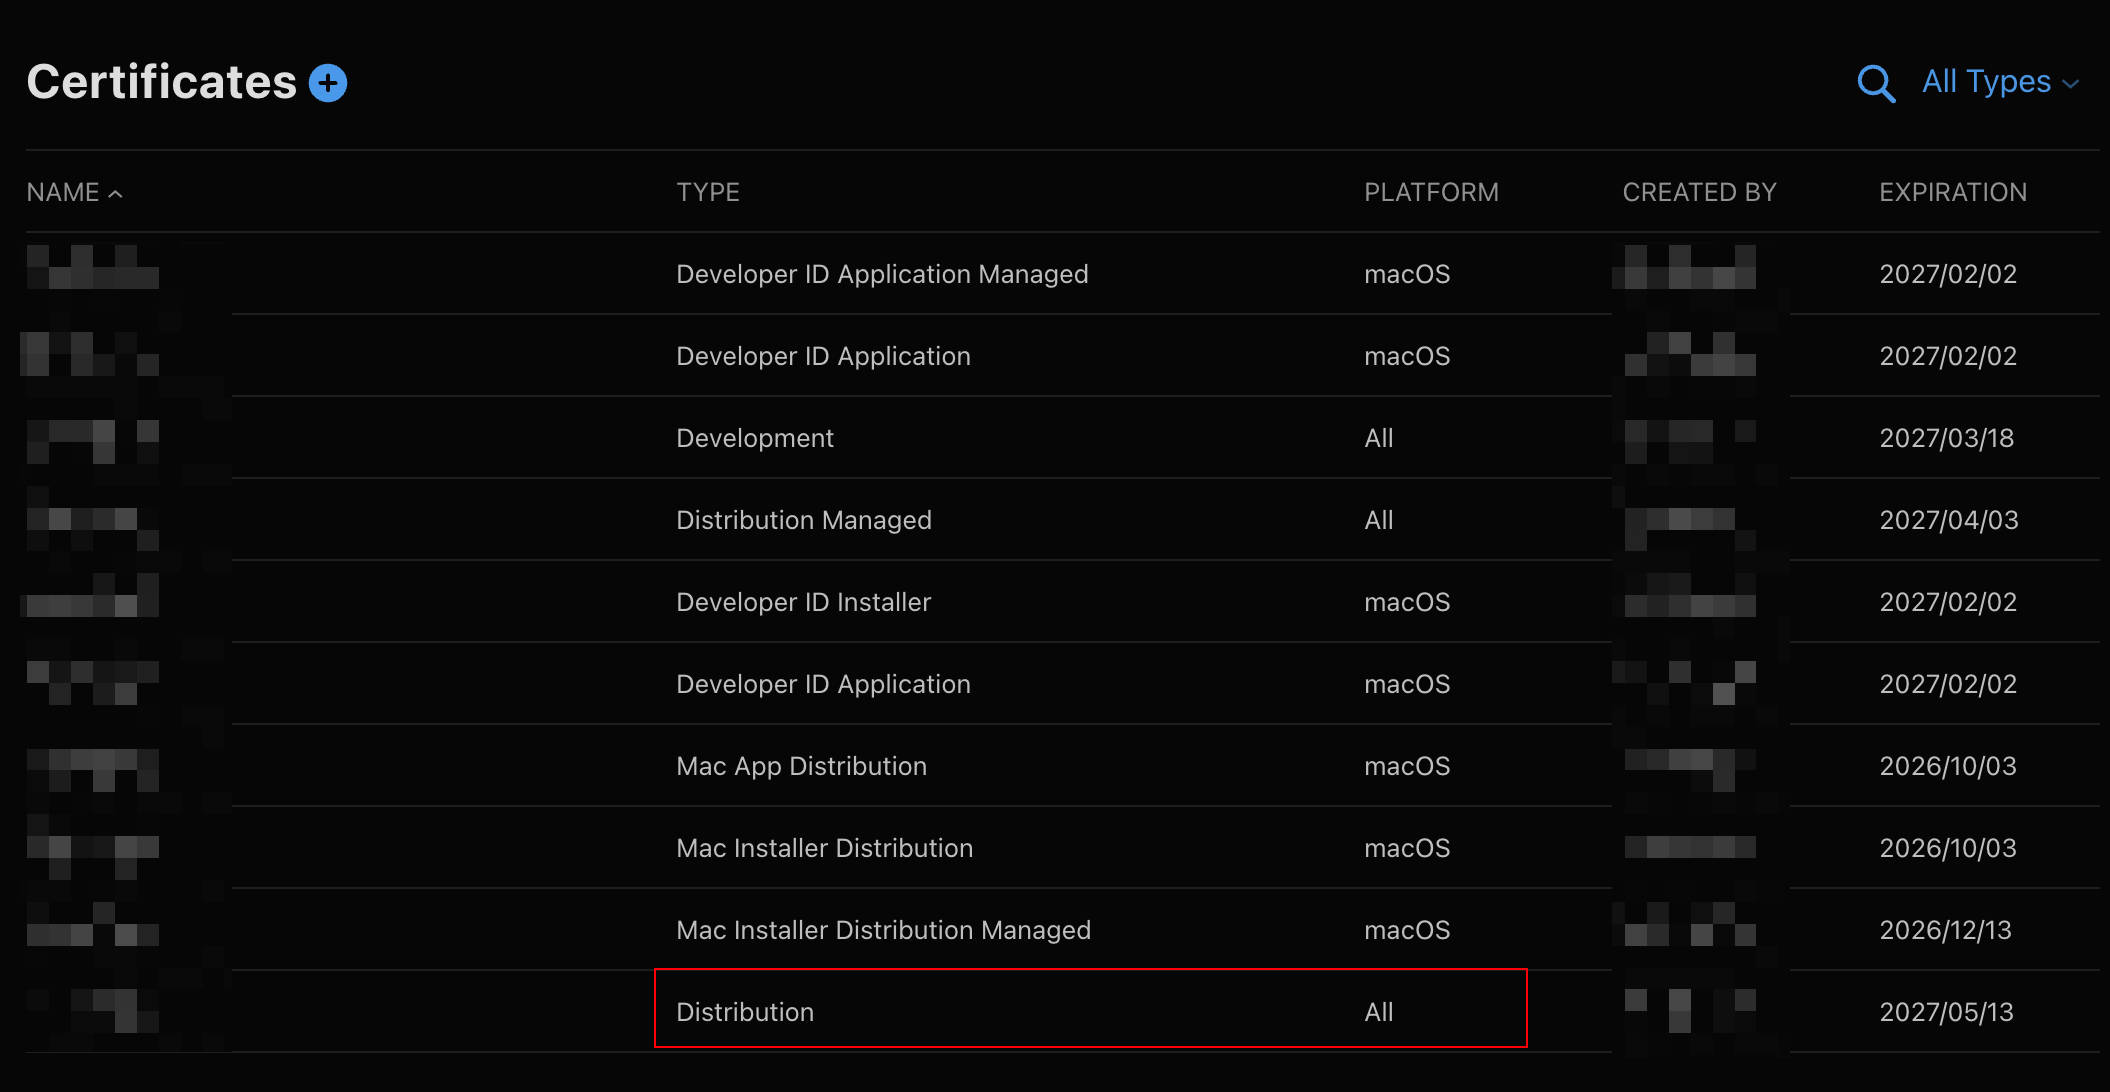
- On the Certificates page at developer.apple.com, create three distribution certificates: Mac App Distribution (corresponds to the “3rd Party Mac Developer Application” signing identity), Mac Installer Distribution (corresponds to “3rd Party Mac Developer Installer” — don’t be thrown off by the word “Installer”: the Mac App Store’s required upload format is a signed .pkg, which is just a shipping container for submitting to Apple. Users never touch this .pkg — actual installation goes through the App Store’s own mechanism. The action needs this certificate internally to sign the package it builds with
productbuild), and Apple Distribution — note a naming trap here: on the creation page it’s called “Apple Distribution,” but once created it only shows up in the certificate list as “Distribution” (with “All” in the Platform column) — it’s the same certificate. It’s cross-platform and handles iOS distribution signing. During creation you’ll need to generate a CSR (Certificate Signing Request) using your local keychain; just follow the on-page instructions. All three certificates are account-level and aren’t tied to any specific extension — configure them once and reuse them across all your projects. - After downloading the certificates, double-click to import them into your local keychain, then open Keychain Access → My Certificates. Select all three certificates at once (confirm each one expands to show a private key), right-click and export them as a single .p12 file — the action supports a single .p12 containing all signing identities, so there’s no need to pass them separately. The password you set during export becomes
APPLE_CERTIFICATE_PASSWORD. - Convert the .p12 to base64 and store it as a secret:
base64 -i Certificates.p12 | pbcopy, then paste it asAPPLE_CERTIFICATE_BASE64.
Provisioning Profiles (4 × *_PROVISIONING_PROFILE_BASE64)
On the Profiles page, create an App Store type profile for each target. The project generated by the converter has two targets, App and Extension, each with its own bundle ID — the Extension’s ID is the main ID plus a .Extension suffix (e.g., com.example.my-extension.Extension), and both bundle IDs need to be registered on the Identifiers page first. There’s one set each for macOS and iOS, so four profiles in total. Base64-encode each one after downloading and store it in the corresponding secret.
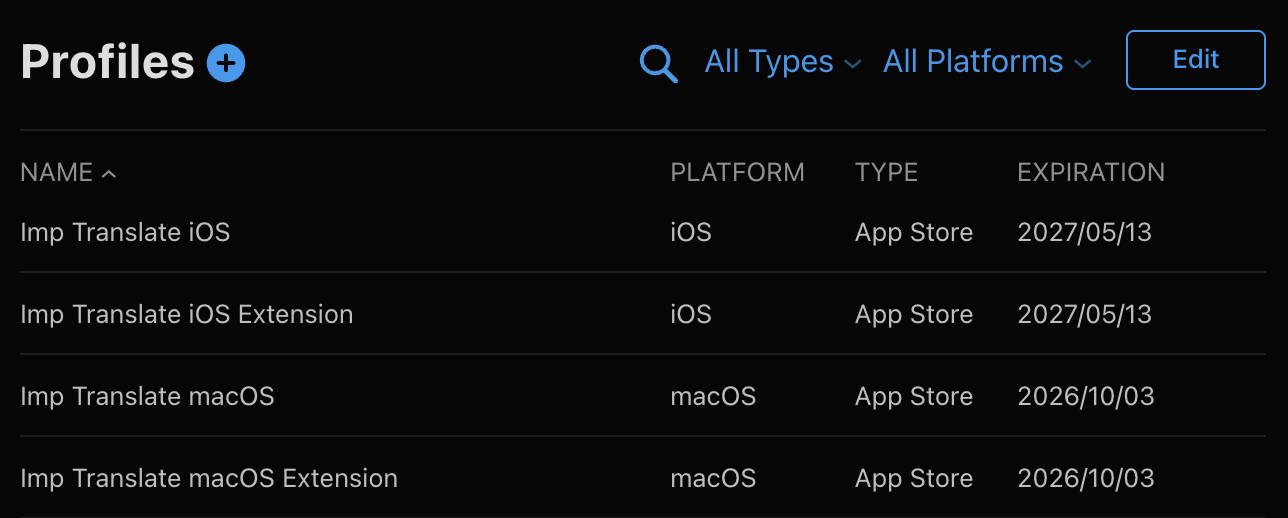
Note: this step is per-extension — every new Safari extension needs its own new set of profiles. This is the only part among all the secrets that can’t be reused across projects (certificates and API keys are account-level, configured once and shared by all extensions).
App Store Connect API (APPLE_API_KEY / APPLE_API_KEY_ID / APPLE_API_ISSUER)
On the Integrations page in App Store Connect, create a team API key. The App Manager role is sufficient (principle of least privilege — don’t use Admin). After creating it:
- Download the .p8 private key file — you can only download it once, so keep it safe. Convert it to base64 with
base64 -i AuthKey_XXXXXXXXXX.p8 | pbcopyand store it asAPPLE_API_KEY - Store the Key ID shown on the page as
APPLE_API_KEY_ID - Store the Issuer ID at the top of the page as
APPLE_API_ISSUER
This set of credentials serves two purposes: build mode uses it to upload the bundle (replacing Xcode’s Distribute step), and submit mode uses it to call the App Store Connect API to create a version and submit it for review.
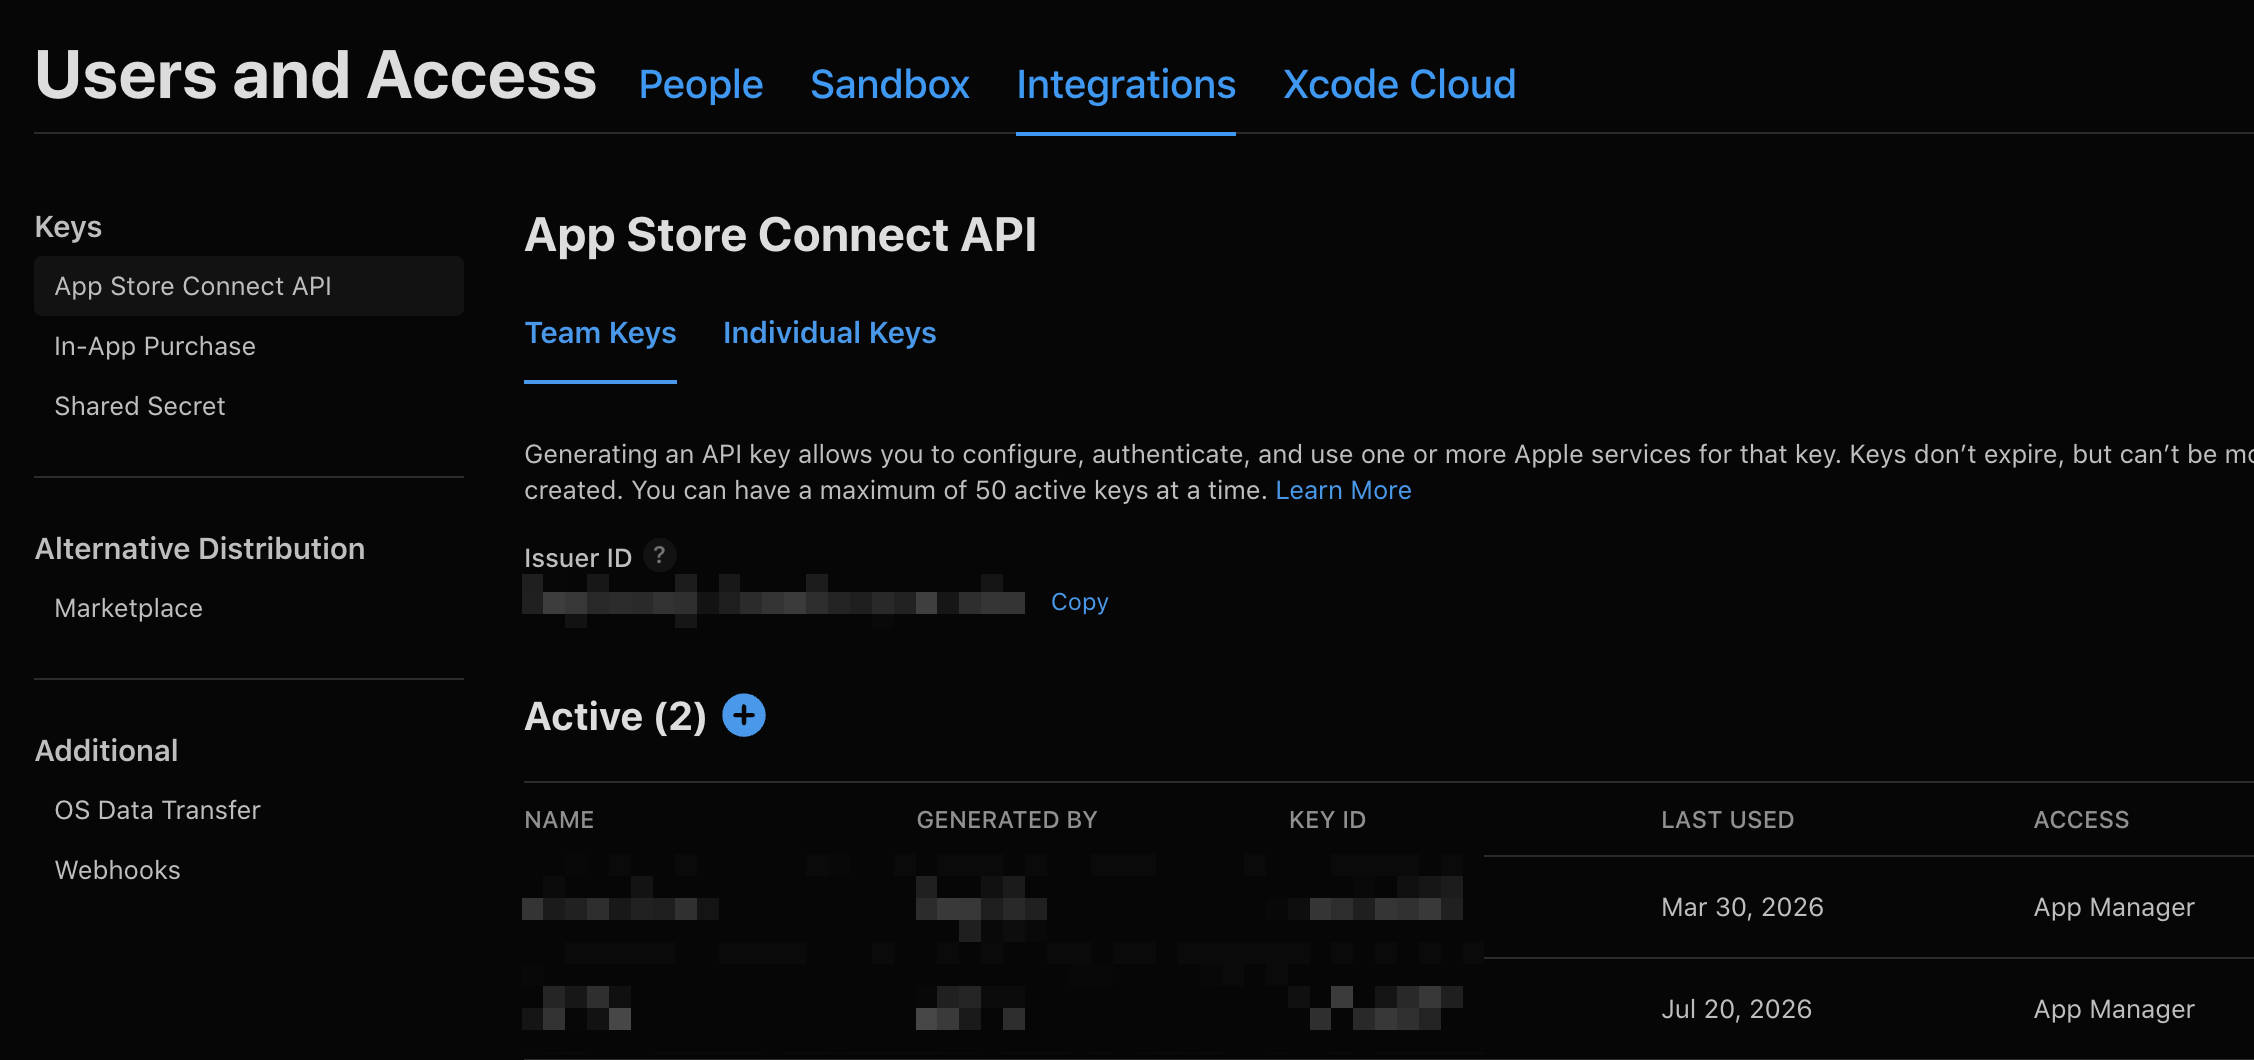
It’s normal to have trouble finding these pages — Apple’s back office isn’t known for usability. A modern workaround: have an LLM that can operate a browser navigate you to the right page. It’s much faster than digging through the docs yourself.
Step 3: Understanding the Workflow’s Two Jobs
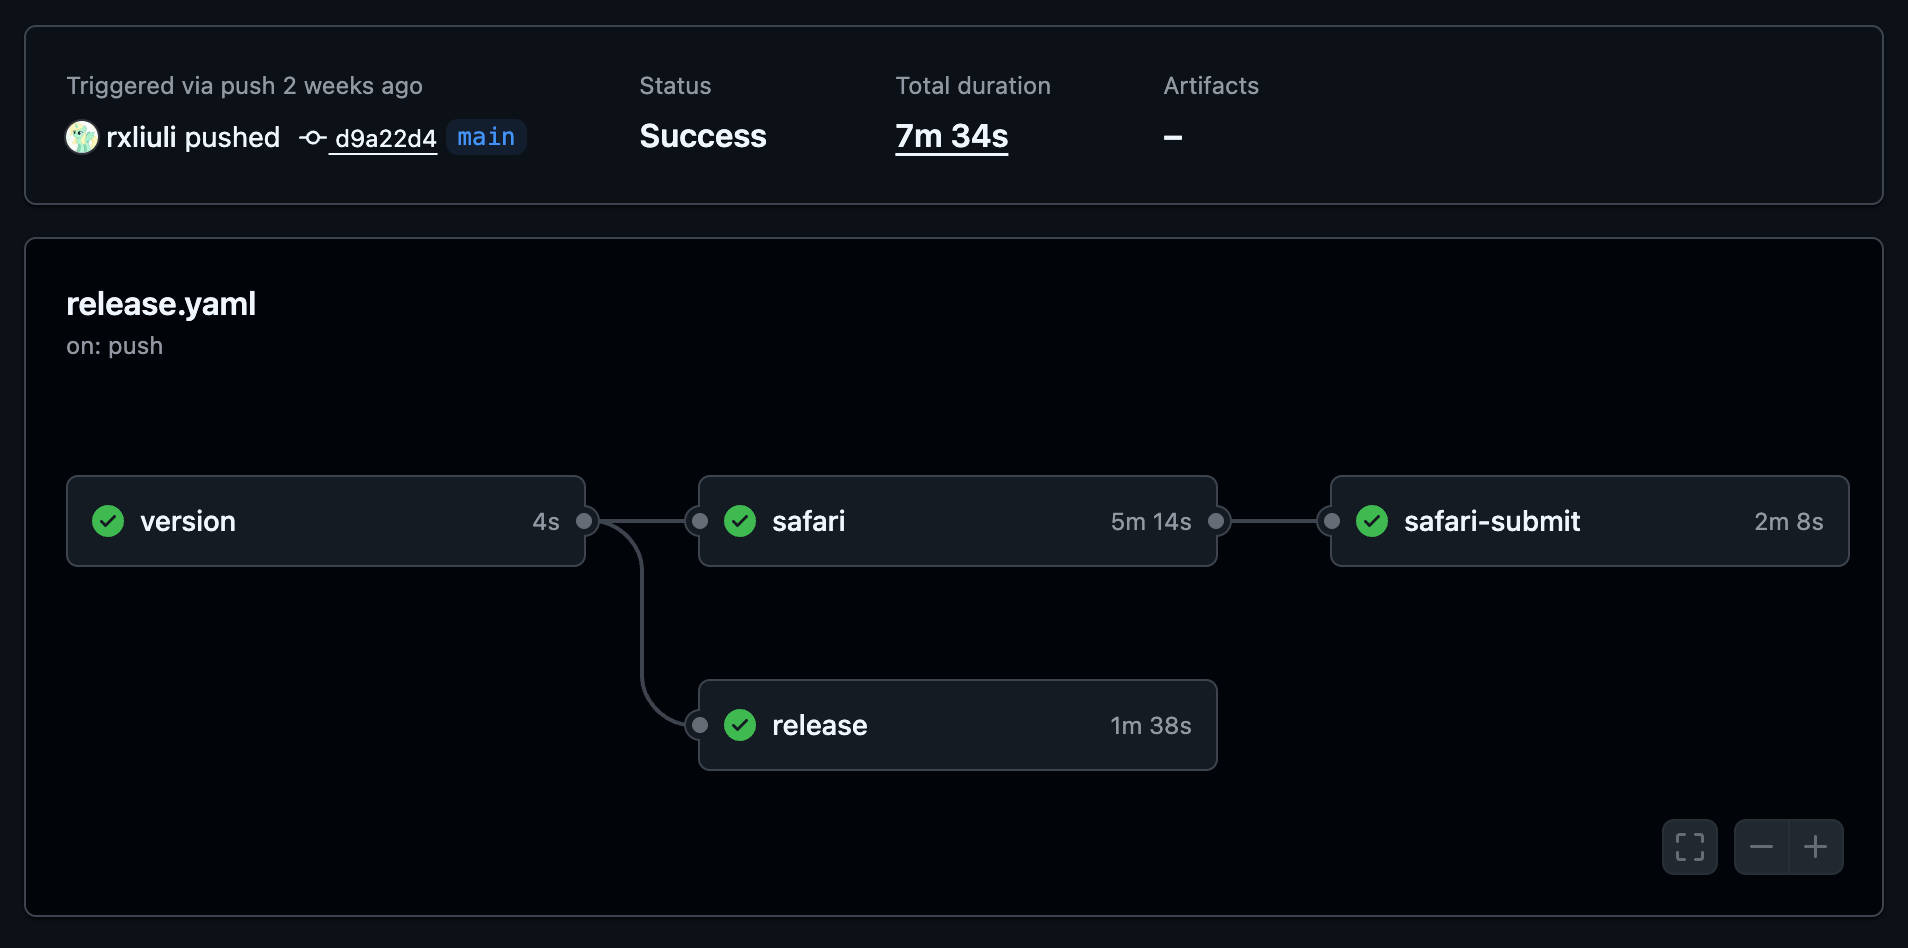
Looking back at the YAML at the top, Safari publishing is split into two jobs, and the split is deliberate:
safari (build mode) runs on a macOS runner — this is the only step that genuinely needs macOS and Xcode (note it must be macos-26 or later; the action checks for the Xcode 26 SDK). It does four things: imports the certificate into a temporary keychain, builds and signs with xcodebuild (producing a universal x86_64+arm64 binary on macOS), packages it, and uploads it to App Store Connect via the API. Once it finishes, the bundle already appears in App Store Connect’s build list — equivalent to having clicked through Archive → Distribute in Xcode yourself. One nice touch: the action automatically detects the target platform from the Xcode project’s schemes — if the project only has a macOS scheme, the iOS step is skipped automatically, and vice versa, with no extra configuration needed.
safari-submit (submit mode) runs on an Ubuntu runner — it only calls the App Store Connect API, doesn’t need macOS, and a cheap runner is fine. It’s equivalent to what you’d do manually on the web: poll until the bundle finishes processing, create a new version, attach the bundle you just uploaded, fill in What’s New, and submit for review. That’s also why it only needs those three API secrets. The “having to manually fill in release notes every time” complaint from the intro is solved here too: it’s passed in via the release-notes input, defaulting to “Bug fixes and improvements.” if omitted.
Conclusion
Honestly: if you only have one or two Safari extensions, the manual Xcode process is tolerable — it hides most of the certificate and signing complexity for you, and setting up this whole pile of secrets may not be worth it. But if you have three or more Safari extensions, or release a single extension frequently, this pipeline will completely change your release experience — a one-time configuration cost in exchange for zero mental overhead on every release after that. All dozen or so of my Safari extensions now go through this pipeline. Once it was set up, I never had to open Xcode for a release again.